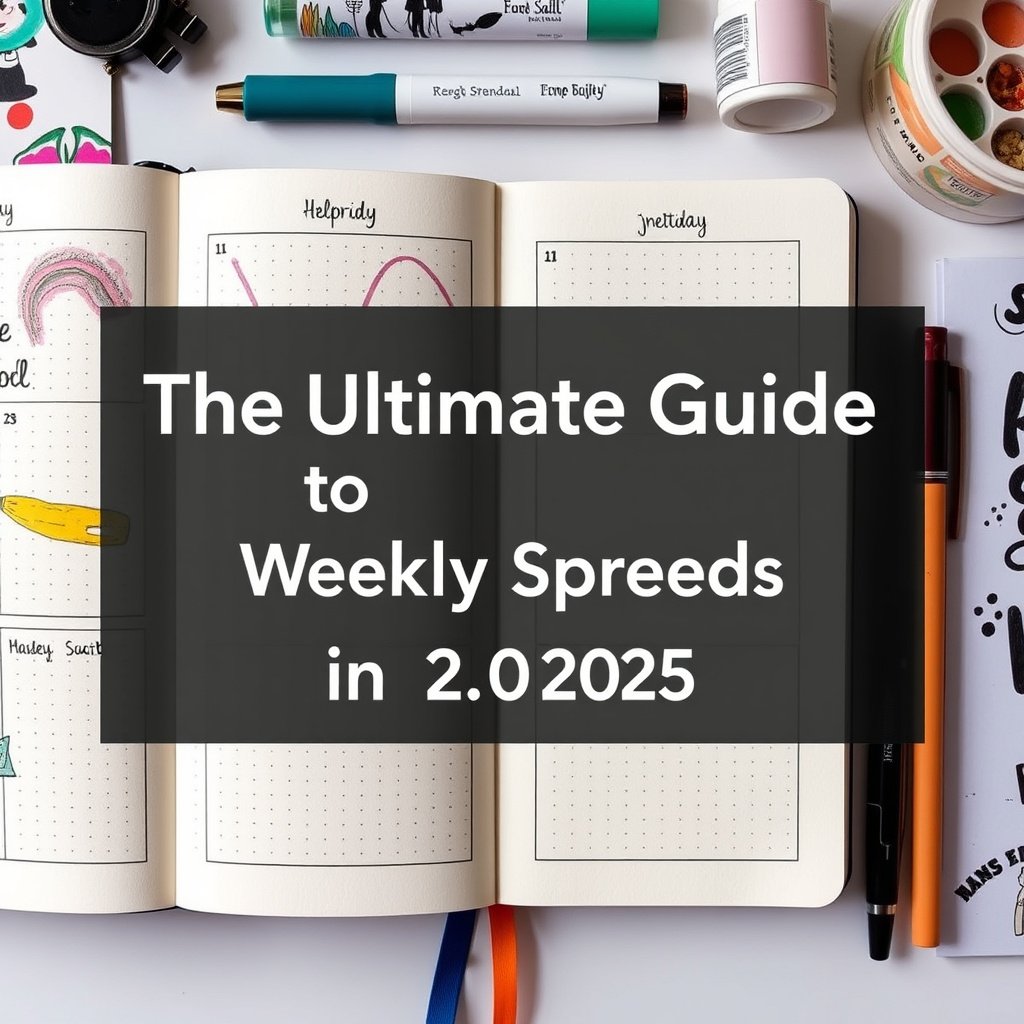
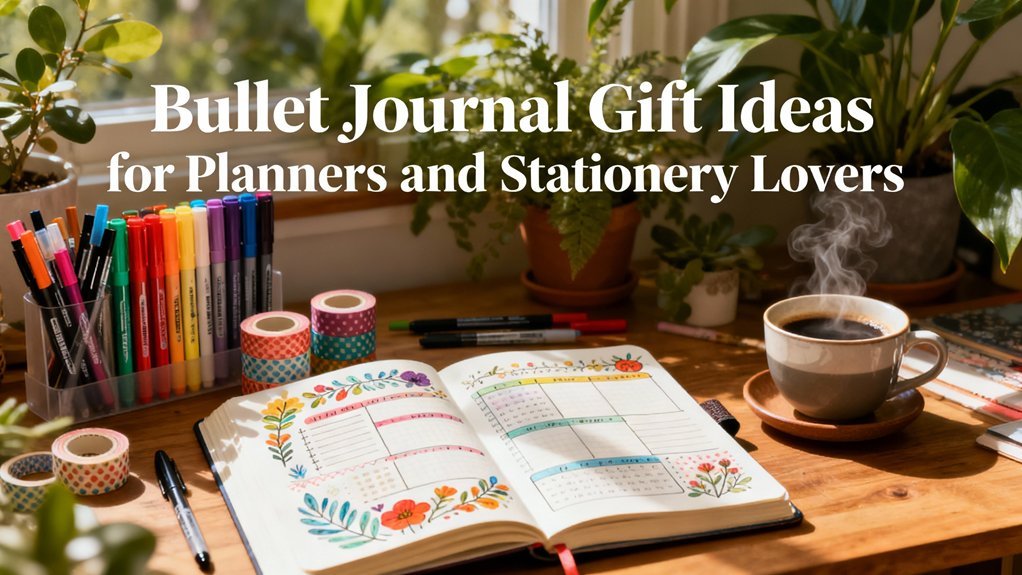
# Master Your Week: Ultimate Guide to Bullet Journal Weekly Spreads
Did you know that people who use visual planning systems are 42% more likely to achieve their goals? That's not just feel-good fluff – that's the real power of putting pen to paper with intention.
After seven years of bullet journaling, I've learned that weekly spreads are the sweet spot of planning. They're not too overwhelming like daily pages can be, and they're way more actionable than monthly logs. Think of them as your command center for the week ahead.
Weekly spreads give you that perfect bird's-eye view while keeping you grounded in what actually needs to happen. You can see patterns, spot potential conflicts, and adjust course before things go sideways. And let's be honest – there's something deeply satisfying about designing a spread that works beautifully for your specific chaos.
if you're a bullet journal newbie or someone looking to refresh your approach, I'll walk you through everything you need to create weekly spreads that actually serve your life. We'll cover layouts that save time, functional elements that boost productivity, and ways to troubleshoot when things don't go as planned (because they rarely do, right?).
## Understanding Bullet Journal Weekly Spreads
### What Makes a Weekly Spread Effective
Here's what I've figured out after countless layout experiments: the best weekly spreads find that magic balance between structure and flexibility. You want enough organization to keep you on track, but not so much rigidity that you panic when Tuesday explodes into chaos.
An effective weekly spread serves three main purposes. First, it captures everything you need to remember. Second, it helps you prioritize what matters most. Third, it adapts when life throws curveballs.
The key is designing for your actual life, not your ideal Pinterest-worthy existence. I learned this the hard way when I spent hours creating elaborate spreads that looked gorgeous but completely failed during busy weeks.
### Essential Elements Every Weekly Spread Should Include
Every solid weekly spread needs these core components, though how you arrange them is totally up to you:
**Date headers** – Seems obvious, but you'd be surprised how often people forget these. Make them clear and easy to spot at a glance.
**Task sections** – Space for your to-dos, with room to migrate items if needed. I always leave extra space here because tasks have a sneaky way of multiplying.
**Event blocks** – Appointments, meetings, deadlines. Anything with a specific time needs its own designated spot.
**Notes area** – Random thoughts, important info, things you don't want to forget. This is your catch-all zone.
**Quick reference** – Maybe it's your top three priorities, maybe it's your grocery list. Whatever you'll need to check multiple times deserves prime real estate.
### How Weekly Spreads Fit Into the Bullet Journal System
Your weekly spread isn't an island – it's part of the whole bullet journal ecosystem. It bridges your monthly big-picture planning with daily rapid logging.
I use my monthly log to brain-dump everything, then my weekly spread to actually organize those thoughts into actionable chunks. Each week becomes a mini-project with clear deliverables. When I'm doing my daily rapid logging, I can quickly reference my weekly spread to stay on track.
The magic happens during weekly reviews. You look back at what worked, what didn't, and what needs to carry over. Then you plan the upcoming week with that fresh insight. It's like having a conversation with yourself about how to do better next time.
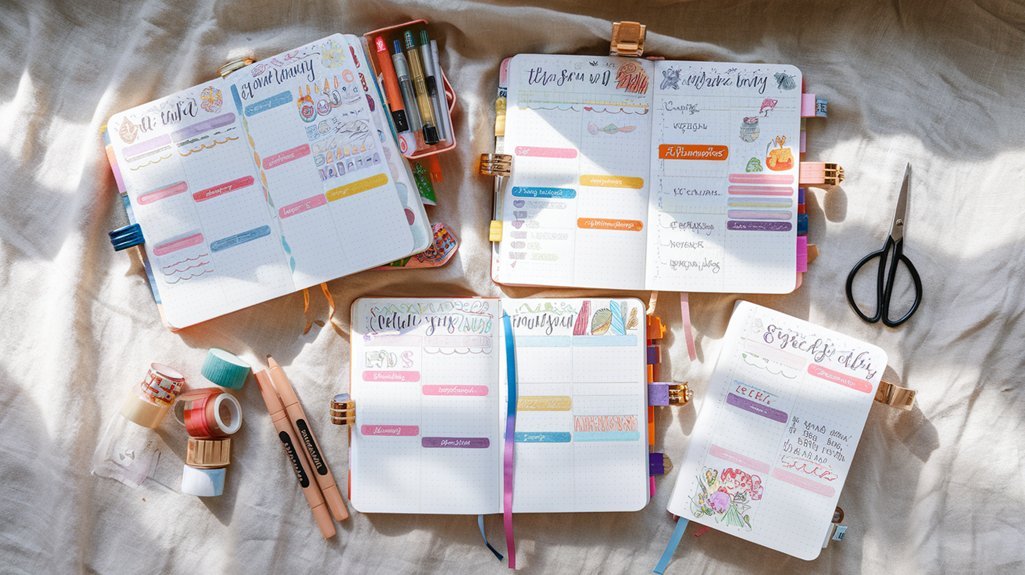
## Popular Weekly Spread Layouts and Designs
### Traditional Seven-Day Grid Layout
This is the classic approach – seven boxes arranged in a grid format. It's straightforward, familiar, and works well if your weeks follow a predictable rhythm.
To create this layout, divide your page into seven equal sections. I usually go with a 3-2-2 arrangement (three days on top, two in the middle, two on bottom) because it fits most notebook pages nicely. Leave about an inch at the top for your week header and any important notes.
The beauty of this layout is its simplicity. Each day gets equal visual weight, making it easy to compare workloads at a glance. The downside is? If your Wednesdays are consistently packed while your Sundays are chill, that equal spacing might feel wasteful.
### Vertical Weekly Spreads
Vertical layouts stack your days from top to bottom, creating long columns for each day. This works brilliantly if you have lots of tasks or appointments to track.
Start by drawing six vertical lines to create seven columns. Label each column with a day of the week. You can make certain days wider if needed – I always give Monday and Wednesday extra space because those tend to be my busiest days.
The vertical approach gives you tons of room for detailed planning. You can easily see how your days flow into each other. But be warned – this layout can feel overwhelming if you're not used to seeing your entire week laid out vertically.
### Horizontal Timeline Designs
Timeline layouts treat your week like a flowing river instead of separate containers. Days blend into each other with clear time markers guiding the flow.
Draw a horizontal line across your page, then mark time intervals that make sense for your schedule. Maybe it's morning/afternoon/evening blocks, or maybe you need hourly markers for certain days.
This approach is fantastic for visual learners who think in terms of flow and transition. You can easily spot scheduling conflicts or notice when you've got too much crammed into one time period.
### Minimalist Weekly Approaches
Sometimes less really is more. Minimalist spreads focus on clean lines, lots of white space, and only the most essential information.
My go-to minimal layout is dead simple: dates down the left margin, a single line for each day, and a small section at the bottom for notes. That's it. No fancy decorations, no complex systems – just pure function.
These spreads take minutes to set up and work beautifully during hectic periods when you don't have time for elaborate layouts. They're also perfect if you're just getting started and don't want to feel intimidated by complex designs.
### Creative and Artistic Layouts
Here's where you can let your artistic side run wild. Creative layouts incorporate doodles, themes, colors, and artistic elements while still maintaining functionality.
I've done weekly spreads themed around seasons, holidays, favorite quotes, and even TV shows I was obsessing over. The key is making sure your creativity serves your planning needs rather than overwhelming them.
Some ideas to get you started: hand-lettered headers, small doodles as bullet points, color-coding by priority or type of task, or incorporating washi tape for visual interest. Just remember – if it takes longer to create than to use, you might want to dial back the complexity.
## Functional Elements to Include in Your Weekly Spreads
### Task Management and Priority Systems
Let's talk about making your tasks actually manageable. I use a modified version of the original bullet journal signifiers, but I've added my own twist based on what actually works in practice.
My priority system is simple but effective: stars for must-dos, dots for regular tasks, and circles for things that would be nice to accomplish if time allows. Plus, I use an exclamation point for anything urgent that pops up mid-week.
Here's a really helpful I discovered around year three: always include a “parking lot” section for random tasks that don't fit into specific days. These are things like “research new phone plan” or “call dentist” – important but not time-sensitive. Having a designated spot prevents them from cluttering your daily sections.
### Habit Tracking Integration
Habit tracking within your weekly spread keeps your goals visible without requiring a separate tracker page. I've tried both approaches, and the integrated version wins for me every time.
Create a small grid with habits down one side and days across the top. Keep it simple – choose three to five habits max. More than that becomes overwhelming and you'll likely abandon the whole system.
Some habits work better for weekly tracking than daily. Instead of checking off “exercise” every day, maybe you track “3 workouts this week.” This gives you flexibility while maintaining accountability.
### Goal Setting and Progress Monitoring
Your weekly spread is perfect for breaking down bigger goals into bite-sized actions. I dedicate a small section to my top three focus areas for the week.
For each focus area, I write one specific action I can take to move forward. These become my non-negotiable priorities that get done even if everything else falls apart.
Every Sunday, I do a quick review of the previous week's progress. What moved forward? What stalled out? What do I need to adjust for the coming week? This mini-reflection keeps me connected to my bigger picture without getting lost in daily details.
### Note-Taking and Memory Keeping Sections
Don't underestimate the power of a good notes section. This is where life happens between the scheduled items – random thoughts, funny things your kids said, ideas that pop up during meetings.
I always include a small “wins” section where I jot down good things that happened during the week. It's amazing how this simple practice shifts your focus toward noticing positive moments.
Weather tracking might seem silly, but it's actually super useful for understanding your mood patterns and planning future activities. A simple sun/cloud/rain symbol takes two seconds but creates valuable data over time.
## Step-by-Step Tutorial: Creating Your First Weekly Spread
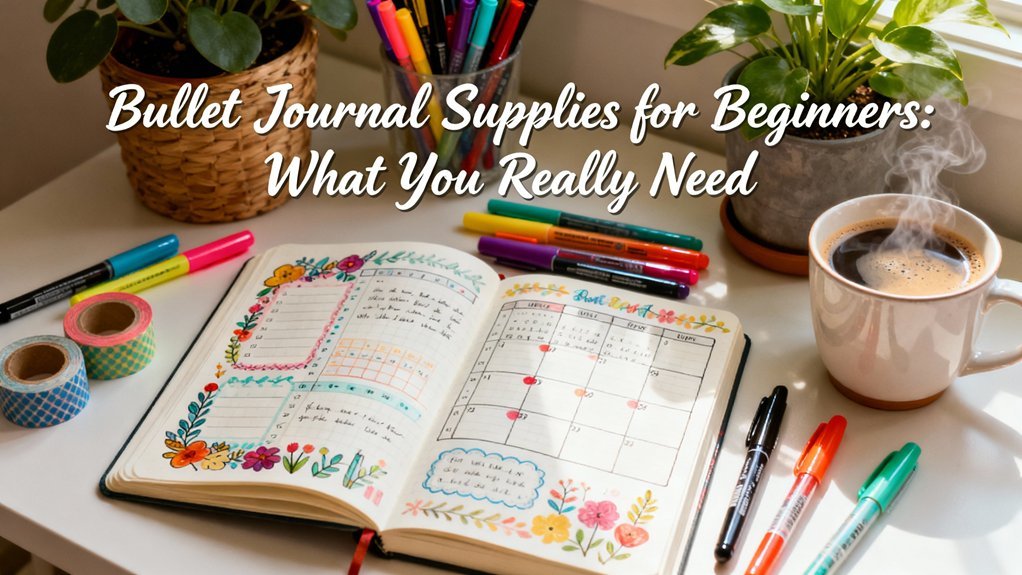
### Materials and Preparation
You don't need fancy supplies to create an effective weekly spread. A notebook, a black pen, and a ruler will get you 95% of the way there.
I recommend starting with just black ink until you find a layout you love. Adding colors and decorations is fun, but it can distract you from figuring out what actually works functionally.
Grab a pencil for initial sketching – you'll want to adjust proportions before committing with ink. And please, please use a ruler. Wonky lines might seem charming, but they'll drive you crazy by Wednesday.
### Layout Planning and Measurement
Before drawing anything, spend five minutes planning your space. What are your actual needs for this week? Do you have more events than usual? Are you working on a big project that needs extra task space?
Here's my standard measurement guide for an A5 notebook:
– Header section: 1 inch from the top
– Daily sections: roughly 2 inches wide by 1.5 inches tall
– Notes section: whatever space remains
But honestly? Adjust these based on your real needs. If you typically have ten tasks per day, make those sections bigger. If you rarely have appointments, shrink the event areas.
### Adding Functional Elements
Start with the bones of your layout – dates and basic sections. Once that foundation is solid, add your functional elements one by one.
I always add my priority section first because it influences everything else. Then habits, then notes areas. Save decorative elements for last, if at all.
Test your layout by filling it in with last week's actual data. Does everything fit comfortably? Are you constantly running out of space in certain areas? Adjust before you commit to this design.
### Decoration and Personal Touches
Here's where you can add personality, but keep it functional. Every decorative element should either help you navigate the page or bring you joy when you look at it.
Simple headers in your own handwriting beat elaborate calligraphy that takes an hour to complete. A small doodle in the corner beats covering the page with artwork that overwhelms your actual content.
Remember: you'll be using this spread all week. It needs to serve you on rushed Tuesday mornings just as well as relaxed Sunday evenings.
## Advanced Weekly Spread Techniques
### Multi-Page Weekly Systems
Sometimes one page just isn't enough, especially during busy seasons or when managing complex projects. Multi-page systems can handle this without becoming unwieldy.
My favorite two-page approach puts planning on the left and tracking on the right. The left page handles tasks, events, and goals. The right page covers habits, notes, memories, and reflections.
For really intense weeks, I'll create a three-page system with a dedicated project page. This is where I break down big deliverables into daily actions and track progress visually.
The key with multi-page systems is clear navigation. Use consistent headers, page numbers, or visual cues so you can quickly find what you need.
### Digital Integration Methods
I'm analog at heart, but I've learned to play nicely with digital tools where it makes sense. My phone calendar handles appointments and reminders, while my bullet journal manages tasks and reflection.
Every Sunday, I do a “data sync” – transferring key appointments from digital to analog and setting up digital reminders for time-sensitive tasks from my journal.
Some people photograph their weekly spreads to have them on their phones. I tested this but found myself getting distracted by other apps. Your mileage may vary.
### Specialized Spreads for Different Lifestyles
Student layouts need heavy-duty assignment tracking and exam preparation space. I recommend dedicating one section to upcoming due dates and another to study schedules.
Professional spreads might prioritize project deadlines and meeting prep. Consider adding a section for key metrics or goals you're tracking at work.
Parents need systems that handle both personal and family logistics. A shared family section alongside your personal planning can prevent scheduling disasters.
Creative professionals benefit from inspiration tracking alongside practical planning. Add small sections for ideas, color palettes, or technique notes.
### Seasonal and Themed Variations
I adjust my weekly spreads with the seasons, both practically and aesthetically. Winter layouts include mood tracking since seasonal depression is real. Summer spreads track outdoor activities and travel planning.
Holiday seasons get their own modifications. December spreads include gift tracking and holiday event planning. Back-to-school season incorporates new routine establishment.
These variations keep bullet journaling fresh while serving your actual seasonal needs. Just don't feel pressured to theme everything – sometimes simple is exactly what you need.
## Troubleshooting Common Weekly Spread Challenges
### Space Management Issues
Running out of space is the most common weekly spread problem I see. The solution isn't always making sections bigger – sometimes it's being more selective about what makes it onto the page.
Try the “parking lot” method I mentioned earlier. Not everything needs to live in daily sections. Some tasks can float in general weekly space and get tackled when time allows.
If you consistently run out of space in certain areas, track this for a few weeks. You might need to redesign your proportions or switch to a larger notebook.
### Consistency and Maintenance Problems
Keeping up with weekly planning requires building it into your routine. I do my weekly setup every Sunday morning with coffee – it's become a ritual I actually look forward to.
If Sunday planning doesn't work, find another anchor point. Some people prefer Friday afternoon setup as a way to wrap up the work week. Others do it Monday morning to ease into the week.
The key is consistency, not perfection. A simple weekly spread you actually use beats an elaborate one you abandon by Wednesday.
### Perfectionism and Flexibility Balance
This one hits close to home because perfectionism nearly killed my bullet journal habit multiple times. Here's what I learned: done is better than perfect, and your journal is a tool, not a performance piece.
If you mess up a spread, keep using it anyway. Cross things out, add extra lines, tape in corrections if needed. Real life is messy, and your planning system should be able to handle that.
Build flexibility into your layouts from the start. Leave buffer space, use pencil for initial planning, and remember that adaptation is a feature, not a bug.
## Maximizing Productivity with Your Weekly Spreads
### Weekly Review and Planning Rituals
The planning ritual is where weekly spreads really shine. I spend about 20 minutes every Sunday reviewing the previous week and setting up the next one.
My review process covers three questions: What went well? What didn't work? What do I need to adjust? This isn't about judgment – it's about data collection for better future planning.
For the upcoming week, I start with non-negotiables – appointments, deadlines, commitments. Then I add my priority goals and finally fill in smaller tasks and activities.
### Integration with Time Management Systems
Weekly spreads play beautifully with other productivity methods. If you're a GTD person, use your weekly spread for weekly reviews and next action planning.
Pomodoro technique users can estimate how many tomatoes each task might take and plan accordingly. Time-blocking fans can sketch out their ideal daily schedules.
The beauty is that weekly spreads are flexible enough to support whatever productivity philosophy works for you.
### Tracking and Analyzing Your Patterns
After a few months of weekly spreads, you'll start noticing patterns. Maybe you're consistently overambitious on Mondays. Maybe Friday afternoons are your creative sweet spot.
I keep simple data about each week – energy level, productivity, major accomplishments, challenges. Nothing fancy, just a few bullet points that help me understand my rhythms.
This data becomes incredibly valuable for planning future weeks. You'll start making better estimates, scheduling important work during your peak times, and building in recovery after intense periods.
Your weekly spread is more than just a planning tool – it's a productivity lab where you experiment with what works best for your unique situation.
## Making It Work for You
Weekly spreads aren't magic, but they're pretty close when you find the right system for your life. After seven years and countless layout experiments, I've learned that the best spread is the one you'll actually use consistently.
Start simple. Pick one basic layout and try it for at least a month before making major changes. Notice what works and what frustrates you, then adjust gradually. Your system will evolve naturally as you figure out what serves you best.
Remember that your bullet journal is for you, not for anyone else. It doesn't need to look like the gorgeous spreads on Instagram (though those are fun inspiration!). It needs to help you stay organized, focused, and sane.
The downside is that your weekly spread can feel overwhelming at first – that's totally normal. When you find that sweet spot where planning feels supportive rather than stressful, you'll wonder how you ever managed without it.
Ready to start? Grab your notebook, pick a simple layout from this guide, and set up your first weekly spread. Don't overthink it. Just begin. Your future, more organized self will thank you.
And hey, if your first attempt isn't perfect? That's exactly how it's supposed to go. The beauty of weekly spreads is that you get 52 chances each year to try again and improve. Now that's what I call a system worth sticking with.
Related Posts
Recommended for You
🛒 Dotted Journal Notebook
As an Amazon Associate we earn from qualifying purchases.

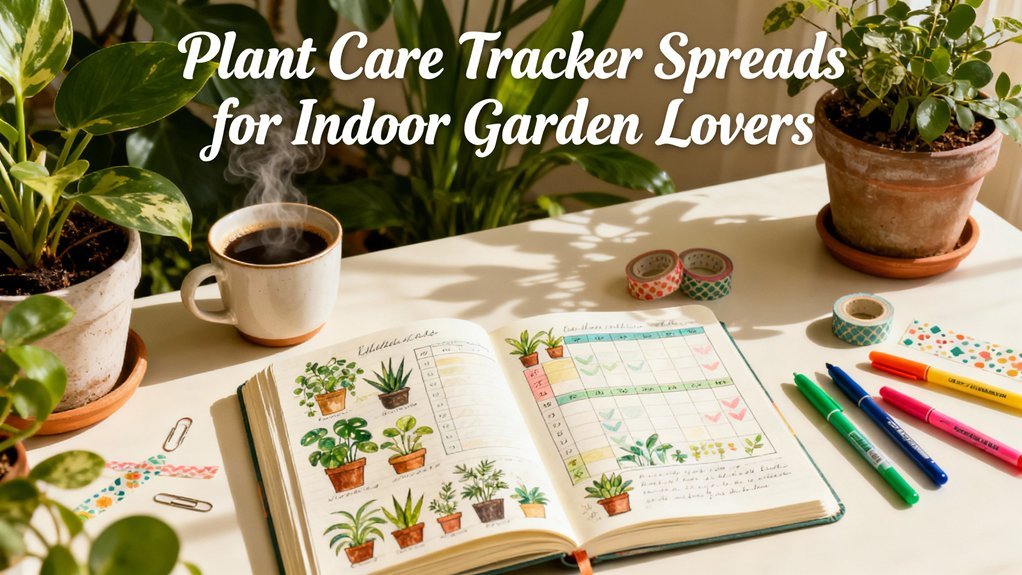
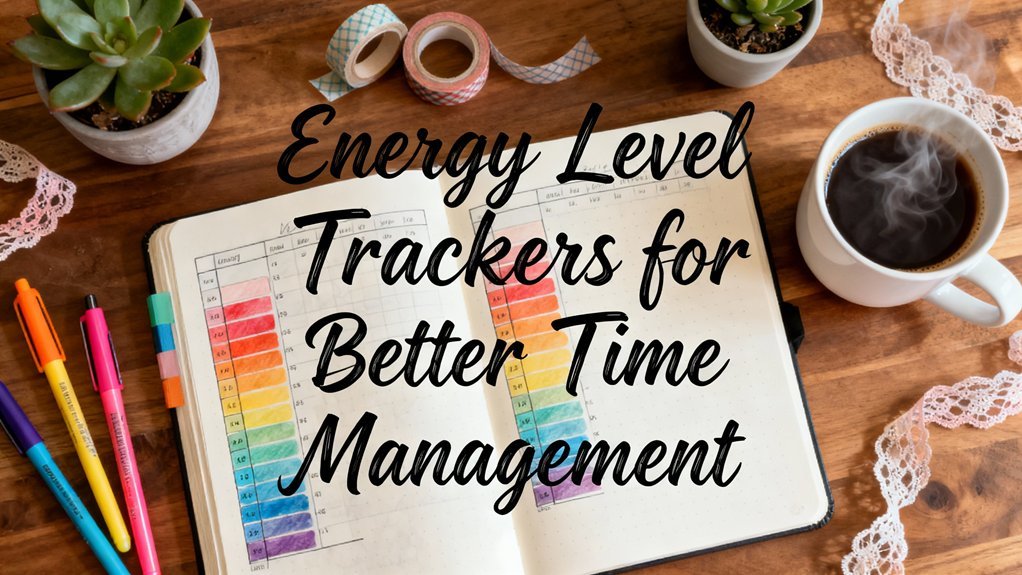
Free Printable Daily Habit Tracker For Bullet Journals
How to Create a Master Task List System
Bullet Journal Supplies List
Morning Routine Checklists That Transform Your Day

Recommended for You
🛒 Fine Tip Pens For Journaling
As an Amazon Associate we earn from qualifying purchases.


Related Posts
Related Posts

Engaging Family Activities for Kids at Home
Engaging in family activities with kids at home is essential for promoting bonding, learning, and development. According to a study by the American Academy of Pediatrics, spending quality time with family can improve cognitive, social, and emotional skills in children. With a little creativity, parents can turn their homes into engaging and interactive environments that foster growth and connection. Some popular family activities for kids at home include arts and crafts, indoor games, cooking, and outdoor play, which can be tailored to suit different ages and interests. By incorporating these activities into daily routines, families can create lasting memories and promote a sense of togetherness.
One of the most significant benefits of family activities is the opportunity for children to develop important life skills, such as problem-solving, communication, and teamwork. For example, cooking together can teach kids about measurements, fractions, and nutrition, while also encouraging healthy eating habits. Indoor games, such as board games or puzzles, can improve cognitive skills, such as critical thinking and strategy. Moreover, outdoor play can promote physical activity, exploration, and an appreciation for nature. By providing a variety of activities, parents can cater to different learning styles and abilities, ensuring that each child feels engaged and included.
In addition to the benefits for children, family activities can also have a positive impact on parents. Engaging in activities with kids can reduce stress, improve mood, and increase feelings of fulfillment. A study by the Harvard Family Research Project found that parents who participate in activities with their children report higher levels of satisfaction and well-being. Furthermore, family activities can provide opportunities for parents to model positive values and behaviors, such as empathy, kindness, and responsibility. By prioritizing family time and making it a regular part of their routine, parents can create a supportive and nurturing environment that benefits everyone.
To get started with family activities, parents can begin by brainstorming ideas and involving their kids in the planning process. This can help ensure that everyone is invested and excited about the activities. Some other tips include setting aside dedicated time for family activities, being flexible and adaptable, and embracing spontaneity and creativity. By following these tips and making family activities a priority, parents can create a positive and engaging home environment that promotes learning, growth, and connection.
Key takeaways include:
- Engaging in family activities can improve cognitive, social, and emotional skills in children and promote bonding and connection.
- Activities such as arts and crafts, indoor games, cooking, and outdoor play can be tailored to suit different ages and interests.
- Family activities can provide opportunities for children to develop important life skills, such as problem-solving, communication, and teamwork, while also promoting physical and emotional well-being.
- Parents can benefit from family activities by reducing stress, improving mood, and increasing feelings of fulfillment, while also modeling positive values and behaviors.
- By prioritizing family time and making it a regular part of their routine, parents can create a supportive and nurturing environment that benefits everyone.
Related Posts
✨ Our Recommendation
Editor's Pick: Boost your weekly spreads with sleek habit tracker stamps—effortless, precise, and perfect for 2025 planning. (120 chars).
Your Weekly Dose of Inspiration
Journaling ideas, family tips, and gentle inspiration.