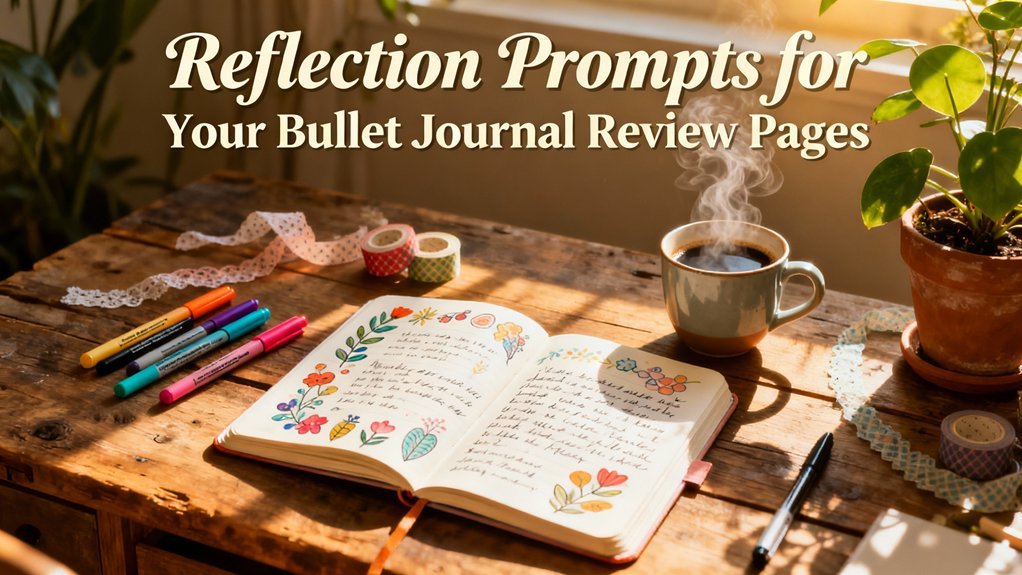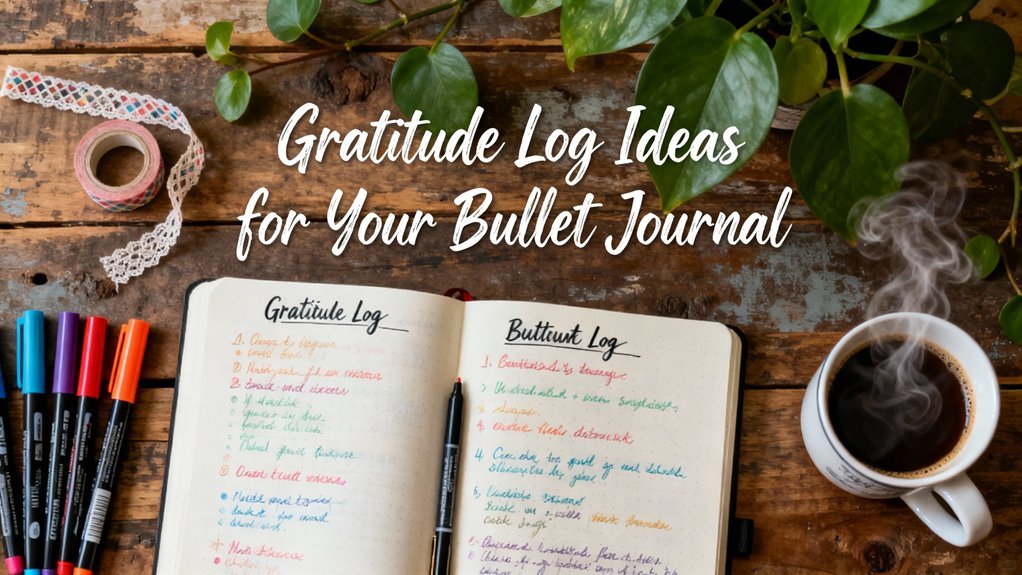
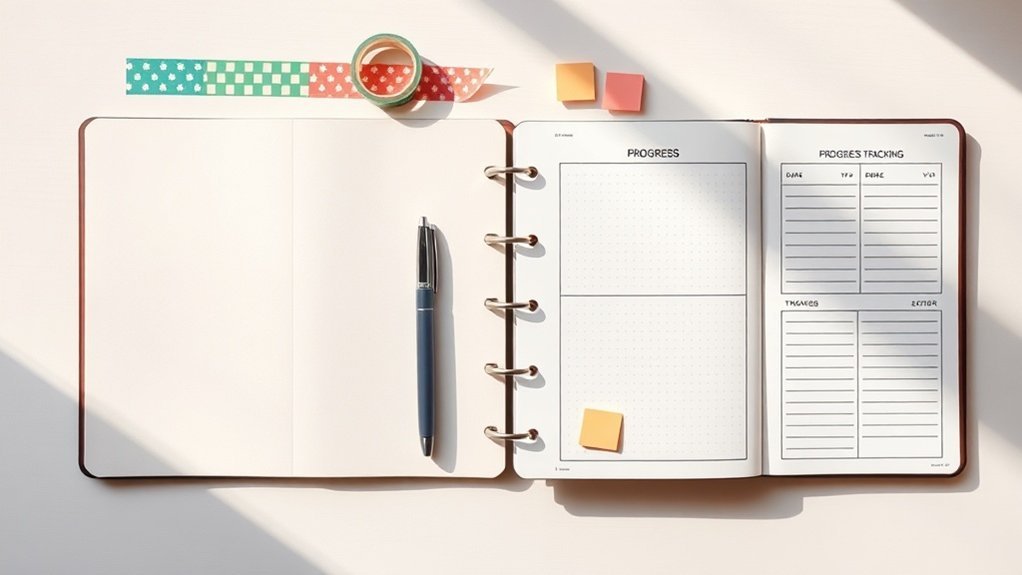
Table of Contents
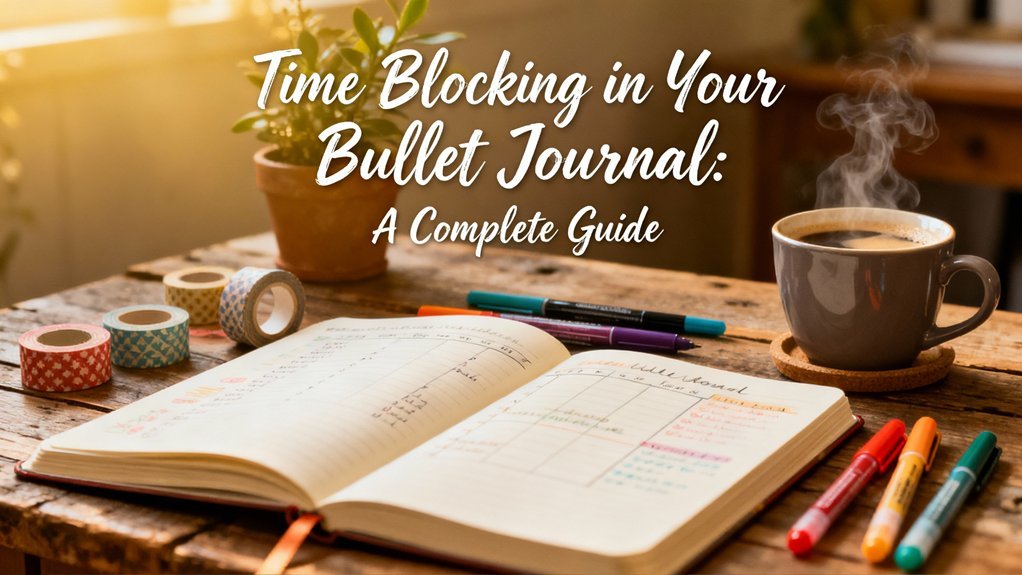
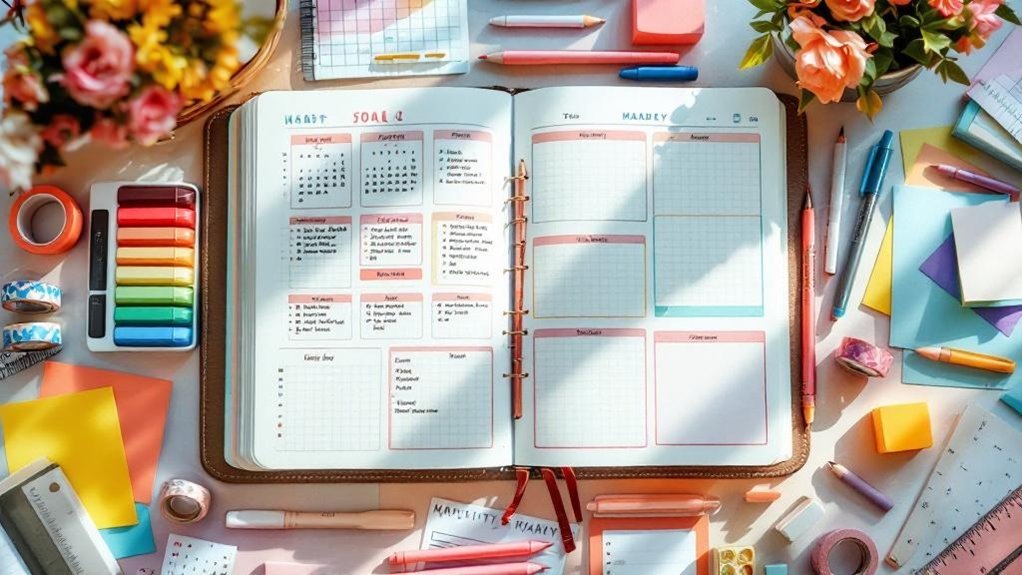
50 Bullet Journal Templates Pack
Ready-to-print spreads for habit tracking, weekly planning, mood logs, and creative layouts.
Staring at a blank page can feel like standing at the edge of a cliff—exciting yet intimidating. But once I found a layout that clicked, I knew I could tackle my multiple goals without feeling overwhelmed. In this guide, you’ll learn how to create a flexible bullet journal system that works for you, no matter your priorities. Trust me, after experimenting with various methods for months, I discovered that the key is in the structure. Start messy—that counts! Let’s turn those scattered thoughts into a thriving system together.
Key Takeaways
- Start with a basic layout using a dotted A5 notebook — it offers flexibility for both structure and creativity, preventing overwhelm.
- Break down your goals into 3 actionable steps each — this makes them manageable and boosts your motivation to tackle them systematically.
- Implement a color-coding system for tracking progress on 5 different goals — visual cues keep you engaged and help you see achievements at a glance.
- Set aside 30 minutes each week for a goal review — regular check-ins let you assess progress and make necessary adjustments to your system.
- Experiment with different layouts and tools like washi tape — embracing imperfection fosters creativity and keeps your bullet journal personalized and enjoyable.
Introduction
Does this sound familiar? You’ve got a million aspirations swirling in your head, and it feels like chaos. Enter the Bullet Journal! It’s not just a notebook; it’s your personal roadmap to organized goals. Here’s the beauty of it: you can make it as artistic or as functional as you want.
Supplies You’ll Need:
- Notebook: Leuchtturm1917 A5 Dotted ($20) or a budget-friendly alternative like the Scribbles That Matter Dotted Notebook ($15).
- Pens: Tombow Dual Brush Pens ($20) or Crayola Supertips ($10).
- Fine Liners: Micron 05 ($3) or a pack of Sharpie Fineliner Pens ($10).
Skill Level: Beginner to Intermediate
The Core Concept
What I love about Bullet Journals is their flexibility. You can create dedicated collections for each of your goals. Want to track your fitness journey? Make a fitness log!
Need a space for your creative projects? That’s a collection waiting to happen.
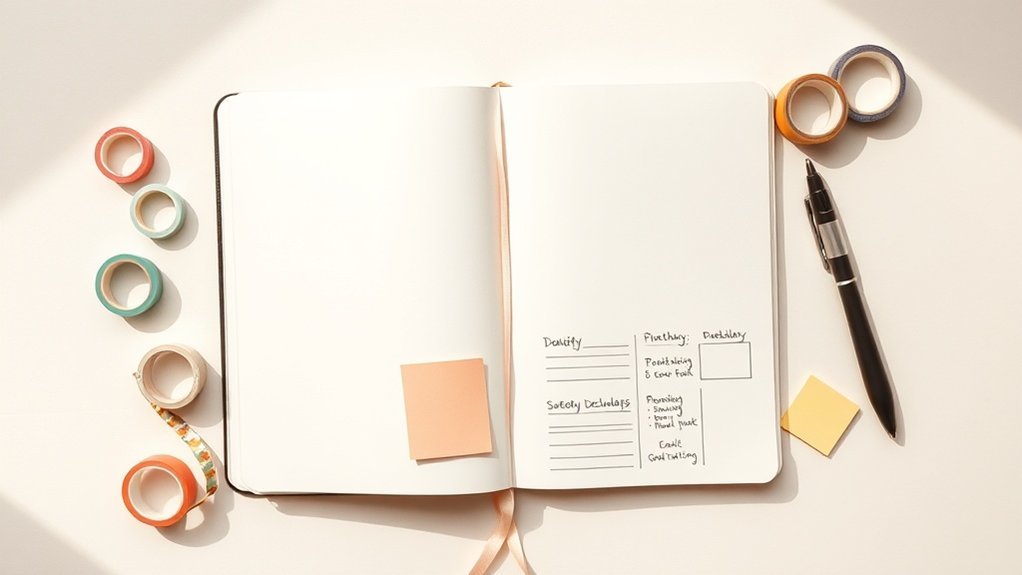
Start by drawing a simple box—let's say 4cm x 6cm—1cm from the left margin with your Micron 05 pen. Inside, jot down your goal. Feel that? That’s clarity starting to take shape!
Personal Perspective
I’ve tried both super decorated pages and minimalist layouts, and honestly, both have their charm.
What stuck for me was a mix: a colorful cover page and simple monthly logs. This way, I get the best of both worlds without the pressure of perfection.
Remember, done is better than perfect!
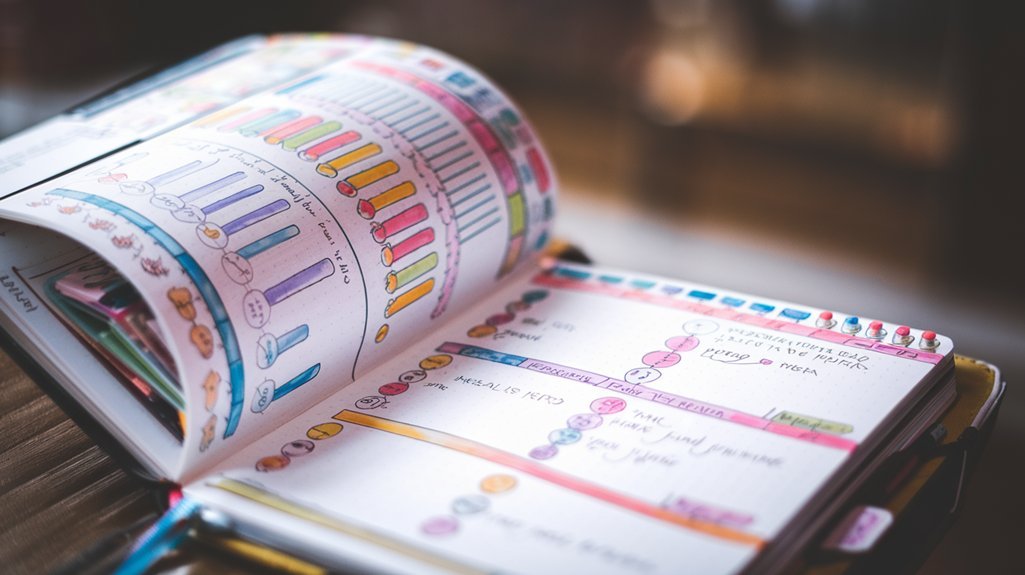
Visual Elements
When it comes to tracking progress, visuals are your best friend. Use a simple chart—draw a 3cm x 3cm grid for each month. Each block can represent a day.
Color in the block when you hit a milestone. This keeps you engaged and provides immediate feedback.
Color Tips: Choose a color scheme that resonates with you. I usually stick to pastels for calmness. You could go with blues and greens to evoke a sense of tranquility.
Engage and Reflect
What’s your go-to method for tracking goals? The mistake most beginners make is overcomplicating their layouts.
Start messy. Just jot down your goals without worrying about aesthetics. Trust me, it counts!
What I’d Do Differently
If I could go back, I’d focus more on simplicity first. Some spreads look amazing but took 45 minutes to create.
Keep it functional!
Action Time: Try This Today!
Pick a single goal for October—maybe it’s improving your morning routine.
Draw a simple tracker, and don’t be afraid to use those Tombow pens to add a splash of color. Write down what works and what doesn’t. Remember, you only need two basic supplies to start bullet journaling effectively!
Understanding the Problem
Feeling scattered and unmotivated often stems from trying to manage multiple goals without a solid system in place.
This chaos can cloud your vision, making it difficult to see what truly matters. Recognizing what's holding you back is crucial; once you understand this, you're well on your way to implementing a Bullet Journal system that brings clarity and purpose to your life. Additionally, tracking anxious thoughts through bullet journaling can help you identify patterns and triggers that contribute to your feelings of overwhelm.
Why This Matters
Why This Matters: Juggling Goals with Your Bullet Journal
Ever felt that rush of overwhelm when you're trying to juggle multiple goals? I totally get it! You find yourself scattered, chasing competing priorities, and it feels like you’re running in circles. When chaos reigns, your productivity takes a hit. You end up pouring energy into disorganization instead of making real progress.
Here’s the game changer: written goal-setting. When you put pen to paper, you’re not just relying on memory or willpower anymore. You’re building accountability for yourself.
What I love about using a Bullet Journal is how it turns that chaos into clarity. By visualizing your goals and breaking them down into bite-sized, actionable steps, you’ll see that big, intimidating goal isn’t so scary after all. You’re focusing on today’s concrete action instead of getting lost in the enormity of it all.
This system isn’t about being perfect—it's about adapting as you go. You want to keep moving toward what truly matters to you, right?
—
Supply List for Your Bullet Journal Goals
- Notebook:
- Leuchtturm1917 A5 Dotted (around $20)
- Budget-friendly: Moleskine Classic Notebook (around $15)
- Pens:
- Tombow Dual Brush Pens (set of 10 for about $25)
- Budget-friendly: Crayola Supertips (set of 20 for around $10)
- Fine Liners:
- Micron 05 (around $3)
- Budget-friendly: Sakura Pigma Micron (around $2)
Skill Level: Beginner to Intermediate
—
Setting Up Your Goal-Tracking Spread
- Choose a Theme: How about a seasonal theme? For October, I love using warm colors like orange, brown, and gold. It keeps it cozy and inviting!
- Layout Your Goals: Start by drawing a 4cm x 6cm box, 1cm from the left margin, using a 0.5mm black pen. This will be your main goal area. Leave a 1cm space below it for your action steps.
- Add Sections: Under your main goal, draw smaller boxes (3cm x 2cm) for each action step. You can fit three of these in the space. Use a lighter pen color for these to create a nice contrast.
- Decorate: Add some doodles or washi tape around the edges. This makes it visually appealing but remember—not every decoration needs to be perfect. Start messy! That counts!
- Track Progress: I like to add a little checklist next to each action step. Use a dot or tick to mark off what you’ve done. It feels great to see that progress!
What I Love About This Approach
I’ve tried both elaborate spreads and minimal layouts. Honestly? There’s beauty in both! It’s about what feels right for you. This particular setup kept me focused for three months straight! It’s all about finding that balance between function and aesthetics.
—
Quick Tip: The Mistake Most Beginners Make
Don’t get caught up in making everything look perfect. I’ve seen friends get stuck trying to make their spreads Instagram-worthy and end up abandoning the whole idea because it felt too daunting. Remember: done is better than perfect. Just start!
Engagement Break: Alternative Approach
If you’re feeling overwhelmed, try a mind map instead! Write your main goal in the center and branch out with action steps. It’s a fun way to visualize ideas and can help spark creativity!
—
Wrapping It Up
What Most People Get Wrong
What Most People Get Wrong About Bullet Journaling
You know that feeling when you first set up your bullet journal? The excitement, the blank pages just waiting for your thoughts? But then, a few weeks later, it feels like a chore, right? Trust me, I’ve been there. You might be cramming everything into a massive list, leaving you overwhelmed and uninspired.
Here’s a tip: instead of trying to tackle everything at once, break those big goals into bite-sized, actionable steps. That way, you can actually track your progress and keep your motivation alive!
What I love about bullet journaling is how it can adapt to our lives. I've tried every system you can think of, and what really helps is using collections—those fun topic-specific sections. They’re like secret weapons for organizing your thoughts and speeding up your progress. Don’t overlook this! It can change the game for you.
Supply List:
- Notebook: Leuchtturm1917 A5 Dotted (around $20) or a budget-friendly alternative like the Scribbles That Matter Dotted Notebook ($15).
- Pens: Tombow Dual Brush Pens (around $25 for a set) or Crayola Supertips ($10 for a set of 50).
- Ruler: A simple clear acrylic ruler ($5) or a budget option like a plastic ruler ($2).
Skill Level: Beginner
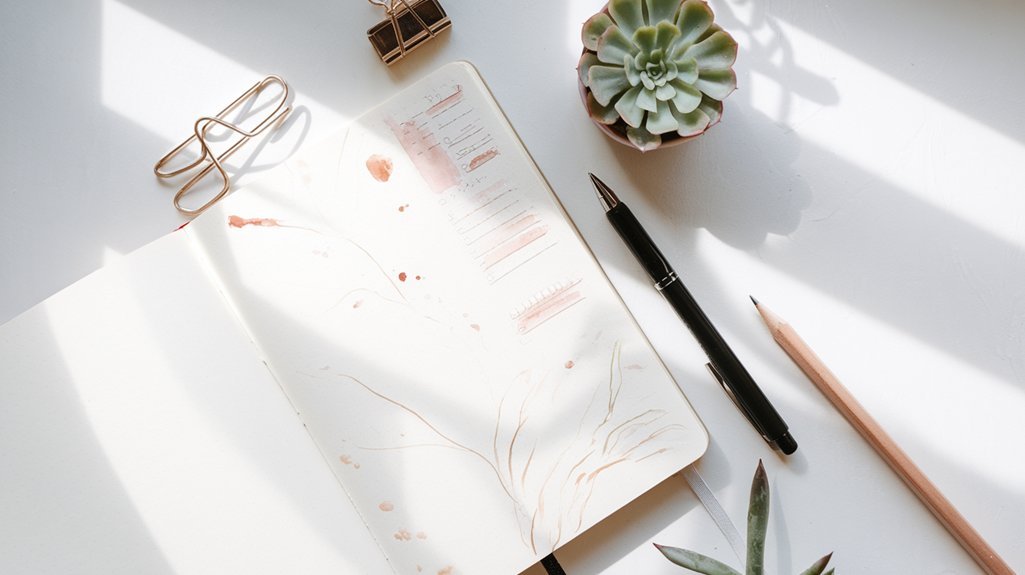
Let’s Talk About Handwriting
Another thing I’ve picked up along the way is how much we rely on digital tools. I know it’s tempting to type everything out, but don’t underestimate the power of handwriting. It really deepens your reflection and helps you remember what you jot down.
I’ve tried both methods, and writing by hand always feels more personal and impactful. Feel that?
And here’s a biggie: having a structured way to track your progress. Without it, you might miss out on celebrating your wins. When I didn’t document my achievements, I lost sight of what was working. I felt discouraged and even abandoned my journal for a bit. Don’t let that happen to you!
Common Mistake Alert
One of the biggest mistakes beginners make is thinking they need to make everything perfect. Remember: done is better than perfect. Start messy! That counts.
Engaging Break
If you’re feeling stuck, try switching it up! Have you ever thought about creating a themed spread for the season? For example, as we transition into fall, why not create a cozy autumn bucket list?
It’ll not only keep things fresh but will also serve as a fun way to track your seasonal goals.
Final Thoughts
Here’s what I want you to try today: grab your favorite pen and a blank page. Sketch out a simple collection for the month ahead. Maybe it’s a gratitude list or a habit tracker.
Whatever it is, let it be your space to celebrate small victories and stay organized. Remember, it doesn’t have to be perfect—it just has to be you!
The Solution: Step by Step
With your foundational structure in place, the next step is to put those goals into action. This is where Implementation comes into play, allowing you to break down your aspirations into manageable, short-term objectives and visual tracking methods. To enhance your tracking effectiveness, consider incorporating habit tracking methods that align with your specific goals.
But what happens when you assess your progress? That’s where Verification becomes crucial, helping you refine your system and focus on what truly works.
Phase 1: Foundation
With your foundational pages in place—Index Page, Future Log, Monthly Log, and Daily Log—you’re set to create a robust framework that organizes your goals.
But what happens when you start using this structure? That’s where the real journey begins, as you explore how to effectively utilize these components to bring your plans to life.
Key Setup Details
Essential Backbone Pages for Your Bullet Journal
Hey there, fellow journaler! Picture this: you’ve got all these ideas swirling around in your head, and you want to keep them organized without stressing over perfection. That’s where your Bullet Journal comes in! Every successful Bullet Journal starts with a solid foundation of essential pages. Let's dive into the must-haves that’ll help you create a system that feels right for you.
Supply List:
- Notebook: Leuchtturm1917 A5 Dotted (around $20) or a budget-friendly option like a basic dotted notebook from a local store (around $5).
- Pens: Tombow Dual Brush Pens (set of 10 for about $25) or Crayola Supertips for a wallet-friendly choice (set for about $5).
- Fineliners: Micron 05 (around $2 per pen) or a pack of Staedtler Triplus Fineliner (around $10 for 10).
Skill Level: Beginner to Intermediate
Index
Start with an Index. It’s your roadmap! I usually leave the first few pages blank to fill in as I go. Just jot down the page number and title of each spread. This makes finding things super easy later on. Trust me, it’s a game-changer.
Future Log
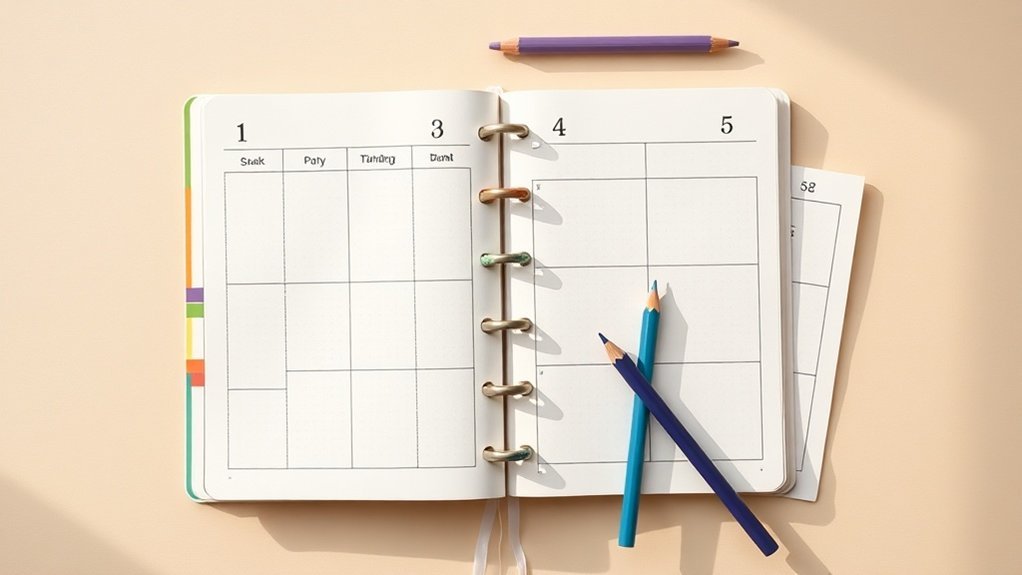
Next up, the Future Log. Here’s where I map out important dates—birthdays, vacations, deadlines. I like to create a 3-month spread, drawing three 6cm x 4cm boxes across the top of a double page. Leave 2cm between each box for some breathing room. Use a different color for each month to make it pop—feel that? It’s all about making it fun!
Monthly Log
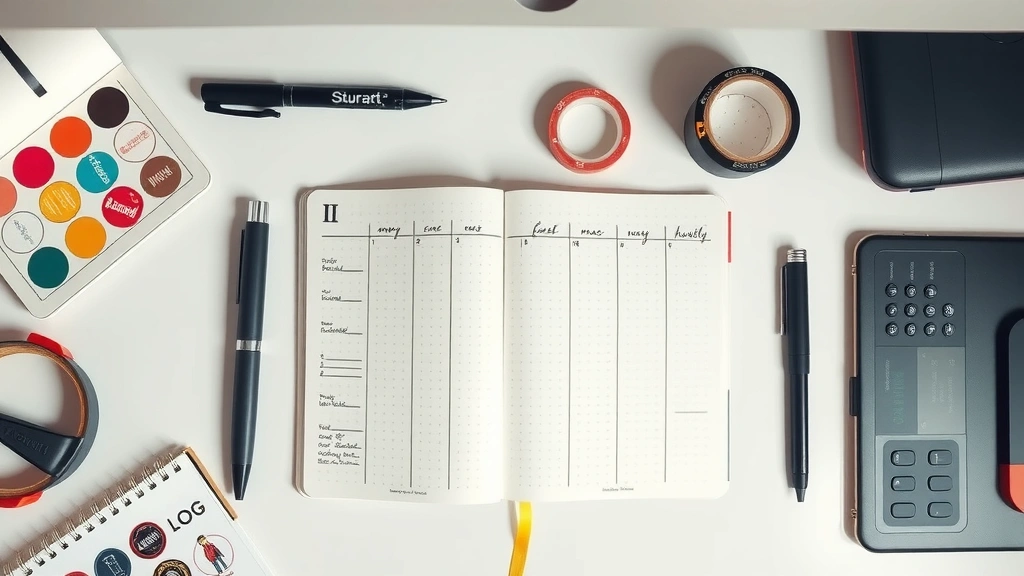
For your Monthly Log, I recommend a simple layout. Draw a 14cm x 20cm box at the top left for the month’s name and a smaller box below it for the days of the month. I usually write the name in big, bold letters, and then list out the days vertically. This helps me see everything at a glance!
Monthly Task List
Your Monthly Task List can be as simple or as jazzy as you like. I typically create a vertical list next to my Monthly Log. Just a 3cm wide column to jot down tasks I want to tackle that month. You can even highlight or circle the most important ones.
Daily Log
Finally, the Daily Log is where the magic happens. I use a big box for each day—about 6cm x 10cm—to jot down tasks, events, and reflections. The key is to keep it flexible. Some days, I doodle; other days, it’s all about function. Start messy—trust me, that counts!
Engaging Break
Thinking about trying a minimalist spread? You can experiment! I’ve done both elaborate and simple layouts, and honestly, what’s worked best is finding a balance. The mistake most beginners make is overcomplicating their designs. Keep it user-friendly!
Personal Touch
What I love about this setup is how it evolves with me. I used this layout for three months, and it stuck because it’s adaptable. If I missed a day, it didn’t stress me out; I could just jump back in.
Give It a Go
So, ready to set up your Bullet Journal? Grab your supplies, and start sketching out these core pages. You can do it! You'll find that having this structure helps with scanability and tracking, making your journaling experience so much smoother.
Try this today: create your Index and Future Log. You’ve got this!
Phase 2: Implementation
With a solid understanding of the foundational elements, it’s time to put those concepts into action. As you embark on this implementation phase, establishing critical checkpoints will be essential.
These checkpoints serve as built-in safeguards, allowing you to identify misalignments early and adjust your approach before habits become entrenched. By intentionally evaluating your progress, you’re transforming your Bullet Journal from a static tool into a dynamic system that adapts to your evolving needs.
Critical Checkpoints
Critical Checkpoints: Your Bullet Journal‘s Best Friend
Ever felt like you’re sprinting toward your goals but just hoping you’re on the right path? I’ve been there! After mapping out your goals and breaking them into actionable steps, it’s time for a game changer: critical checkpoints. These are those golden moments when you pause, take a breath, and assess where you stand.
Weekly Checkpoint Sessions
You might be wondering how to fit this into your busy life. I get it! But trust me, scheduling weekly reviews can work wonders. You’ll evaluate your momentum, spot those pesky obstacles, and recalibrate your strategies.
Think of it as a mini celebration of your progress. What I love about this is it turns your bullet journal from just a planner into a dynamic tool that adapts to your life’s twists and turns.
Keeping It Real
Start messy. That counts. I remember experimenting with different layouts for tracking my goals, and some days, I just scribbled notes! The key is to make it personal and functional.
Here’s a quick supply list to help you set up those checkpoints:
- Notebook: Leuchtturm1917 A5 Dotted (around $20) or a budget-friendly option like the Scribbles That Matter Dotted Notebook (about $14).
- Pens: Micron 05 for precise writing (around $2) or a set of Papermate Flair Felt Tip Pens (about $10 for a pack of 8).
- Stickers or Washi Tape: For a fun touch. Try the Happy Planner Stickers ($20) or a budget option like a basic washi tape set from Amazon ($8).
Skill Level: Intermediate (comfortable with rulers and hand lettering)
Checkpoint Layout Idea
- Create a header: Use a bold pen to write “Checkpoint” at the top of your page. I like to use a 2cm high font. You can even doodle a little banner around it for flair!
- Divide the page: Draw a vertical line down the center. You’ll have two columns: one for “Progress” and one for “Next Steps.”
- Progress Column: List out what you’ve accomplished this week. Use bullet points and colorful markers to highlight major wins — it makes it visually rewarding!
- Next Steps Column: Write down what you need to adjust or focus on next. Keep this concise; I usually stick to 3-5 points.
Visual Elements Matter
Your layout should be functional and pretty. Use color coding for different goals or themes. For example, I love using a soft blue for personal goals and a vibrant orange for work tasks.
This not only makes your journal visually appealing, but it also helps with scanability. When you flip through, your eyes will naturally land on the colors that matter to you.
Engagement Break
Feeling overwhelmed? Here’s a tip: The mistake most beginners make is overloading their checkpoints with too much information. Keep it simple! Focus on what really matters.
Staying Flexible
I’ve tried both detailed and minimalist approaches for these checkpoints. What I found works best? A blend! You’ll want to make adjustments as needed.
Maybe one week, you’ve got a lot to say, and the next, just a few notes will do. That’s totally okay.
Try This Today
Ready to give it a shot? Set aside 20 minutes this week to create your checkpoint layout. Embrace the process, and remember: it's all about progress, not perfection. Your bullet journal is there to serve you, so let it reflect your journey!
Phase 3: Verification
You'll know your bullet journal system‘s working when you see consistent progress toward your goals and catch incomplete tasks before they derail your priorities.
By conducting monthly reviews and migrating unfinished items, you’ll gain clear visibility into what’s actually moving you forward versus what’s just taking up space. Your visual trackers and signifiers become the proof—they show you exactly where you've succeeded and where you need to adjust your approach.
So, how do you ensure that this system continues to evolve and adapt to your needs?
This is where the verification phase comes into play, guiding you in assessing your progress and refining your strategies for even greater success.
How to Know It Worked
How to Know If Your Bullet Journal is Really Working
Hey there, fellow journaler! Have you ever flipped through your Bullet Journal and wondered, “Is this actually helping me?” You’re definitely not alone! I’ve had my fair share of trial and error over the years. Let’s dive into how to check if your system is really driving you toward your goals.
Core Technique: Monthly Goal Tracking****
Here’s a fun way to track progress: compare your completed short-term goals to your long-term objectives each month. I like to create a simple chart or table for this. It takes just a few minutes but gives you a clear visual of where you stand.
Supplies You’ll Need:
- Dotted Notebook: Leuchtturm1917 A5 Dotted (or budget-friendly alternative: a basic grid notebook)
- Pens: Tombow Dual Brush Pens (or budget-friendly alternative: Crayola Super Tips)
- Ruler: Any standard ruler will do!
Skill Level: Beginner
- Set Up Your Layout: Draw a rectangle measuring 10cm x 15cm on a fresh page, about 2cm from the top. Divide it into sections for each week of the month.
- Color Code: Pick 3 colors that resonate with you. Maybe green for goals achieved, yellow for in progress, and red for goals that need more love.
- Track Progress: Each week, fill in the sections with the appropriate colors based on where you stand.
What I love about this is that it’s both functional and artistic! You can even doodle around the edges or add stickers to make it feel special.
Set Measurable Success Criteria****
You'll want to define what success looks like for each goal. It doesn’t have to be complicated! For instance, if one of your goals is to read more, setting a target of “two books a month” is a solid start.
Document Your Strategies
As you track your goals, jot down which strategies worked and which didn’t. I’ve abandoned goals that initially seemed promising but turned out to be a total bust. What’s important is to learn from them.
Engagement Break: Common Mistake Alert!
One mistake I see newbies make isn't being honest about what’s working. If you find yourself consistently coloring in the red section, it might be time to rethink that goal. Don’t be afraid to adjust your expectations or methods!
Reflect and Refine
Every month, take some time to reflect. Is your Bullet Journal driving you toward your dreams, or do you need to make some tweaks? This feedback loop is your best friend! It’ll reveal whether your system is genuinely helping or needs a little love.
Try This Today:
Grab a fresh page and set up your monthly goal tracker. Don’t worry about it being perfect; just get it down! Remember, done is better than perfect. You’ve got this!
Happy journaling!
Pro Tips From Experience
Pro Tips for Your Bullet Journal Journey
You know that moment when you sit down with your Bullet Journal, and it feels both exciting and a bit overwhelming? I've totally been there! You're investing time, so let’s make it count. Here’s how to prioritize goals that uplift your happiness while keeping your system effective and fun.
1. Break Down Your Goals
Start by taking those big dreams and breaking them into five achievable, short-term objectives. It’s like building momentum with little wins!
What I love about this approach is that it keeps you motivated and feeling accomplished. You can celebrate those small victories, and let me tell you, they add up!
2. Use Visual Progress Trackers****
Ever tried visual trackers? They’re game-changers! Think bar graphs, habit charts, or milestone markers.
Turning abstract goals into something you can see makes them feel more real. Grab some colorful Tombow Dual Brush Pens or even some basic Crayola markers to bring them to life.
Feel that? It’s inspiring to watch your progress unfold.
3. Monthly Migrations
I can’t stress enough how helpful monthly migrations have been for me. Take a moment each month to reevaluate those incomplete tasks.
Ask yourself, “Does this align with my vision?” If not, it might be time to let it go. This process has saved me from feeling bogged down by clutter in my journal.
Get Organized with Collections
Creating specialized collections for different life areas can be a lifesaver. Whether it’s a fitness tracker, a reading list, or a mood log, consolidating related information helps streamline your decision-making.
It reduces cognitive load, making it easier to focus on what truly matters. Trust me, intentional design can lead to greater consistency and success.
Supplies You’ll Need:
- Tombow Dual Brush Pens (Budget-friendly: Crayola Markers)
- Leuchtturm1917 A5 Dotted Notebook (Budget-friendly: Strathmore 400 Series Sketchbook)
- Micron 05 Pens for fine detailing (Budget-friendly: Paper Mate Flair Pens)
Skill Level: Intermediate (you’re comfortable with basic layouts and hand lettering).
Let’s Dive into a Monthly Tracker
Here’s a quick step-by-step to create a visual tracker for your goals:
- Draw a 5cm x 20cm rectangle on a fresh page, about 2cm from the top. This is your tracker space.
- Divide it into five equal sections (4cm each) by drawing light pencil lines.
- Label each section at the top with your short-term goals using a Micron pen. Use fun lettering to make it pop!
- Color in the sections as you complete tasks. I love using a gradient effect—it’s satisfying to see the progress!
This design not only looks great but also makes it super easy to scan and track your achievements.
Common Pitfall
The mistake most beginners make is thinking every spread has to be perfect. It doesn’t!
Start messy—what matters is that you’re journaling and making it work for you. Remember, done is better than perfect.
Try This Today
Take a few minutes to jot down your ambitious goals and break them into short-term objectives.
Recommended for You
🛒 Dotted Journal Notebook
As an Amazon Associate we earn from qualifying purchases.
Create a simple visual tracker for one of those goals and see how it feels to watch your progress unfold. You’ve got this!
Before and After: What to Expect
Before and After: What to Expect with Your Bullet Journal
When you're juggling scattered notes and mental to-do lists, it can feel overwhelming, right? I've been there! Transitioning to a structured Bullet Journal system is like a breath of fresh air. You’ll feel that shift instantly as your hazy goals morph into clear, actionable tasks. It’s all about making things easier for yourself. You’ll find your focus sharpens with intentional categories and priorities. Less decision fatigue means more creative energy!
| Aspect | Before | After |
|---|---|---|
| Goal Clarity | Vague aspirations | Specific, trackable objectives |
| Organization | Scattered across platforms | Centralized system |
| Motivation | Inconsistent progress | Visual motivation through charts |
| Reflection | Sporadic self-assessment | Regular, intentional reviews |
What I love about this shift is that it encourages consistent reflection. You’ll be able to reassess and tweak your strategies dynamically. Those visual tracking methods—like bar graphs and cute progress doodles—really do turn abstract progress into satisfying, measurable wins. You’ll find yourself gaining accountability and mindfulness around your goals, which is super rewarding!
Supplies You'll Need
- Notebook: Leuchtturm1917 A5 Dotted (around $20) or a budget-friendly alternative like a Scribbles That Matter Dotted Notebook (about $15).
- Pens: Tombow Dual Brush Pens for vibrant colors (around $10) or Crayola Super Tips (about $6).
- Ruler: A standard clear acrylic ruler (around $5) or a simple plastic ruler (about $1).
- Stickers: Functional sticker packs (around $5) or print-your-own stickers (free templates online!).
Skill Level: Intermediate
You’re comfortable with rulers and hand lettering, so let’s dive in!
Your New Layout
- Goal Tracker: Start with a 10cm x 15cm rectangle on your page, about 2cm from the top. Divide it into three horizontal sections, each 5cm high. Use a Micron 05 pen for clean lines.
- Category Titles: Write “Goals,” “Progress,” and “Reflection” at the top of each section in a fun, hand-lettered style. You can even use a Tombow brush pen for that extra flair!
- Visual Tracking: Under “Progress,” create a mini bar graph. Each bar should be 1cm wide and spaced 0.5cm apart. Choose colors that inspire you—maybe a gradient from green to blue.
- Reflection Space: Leave the last section for notes. Jot down thoughts or adjustments each week. It’s a game changer to see what works!
Engage with Your Journal
Feel that? That’s the excitement of planning! But here’s a common mistake: many people overcomplicate their layouts. Remember, start messy! Done is better than perfect, and you can always refine it later.
This new setup isn’t just pretty; it’s functional. Each design choice improves scanability and daily usability. You’ll find it easier to track your goals visually, which keeps you motivated.
Try This Today
Pick a quiet moment, grab your supplies, and create your first goal tracker. Don’t worry about perfection—just let it flow! This small step can make a huge difference in how you approach your goals. Give it a go, and enjoy the magic of the Bullet Journal!
Your Next Steps
Your Next Steps: Creative Goal Tracking
Supply List:
- Notebook: Leuchtturm1917 A5 Dotted ($20) or a budget-friendly alternative like a basic dotted journal ($10).
- Pens: Tombow Dual Brush Pens ($10 for a set) or Crayola Supertips ($7 for a pack).
- Ruler: A simple 12-inch ruler ($2) or a clear acrylic one ($5).
- Sticky Notes: Any colorful sticky notes ($3) or budget-friendly generic ones ($1).
Skill Level: Intermediate (comfortable with rulers and hand lettering)
—
You’ve just built your tracker—how exciting! But now it’s time to fill it with those big dreams of yours. Start by jotting down every single aspiration you have. No filters, just let your thoughts flow! It’s like a brain dump but for your goals.
Feel that? That rush of possibility! Once you’ve got everything down, it’s time to play the game of prioritization. Look at your list and ask yourself: What’s actually achievable right now? What resonates with you most? Focus on a handful of goals to keep from feeling overwhelmed. I mean, who wants to drown in a sea of aspirations?
Break It Down
Now, let’s take those priority goals and break them into five concrete short-term objectives. This makes vague dreams into clear action items. For example, if one of your goals is to “get fit,” your short-term objectives could be:
- Join a local gym.
- Attend a class twice a week.
- Meal prep every Sunday.
- Walk 10,000 steps daily.
- Track my workouts in my journal.
What I love about this method is that it transforms an overwhelming goal into bite-sized, manageable pieces. You can check them off along the way, which feels amazing!
Visualize Your Progress
Next up, let’s create a visual map of your goals. This can be as artistic or minimalist as you want. Draw a colorful mind map or a clean flowchart. Use a ruler for straight lines and keep your typography clear.
Consider color coding your priorities—maybe red for urgent, blue for long-term. This not only looks great but helps you see where you’re at a glance.
Be sure to include milestones too. If you’re aiming for that gym goal, a milestone could be running a 5K or hitting a weight target. Keep it fun and motivating!
Design Your Tracker
Now, let’s talk about your progress tracker. You want something that vibes with you—maybe a bar graph, some fun doodles, or even a pie chart. My go-to is a combination of doodles and simple graphs.
Draw a horizontal bar for each goal and fill in the color as you make progress. It’s visually satisfying to see those bars fill up!
Here’s a tip: Keep it flexible. As you evolve, don’t hesitate to refine your system. You might find that doodling every day becomes a chore, or perhaps you want to switch up your color scheme. That’s totally okay—what matters is that it works for you.
Quick Recap
Here’s what I’ve learned over the years: Start messy. You don’t need to have everything perfect from the get-go. Remember, “done is better than perfect.”
The mistake most beginners make? They try to make everything look flawless instead of focusing on function. Don’t let that stop you!
Try This Today
So, grab your supplies and start brainstorming! List out your goals, prioritize, and break them down. You’ve got this!
Frequently Asked Questions
What to Put First Few Pages of Bujo?
What should I put on the first few pages of my bullet journal?
Start with an Index Page to guide you through your journal—it's your navigation hub! Spend about 10 minutes setting it up.
Next, create a Future Log for upcoming events; this takes around 15 minutes.
For a broad overview, add a Monthly Log; it’ll take another 15 minutes.
Use a dotted A5 notebook like the Leuchtturm1917 ($20) for maximum flexibility. Remember, it doesn’t have to be perfect!
How do I organize my monthly tasks?
You’ll want to establish a Monthly Task List to align your goals with what’s realistic. This setup should take about 20 minutes.
Just jot down tasks you want to tackle that month.
Consider using the Muji Gel Ink Pen ($10 for 5) for smooth writing.
Don’t stress about making it look perfect—what matters is getting it done!
What about my daily log?
Setting up a Daily Log is key for meaningful tracking. Allocate about 15 minutes to set this up, then just 30 seconds daily to fill it in.
Use a simple layout with the date and a few bullet points for tasks.
A budget-friendly notebook like the Scribbles That Matter ($15) works well.
Embrace the messiness; it’s all part of the process!
What's the Difference Between a Bujo and a Journal?
Q: What's the main difference between a Bullet Journal and a regular journal?
A: Any notebook works — but a dotted A5 gives you the most flexibility. Bullet Journals focus on structured organization with tasks and daily logs, while regular journals are more about freeform writing.
Try using a Leuchtturm1917 Dotted Notebook ($20) for a great balance of function and style.
Q: How much time does it take to set up a Bullet Journal?
A: About 20 minutes once you have the layout figured out, 45 minutes the first time. Start with basic collections like a monthly overview and a habit tracker.
This can streamline your planning and make daily fills quicker. A simple setup with a Moleskine Classic Notebook ($18) can work wonders.
Q: Can I still express myself in a Bullet Journal?
A: Absolutely! You can mix both structure and creativity. Spend 10-15 minutes decorating your spreads with washi tape or doodles.
Use Tombow Dual Brush Pens ($25 for 10) for vibrant colors, or Crayola Supertips ($6 for 20) for a budget option that looks great too!
Q: How often do I need to update my Bullet Journal?
A: You’ll want to spend 15 minutes weekly to set up your coming week and 30 seconds daily to fill in tasks.
This keeps you on top of everything! Using a Rhodia Dot Pad ($10) can make daily reflections simple and effective.
Q: Is it okay if my spreads aren’t perfect?
A: Definitely! It’s all about finding what works for you. Don’t stress over perfection; just embrace the process.
If you take 5-10 minutes to set up a spread without pressure, you’ll enjoy the journey more. A simple notebook like the Scribbles That Matter ($19) allows for easy corrections!
What Is the Bullet Journal Method of Goals?
Q: What’s the best notebook for bullet journaling?
Any notebook works — but a dotted A5 gives you the most flexibility. It’s perfect for layouts and doodles alike.
Try the Leuchtturm1917 Dotted Notebook ($20) for quality, or go for the Scribbles That Matter ($15) for a budget-friendly option.
—
Q: How long does it take to set up my first bullet journal?
About 45 minutes the first time, but once you have your layout figured out, it’ll only take around 20 minutes.
Start with a simple index and monthly logs to keep it manageable.
—
Q: How do I track my goals effectively?
You’ll want to break each goal into bite-sized tasks you can tackle weekly.
Use checkboxes or habit trackers to keep it visual and motivating. A simple habit tracker can take just 15 minutes to set up and 30 seconds daily to fill in.
—
Q: What supplies do I need for bullet journaling?
You don’t need much to start! A good pen like the Muji Gel Pen ($5 for 3) makes writing smooth and enjoyable.
For color, try Tombow Dual Brush Pens ($25 for 10) or Crayola Supertips ($6 for 20) — they work nearly as well for beginners.
—
Q: How can I stay accountable to my goals?
Tracking your progress visually is key! Use checkboxes for tasks and a monthly overview to see your wins.
Setting aside 10 minutes weekly to review can keep you on track and motivated.
Conclusion
Go for it! Remember, it's totally okay if things aren’t perfect—start messy. Grab your journal and a single black pen. On the next blank page, sketch a simple 2×3 grid for your first weekly tracker. Fill in today’s column with your progress, and just like that—you're done!
Now, take a moment to reflect on what you accomplished this week. Next time, try adding a color-coded system for your goals or a habit tracker to see how you're progressing. You'll be amazed at how this little system boosts your motivation!
Related Posts


Related Posts
Related Posts
Related Posts
Related Posts
✨ Unlock creative energy with spiritual tools:
- AI Spell Generator – Create Personalized Intention Rituals
- Free Tarot Reading – Unlock Creative Inspiration
- Crystal Encyclopedia – Crystals for Creativity & Focus
Powered by Luna's Circle — Free Tarot, Spells & Spiritual Tools