- 1. Choose the Right Notebook for Your Style
- 2. Master the Pen Game: What Actually Works
- 3. Design Layouts That Save Time (and Frustration)
- 4. Habit Tracking Hacks That Actually Work
- 5. Decoration vs. Function: Where to Spend Your Time
- 6. Digital Integration: The Best of Both Worlds
- 7. Common Mistakes and How to Fix Them
- 8. Time-Saving Techniques for Busy Weeks
- Frequently Asked Questions
- What’s the best notebook for beginners?
- How do I stop my journal from looking messy?
- How often should I set up a new spread?
- Related Posts
Disclosure: This post contains affiliate links. If you click through and make a purchase, we may earn a small commission at no extra cost to you. Thank you for supporting this site!
Have you ever spent an hour on a weekly spread only to abandon it by Wednesday? I’ve been there—more times than I’d like to admit. After filling over 20 journals (yes, I counted), I’ve learned that bullet journaling isn’t about perfection; it’s about a system that actually works for you. This guide cuts through the Pinterest-perfect noise and gives you real, tested tips and tricks that save time, reduce frustration, and make your journal a tool you’ll actually use. Whether you’re a newbie or a seasoned planner, these strategies will help you create spreads that are both beautiful and functional without the burnout.
1. Choose the Right Notebook for Your Style
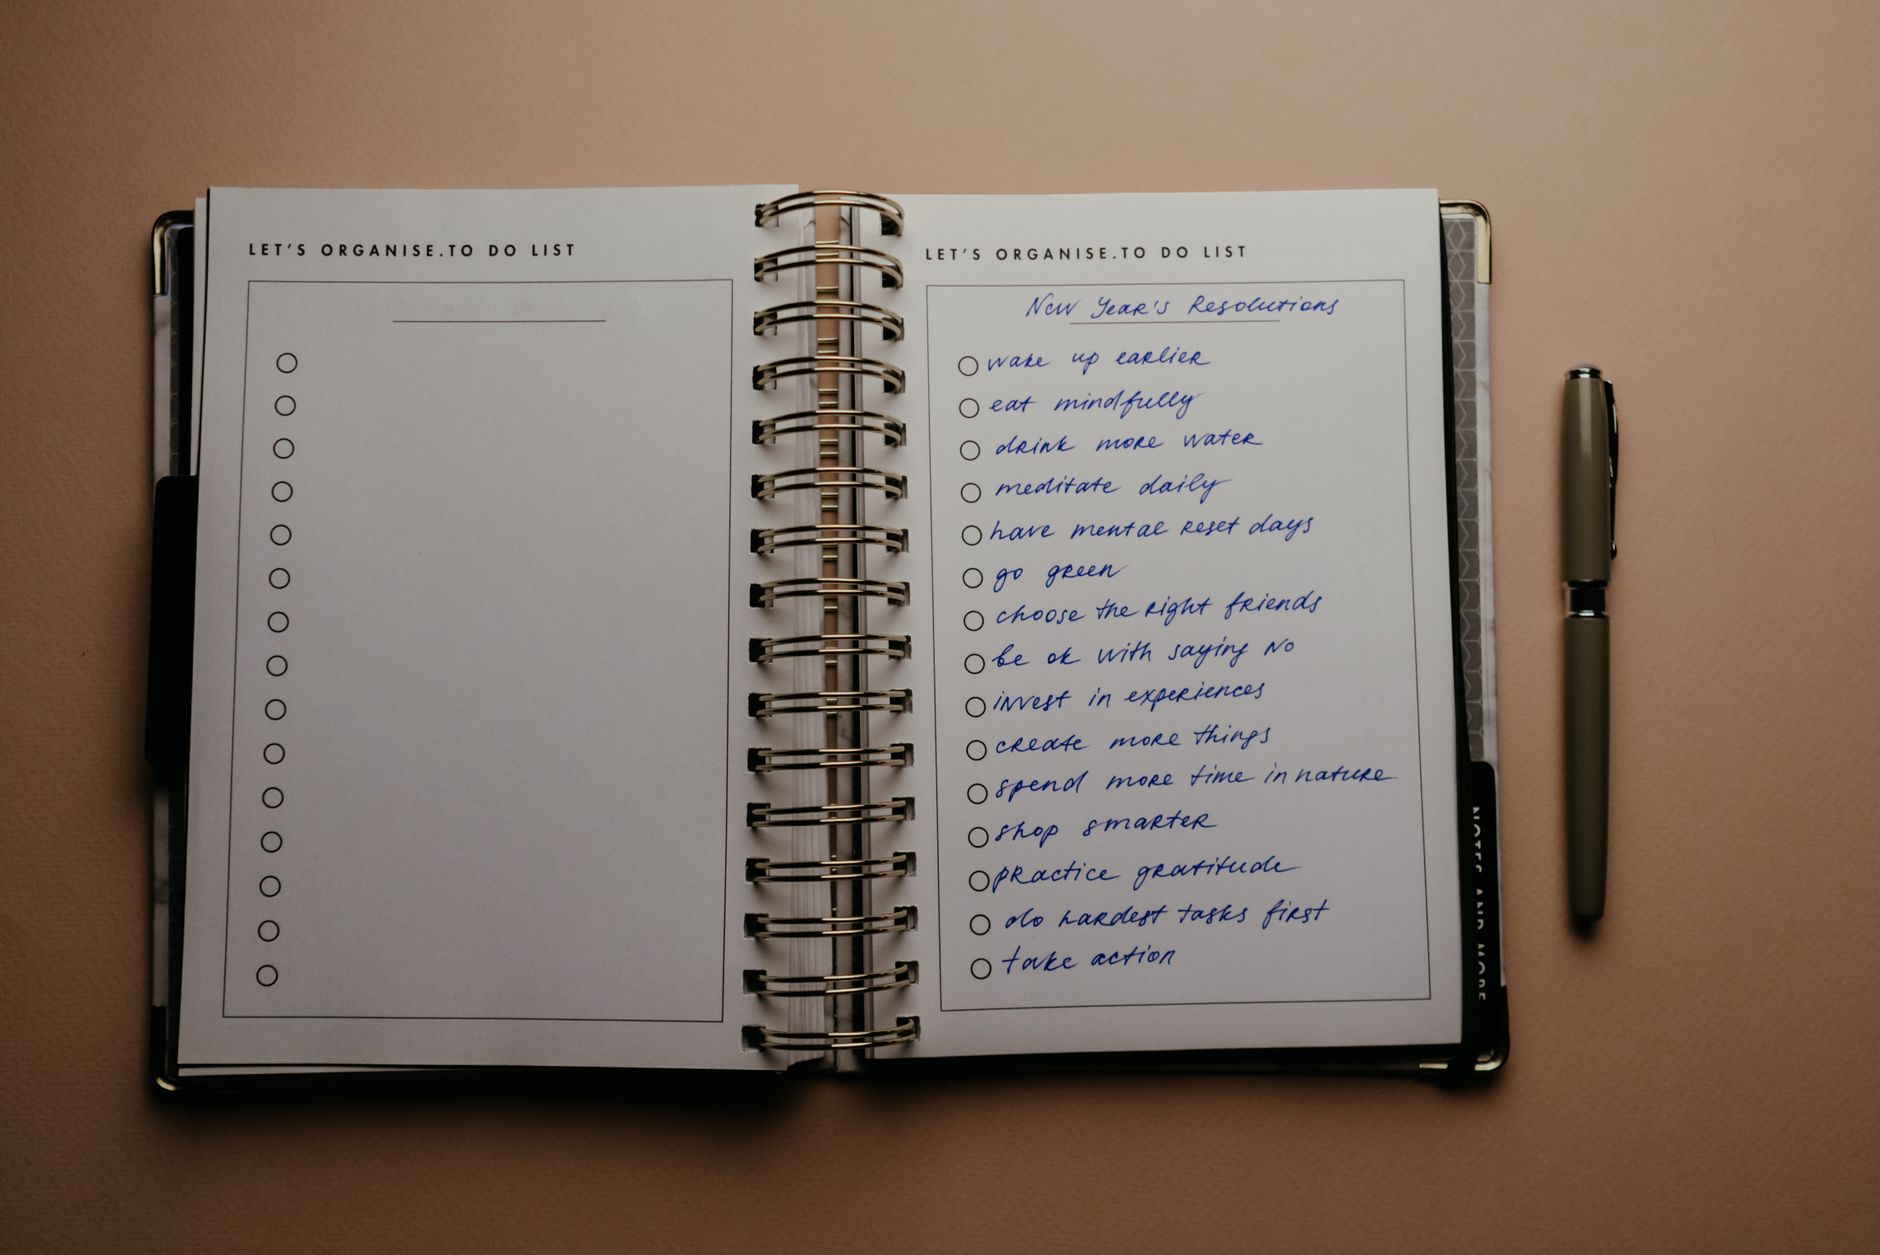
Not all notebooks are created equal. I’ve tested Leuchtturm1917 (the classic), Scribbles That Matter (great for heavy ink), and a plain Moleskine. The Leuchtturm1917 has 249 numbered pages with an index and two bookmarks—perfect for structured collections. But if you use Tombow Dual Brush pens heavily, the 80 gsm paper ghosts badly. Scribbles That Matter uses 100 gsm paper, so ghosting is minimal, but it’s thicker and heavier. For a budget option, try an Archer & Olive (160 gsm) which handles water-based markers beautifully. The key is the dot grid spacing: 5mm is standard, but some prefer 4mm for denser layouts. I switched from Leuchtturm to Scribbles That Matter because my Tombow markers bled through—now I use Micron 05 pens for lines and Tombow only for headers.
Spend $20–$30 on a notebook you’ll use daily; it’s worth it. Time to pick: 15 minutes in a store or browsing reviews. Don’t overthink it—start with any dotted notebook and upgrade later. The real trick is to commit to one for at least three months before switching.
2. Master the Pen Game: What Actually Works
Your pen is your most important tool. I’ve tried dozens, and my go-to combo is: Micron 05 (0.5mm) for fine lines and drawing, Tombow Dual Brush (N15, N95, and a few colors) for headers and accents, and a Uni-ball Signo 0.38 for everyday writing. The Micron is waterproof and dries instantly—perfect for spreads you’ll color later. The Tombow brush tip lets you create calligraphy-style headers in 30 seconds. But here’s a mistake I made: using a 0.8mm pen for daily logging. It bled through and made my journal look messy. Stick to 0.38–0.5mm for text.
For color coding, use the Tombow Dual Brush in pastel shades (like 055, 243, 373) for a soft look. Each pen costs about $4–$6, and a set of 10 lasts me 6 months. Sharpie Pens are cheaper but fade over time—I stopped using them after my notes became unreadable. Also, avoid gel pens with glitter; they clog and smudge. Test your pens on the last page of your notebook before committing to a spread.
3. Design Layouts That Save Time (and Frustration)
Weekly spreads can take 45 minutes if you’re fancy, but I’ve perfected a 10-minute version. Use a ruler and Micron 05 to draw a vertical line dividing the page into thirds. Label Monday through Sunday in the left two-thirds, and use the right third for a to-do list and notes. That’s it. No boxes, no washi tape. I tried elaborate layouts with boxes for each day—they looked great but took forever to fill. The minimalist approach forces you to write only what matters.
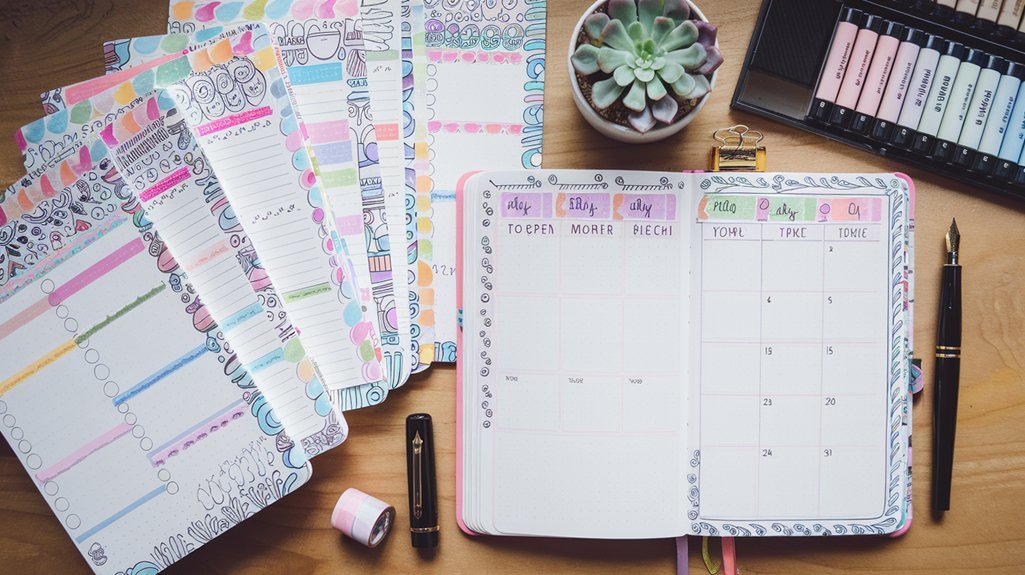
For monthly spreads, use a calendar block of 5 columns by 6 rows (each cell 1cm x 1cm). That fits 31 days in a 5cm x 6cm space. Add a habit tracker below with 8 rows (e.g., water, exercise, sleep) and 31 columns. Draw it in 5 minutes with a ruler and pen. I used to spend 30 minutes on a monthly spread with decorations—now I add a single washi tape strip at the top for color. The trick is to decide on a layout and stick with it for at least two months before tweaking.
4. Habit Tracking Hacks That Actually Work
Habit trackers are popular, but most people abandon them by week two. Why? They’re too detailed. I tried tracking 15 habits—water, steps, reading, meditation, etc.—and ended up ignoring the whole thing. Now I track only three: drinking 8 glasses of water, 20 minutes of exercise, and no phone after 10 PM. Each gets a simple dot grid box (10×10 squares). Fill in the dot with a Micron pen when done. Time: 30 seconds per day.
For a visual boost, use color coding: green for done, red for missed, yellow for partial. This gives you a quick overview. I also add a “streak” counter at the bottom—how many consecutive days I’ve completed all three. That gamification kept me going for 6 months. Pro tip: don’t start tracking on January 1. Start mid-month when you’ve built some momentum. And never backfill—if you miss a day, leave it blank. That honesty prevents guilt.
5. Decoration vs. Function: Where to Spend Your Time
I love beautiful spreads, but function always comes first. A spread that takes 30 minutes to decorate but isn’t useful is a waste. My rule: spend 80% of your time on structure and content, 20% on decoration. For a weekly spread, that means 8 minutes on layout and 2 minutes on a small doodle or washi tape strip. I tried doing full watercolor backgrounds—they looked amazing but took 20 minutes and bled through pages. Now I use a single Tombow brush stroke as a header accent, which takes 10 seconds.
If you want more decoration, dedicate one page per month to a “creative spread” like a mood board or a quote page. Use Tombows, stickers, and collage. That way you get the artistic outlet without compromising your functional spreads. I also use a simple border of alternating dots (Micron 05, 2mm apart) around the monthly calendar—it takes 2 minutes but adds a polished look. Remember: your journal is for you, not Instagram. If it’s functional, it’s beautiful.
6. Digital Integration: The Best of Both Worlds
I tried going fully digital with apps like Notion.so/” target=”_blank” rel=”nofollow sponsored noopener”>Notion.so/” target=”_blank” rel=”nofollow sponsored noopener”>Notion.so/” target=”_blank” rel=”nofollow sponsored noopener”>Notion.so/” target=”_blank” rel=”nofollow sponsored noopener”>Notion.so/” target=”_blank” rel=”nofollow sponsored noopener”>Notion.so/” target=”_blank” rel=”nofollow sponsored noopener”>Notion.so/” target=”_blank” rel=”nofollow sponsored noopener”>Notion.so/” target=”_blank” rel=”nofollow sponsored noopener”>Notion.so/” target=”_blank” rel=”nofollow sponsored noopener”>Notion and Todoist, but I missed the tactile feel. Then I tried a hybrid: I use a bullet journal for daily logs and weekly planning, and a digital note app for long-term projects and reference lists. For example, my “Books to Read” list is on my phone because I update it often. But my “Monthly Goals” spread is in the journal because I like checking off boxes with a pen. The trick is to decide where each type of info lives. I use the journal for anything that requires reflection and the digital tool for quick capture.
Another tip: scan your journal pages monthly with a scanner app (like Adobe Scan) and save them to a folder. That way you have a backup and can search for past notes. I also use a digital habit tracker on my phone for habits I track multiple times a day (like water intake) and transfer the weekly total to my journal. This hybrid approach took me a few months to refine, but now I never miss a day. Time saved: about 10 minutes per week.
7. Common Mistakes and How to Fix Them
I’ve made every mistake in the book. Here are the top three and their fixes. First: overcomplicating the index. I used to list every single page number, but then I’d skip a page and the numbering was off. Now I use a simple table of contents with page ranges (e.g., “Monthly Spread: pages 12-13”). Second: using too many colors. I had a 12-color system for categories—it took forever to decide which color to use. Now I use just three: black for text, blue for tasks, red for deadlines. Third: not leaving enough space for daily logs. I used to cram everything into a small box, then run out of room. Now I leave a full page per day (or half a page for weekends). That gives me room for notes, doodles, and random thoughts.
Another mistake: starting a new journal mid-year with a completely different system. That creates inconsistency. Instead, when I start a new notebook, I keep the same layout for the first three months, then tweak one thing. For example, I changed my weekly layout from a vertical to a horizontal format—that one change improved my flow. The lesson: change slowly and deliberately.
8. Time-Saving Techniques for Busy Weeks
When life gets hectic, your bullet journal should simplify, not add stress. I have a “quick setup” for weeks when I know I’ll be swamped. It takes 5 minutes: draw a vertical line down the middle of the page, write the dates on the left, and list tasks on the right. No decorations, no habit tracker. I use a single Micron 05 pen. That’s it. I tried using a pre-printed weekly planner insert, but it didn’t fit my needs. The quick setup works because it’s flexible—I can add boxes later if I have time.
Another technique: batch your spreads. On Sunday evening, I set up the entire week in 20 minutes: all pages for daily logs, a weekly overview, and a meal plan. That way I don’t have to think about layout during the week. I also use a “future log” at the front of the journal (4 pages, each for 3 months) to dump events that are months away. This prevents me from flipping back and forth. Time saved: about 15 minutes per day.
Frequently Asked Questions
What’s the best notebook for beginners?
I recommend the Leuchtturm1917 A5 dotted because it has numbered pages, an index, and two bookmarks—all features that help you stay organized. The 80 gsm paper is fine for most pens, but if you plan to use water-based markers like Tombows, go with Scribbles That Matter (100 gsm) or Archer & Olive (160 gsm). Start with a mid-range notebook ($20–$25) rather than a cheap one—the paper quality makes a huge difference in your experience.
How do I stop my journal from looking messy?
Messiness often comes from inconsistent spacing. Use a ruler to draw lines, and stick to one pen size for text (0.38–0.5mm). Leave at least 5mm of margin on each side. If you make a mistake, don’t rip the page—use white-out tape (like Tombow Mono Correction Tape) and write over it. Also, practice a simple header style (e.g., all caps with a thin underline) and use it every time. Consistency creates a clean look.
How often should I set up a new spread?
I set up a monthly spread on the last day of the previous month (takes 10 minutes), and a weekly spread every Sunday (takes 10–15 minutes). Daily logs are done in the morning (2 minutes). If you’re new, try a weekly spread only for the first month—it’s less overwhelming. Once you’re comfortable, add a monthly spread. The key is to set a recurring time, like Sunday evening, so it becomes a habit.
To sum up: start with a good notebook and one reliable pen (Micron 05), use a simple weekly layout that takes 10 minutes, track only three habits, and decorate sparingly. The biggest takeaway is that your bullet journal should serve you, not the other way around. I’ve seen too many people quit because they tried to do too much. Begin with the minimalist approach I described, then add elements one at a time. You’ll be surprised how much you can accomplish with just a pen and a page.
Related Posts

Your Weekly Dose of Inspiration
Journaling ideas, family tips, and gentle inspiration.
Love this content?
Join the BulletJournals.net community for exclusive tips, guides, and updates.
Subscribe Free