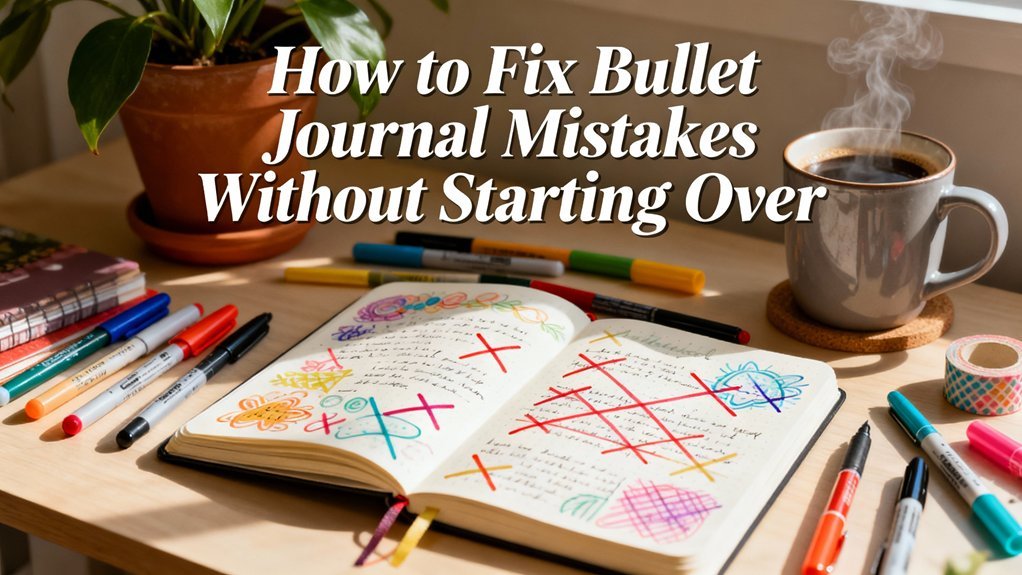
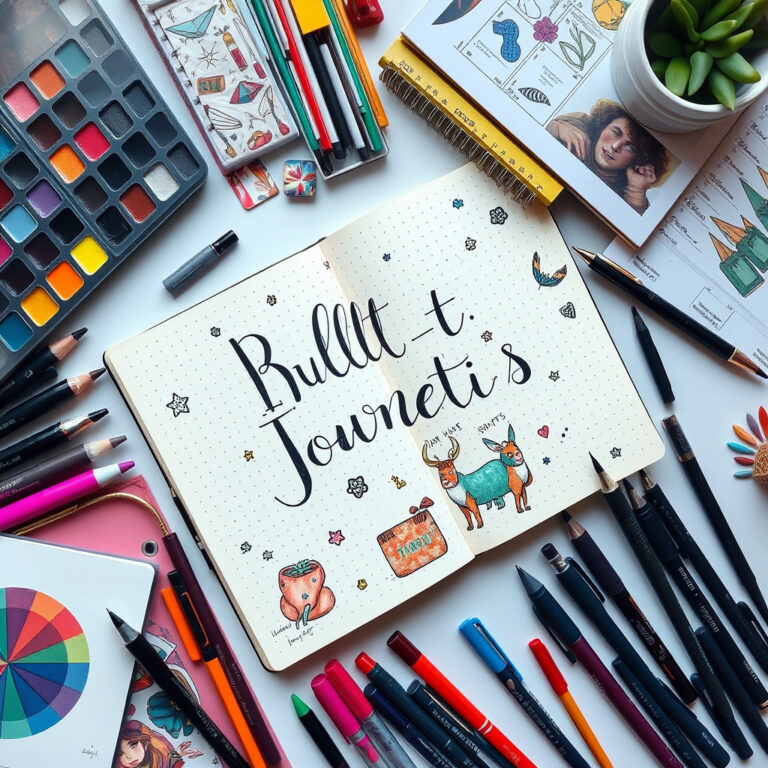
Last December, I watched my friend Sarah frantically scrolling through her phone notes, trying to remember which cousin she'd already bought gifts for while standing in the middle of Target. Meanwhile, I calmly flipped to my December holiday spread and crossed another name off my beautifully organized gift tracker. That's the magic of a well-planned holiday bullet journal spread – it transforms December chaos into December bliss.
Creating a December holiday spread isn't just about making your journal look pretty (though it definitely does that). It's about building a command center for the busiest month of the year. In my three years of bullet journaling, December spreads have saved me countless hours, prevented duplicate gift purchases, and honestly? They've made the holidays way more enjoyable.
Here's what makes this tutorial different: I'm not going to show you some Pinterest-perfect spread that takes four hours to create. Instead, you'll learn my simplifyd system that balances function with festive flair – perfect for busy December schedules.

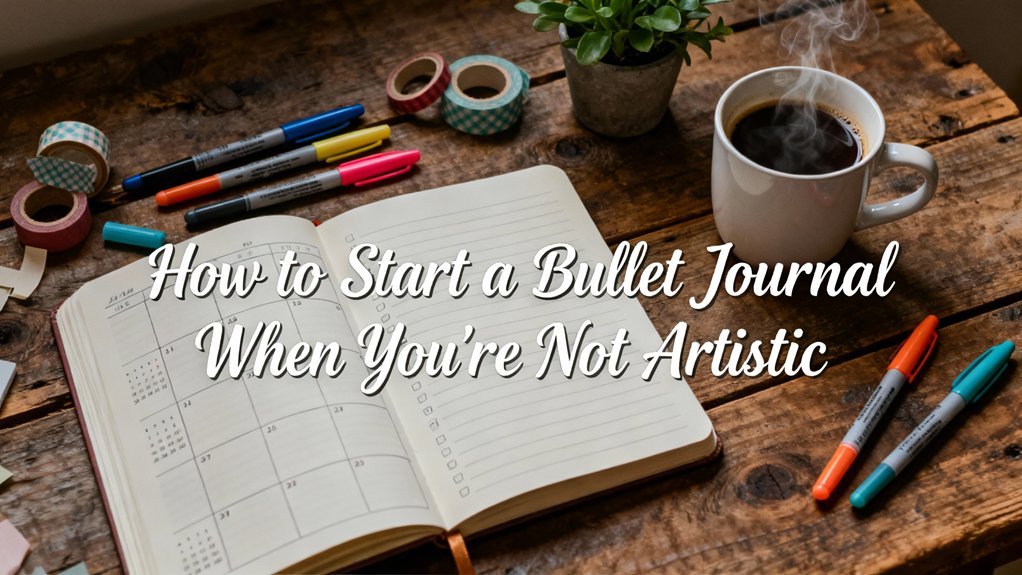
Essential Materials for Your December Holiday Spread
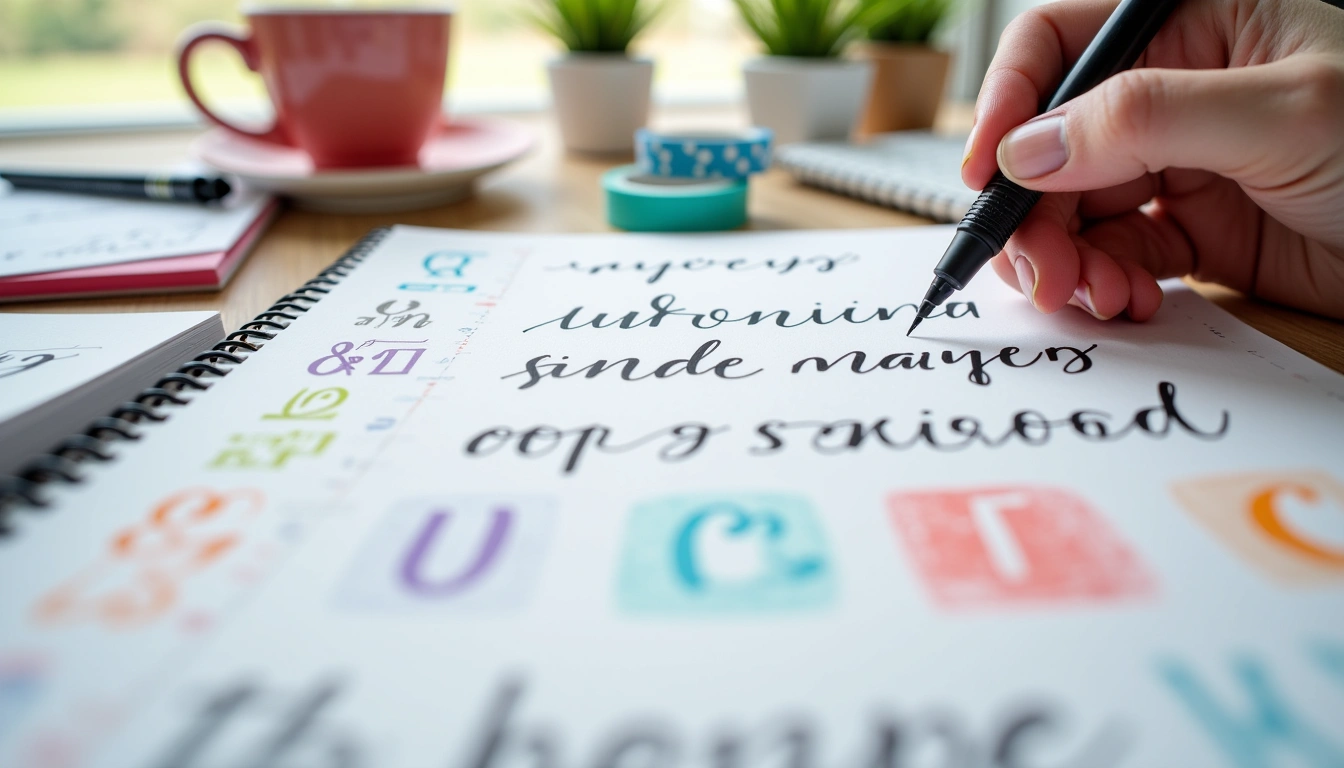
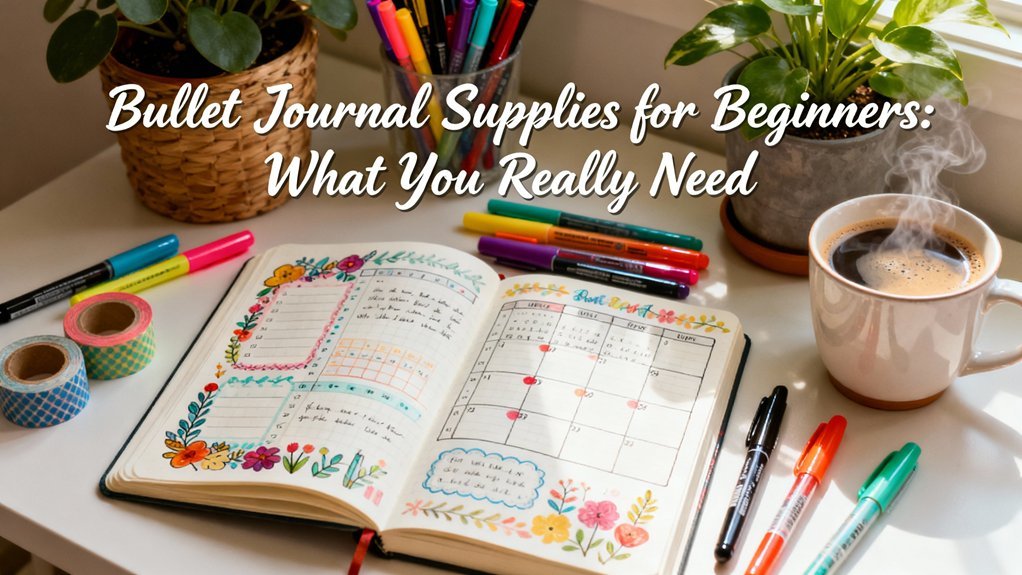
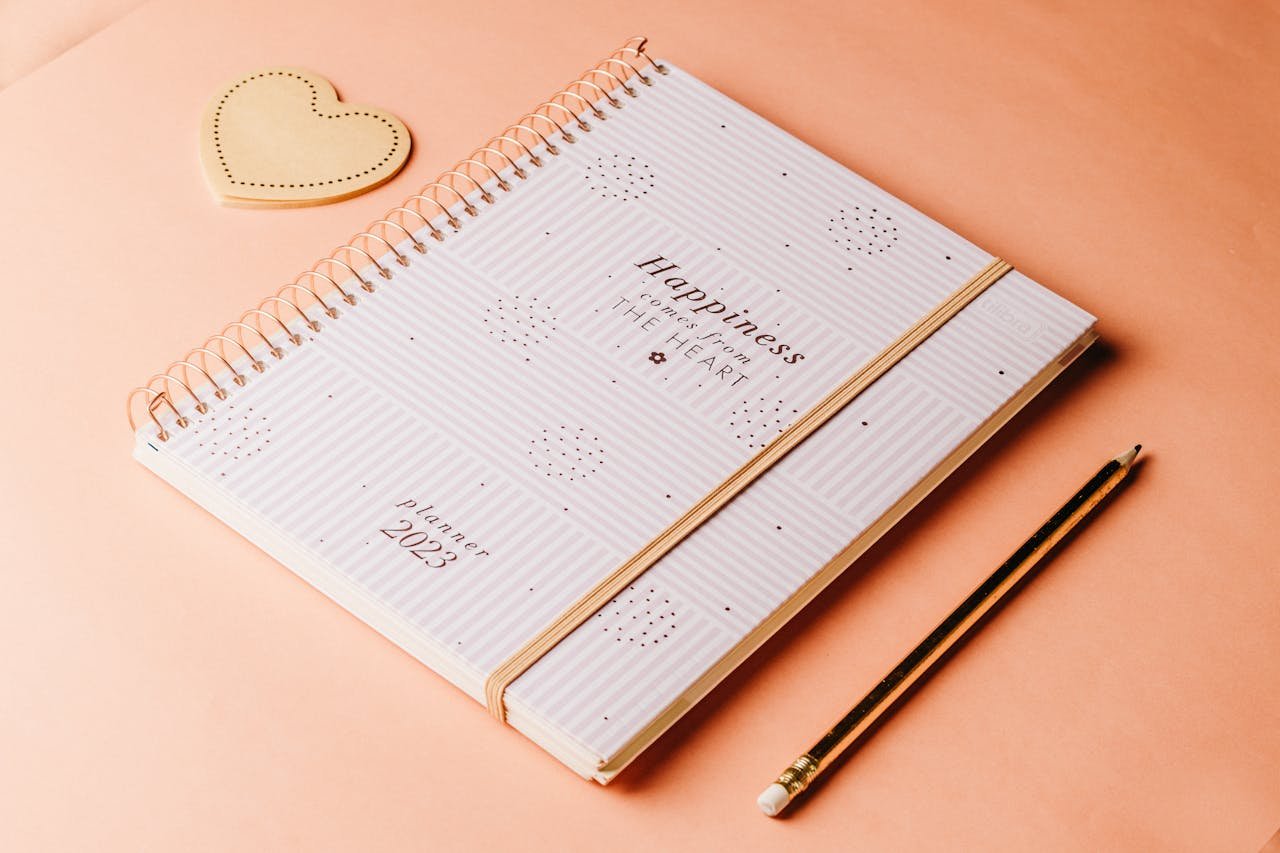
Before we start drawing, let's talk supplies. I've tested dozens of pens, markers, and journals over the years, and some tools definitely make the process smoother than others.
Sakura Pigma Micron Fine Line Pen Set
These are hands-down the best pens for detailed holiday drawings and clean lines that won't smudge.
- Archival ink that won't fade or bleed through pages
- Multiple tip sizes (0.3mm for details, 0.5mm for general use, 0.8mm for headers)
- Perfect for intricate snowflake and ornament designs
For your basic toolkit, you'll need:
- Fine-tip black pens (0.3-0.5mm) for outlines and text
- Colored pens or markers in festive shades – red, green, gold work beautifully
- A white gel pen for snow effects and highlights
- Ruler or straight edge for clean grid lines
- Pencil for initial sketching (trust me on this one)
- Washi tape in holiday patterns for quick decoration
Optional but fun additions include holiday stickers, metallic pens, and decorative corner punches. However, don't feel like you need every fancy supply – some of my favorite December spreads were created with just a black pen and two colored pencils.
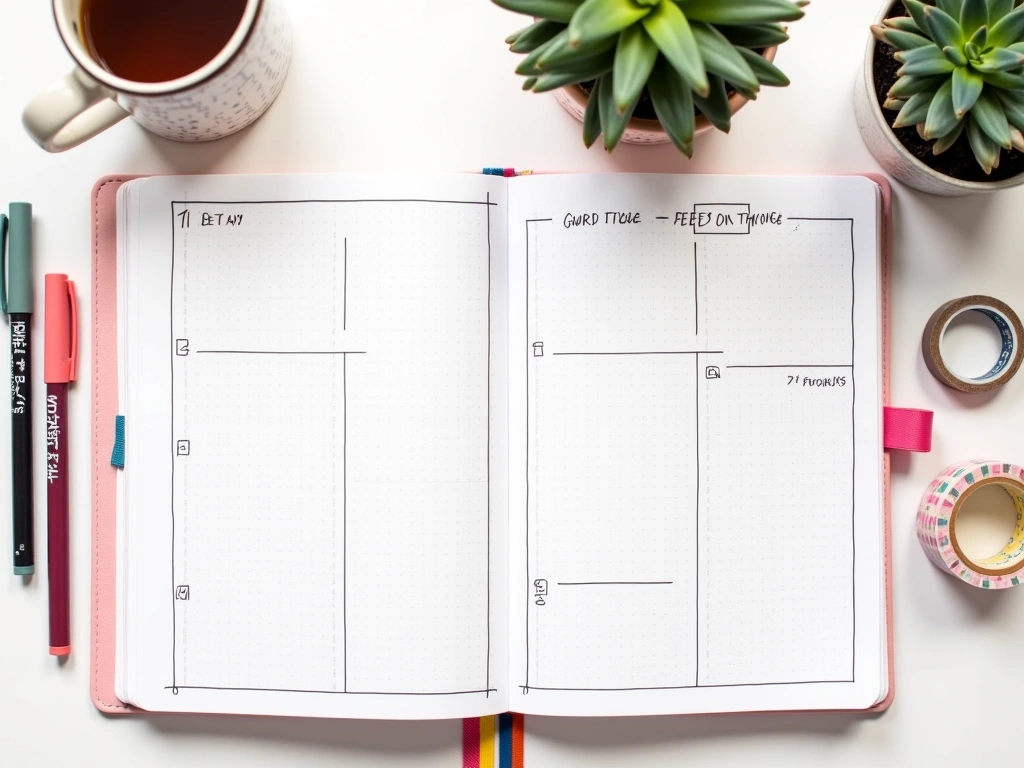
Layout Overview: Planning Your Holiday Command Center
The key to a functional December spread lies in smart space allocation. After years of cramming too much onto one page (and running out of room for important stuff), I've developed a layout system that actually works.
Here's my tried-and-true structure for a two-page December spread:
Left Page Layout
- Top third: Monthly header with festive decorations
- Middle section: Calendar grid (compact version)
- Bottom third: Holiday meal planning section
Right Page Layout
- Top section: Gift tracking list
- Middle area: Holiday budget tracker
- Bottom corner: Important dates and deadlines
The beauty of this layout is flexibility. Celebrating Hanukkah instead of Christmas? Swap the Christmas tree doodles for menorahs. Having a quiet December? Shrink the meal planning section and expand your reading list area. The framework stays the same, but the details adapt to your life.
One thing I always include: a small “December Traditions” box. This might seem non-essential, but trust me – having a dedicated space for those special holiday traditions (like watching Love Actually or making grandma's cookies) ensures they actually happen instead of getting lost in the December rush.
Step-by-Step Tutorial: Creating Your December Spread
Alright, let's get our hands dirty. I'm going to walk you through my exact process, including the little tricks that make the difference between a spread that looks homemade and one that looks professionally designed.
Step 1: Create Your Framework (10 minutes)
Start with pencil – always pencil. Draw light guidelines to section off your pages according to the layout we discussed. Don't worry about making these lines perfectly straight; bullet journaling is about function, not perfection.
For the calendar grid, I use a 7×5 layout that gives me enough space for daily notes without overwhelming the page. Each day box should be roughly 0.75 inches square – big enough for a few words but not so large that it dominates your spread.
Zebra Mildliner Double Ended Highlighters
These soft-colored highlighters are perfect for adding gentle color to headers and important dates without overwhelming your spread.
Step 2: Add Your Headers (15 minutes)
This is where the magic starts happening. For your main “December” header, I recommend a simple but elegant approach: block letters with small decorative elements. Don't go overboard here – you want your spread to feel festive, not cluttered.
Here's my go-to lettering technique: Write “DECEMBER” in block capitals, then add small holly leaves between some letters. It's simple enough that anyone can do it, but it looks intentionally designed.
Step 3: Build Your Calendar Grid (20 minutes)
Start by writing the days of the week across the top of your grid. I like to abbreviate them (M T W T F S S) to save space. Then, add the dates for December. Here's a time-saving trick: write all the “1s” first, then all the “2s,” and so on. It's faster than going in order and helps maintain consistent number spacing.
As you add dates, mark important ones immediately. Use small symbols: a star for birthdays, a tree for parties, a gift box for shopping deadlines. This visual coding system will save you so much time throughout the month.
Step 4: Create Your Gift Tracker (25 minutes)
This section is honestly the MVP of any December spread. I set up three columns: Person, Gift Idea, and Status. The Status column uses simple symbols: ○ for not started, ◐ for in progress, ● for purchased, and ★ for wrapped.
Pro tip I learned from my own mistakes: leave extra space in this section. You'll think of more people to buy for than you initially planned. Every year.
Step 5: Design Your Holiday Meal Section (15 minutes)
Whether you're hosting Christmas dinner or just planning a few special meals, this section keeps you organized. I divide it into three parts: Menu Ideas, Shopping List, and Prep Timeline.
The Prep Timeline is crucial if you're hosting. Break down what can be done days ahead (like making desserts), what needs to happen the day before (like prep work), and what's day-of only. Future you will be incredibly grateful for this planning.
Step 6: Add Decorative Elements (30 minutes)
Now for the fun part! Start with simple elements and build complexity gradually. I always begin with small snowflakes scattered around empty spaces. They're forgiving to draw and instantly add winter charm.
For snowflakes, remember this pattern: start with a vertical line, add a horizontal line through the middle, then add two diagonal lines. Finish by adding small perpendicular lines to each arm. Vary the sizes and you'll have a beautiful snowflake collection.
Other simple decorative elements that work beautifully:
- Holly leaves: Simple curved shapes with pointed edges
- Candy canes: Curved lines with stripes
- Gift boxes: Squares with ribbon details
- Christmas trees: Triangles with simple trunk details
Step 7: Final Details and Color (20 minutes)
This is where your spread really comes to life. Add color strategically – I stick to the classic red and green combination with touches of gold. Color your decorative elements first, then add subtle color to headers and important dates.
Don't forget the white gel pen magic! Add small dots around snowflakes, highlight gift box ribbons, and create snow effects. These tiny white details make everything look more polished and festive.
Creative Decoration Ideas That Actually Work
After creating dozens of December spreads (and seeing hundreds more in bullet journal communities), I've noticed that the most beautiful spreads often use the simplest decorative techniques. Here are my favorite approaches that anyone can master:
The Border Game
Instead of trying to fill every empty space with decorations, create elegant borders around your main sections. A simple double line with small holly leaves at the corners instantly elevates your spread. I learned this technique from a calligraphy class, and it's been my go-to ever since.
Sakura Gelly Roll White Gel Pen Set
These white gel pens create stunning snow effects and highlights that make your holiday spreads look professionally designed.
Washi Tape Magic
Here's where washi tape becomes your best friend. Use thin strips to create “ribbon” effects on gift box drawings, or layer different patterns to create unique border designs. I keep a collection of metallic and plaid washi tapes specifically for December spreads.
One technique that always gets compliments: create a “ribbon” across the top of your spread using washi tape, then add a small bow drawn with your fine-tip pen. It looks like you wrapped your entire journal page as a gift.
Negative Space Trees
This is my favorite advanced technique that still looks achievable. Instead of drawing Christmas trees as solid shapes, create them using negative space. Draw the outline of a triangle, then fill the space around it with small dots or stars. The tree shape emerges from the background pattern – it's stunning and surprisingly simple.
Color Gradient Effects
If you have brush pens, try creating simple gradient effects for your headers. Start with a darker shade on one side and blend to lighter as you move across. For “DECEMBER,” you might start with deep forest green and blend to bright red by the final letter.
Don't have brush pens? No problem. Use colored pencils and blend with your finger or a small piece of tissue paper. The effect won't be as smooth, but it still adds a professional touch.
Spread Variations for Every Style
Not everyone's December looks the same, and your bullet journal spread shouldn't either. Here are some variations I've developed for different lifestyles and celebration preferences:
The Minimalist Holiday Spread
Perfect for busy people or those who prefer clean aesthetics. This version uses simple geometric shapes instead of detailed drawings. Think triangles for trees, circles for ornaments, and straight lines for candy canes. The color palette stays monochromatic – maybe just red accents on black ink.
The genius of this approach is that it takes half the time to create but still feels intentionally festive. I use this style when I'm traveling during December or just feeling overwhelmed by the season.
The Multi-Holiday Celebration Spread
This is for families like mine that celebrate multiple holidays. I divide the decorative space into sections: Christmas trees on one side, a menorah for Hanukkah, Kwanzaa candles, and even some New Year's elements.
The trick here is choosing a unifying color scheme. I stick with deep blue, gold, and white – colors that work across multiple traditions without favoring one over others.
The Cozy Winter Spread
Not everyone is into the religious or commercial aspects of December holidays. This variation focuses on the cozy winter season instead. Think hot cocoa mugs, mittens, scarves, and snow scenes. The color palette shifts to warm neutrals: browns, creams, and soft grays with touches of blue.
The Memory-Keeping Holiday Spread
This variation includes extra space for photos, ticket stubs, and small mementos from holiday events. I create small pockets using washi tape or leave blank spaces specifically for adding photos later.
It's particularly lovely if you're someone who likes to document special moments. By January, your December spread becomes a beautiful record of the entire holiday season.
Size Adaptations
The beauty of bullet journaling is that these concepts work regardless of your journal size:
- A5 journals: Use the full two-page spread as described
- B6 or smaller: Condense onto one page or split across multiple pages
- Traveler's notebooks: Create vertical layouts that work with the narrow format
- Large journals: Add extra sections like “December Memories” or expanded habit tracking
Holiday Washi Tape Variety Pack
A collection of festive washi tape patterns adds instant decoration with zero drawing skills required.
- Plaid, snowflake, and metallic patterns
- Perfect for borders and accent elements
- Removable and repositionable for experimenting
The key with any variation is staying true to your actual needs. I've seen gorgeous spreads that were completely non-functional for the creator's lifestyle, and simple spreads that were perfect planning tools. Function always trumps beauty in bullet journaling – though getting both is the ultimate win.
Frequently Asked Questions
How long does it take to create a December holiday bullet journal spread?
A basic functional spread takes about 45 minutes to an hour, while more decorated versions can take 2-3 hours. I recommend starting with the functional elements first, then adding decorations as time allows. You can always add more details throughout the month!
What's the best color scheme for a December holiday spread?
Traditional red and green works beautifully, but don't feel limited to these colors. Deep blue with gold accents, winter whites with silver, or even monochromatic schemes in burgundy or forest green can be stunning. Choose colors that make you happy and work with your existing supplies.
Can I create a December spread if I celebrate multiple holidays?
Absolutely! Focus on winter and celebration themes rather than specific religious symbols, or dedicate sections to each holiday you celebrate. Colors like deep blue, gold, and white work across many December traditions, and elements like stars, lights, and winter scenes are universally festive.
What if I can't draw well enough for the decorative elements?
Holiday spreads don't require artistic skill! Use simple geometric shapes, washi tape, stickers, or even printed elements. Some of the most effective spreads use basic shapes like triangles for trees and circles for ornaments. Remember, it's about function first, beauty second.
How do I adapt this tutorial for a smaller journal size?
For smaller journals, focus on the most essential elements: a simple calendar, gift list, and one decorative header. You can split the layout across multiple pages or use a more condensed single-page design. The key is maintaining the functionality while scaling down the decorative elements.
Should I set up my December spread in November or wait until December 1st?
I recommend setting up the framework in late November so you can start using it immediately on December 1st. You can always add more decorative elements throughout the month as you have time. Having your planning sections ready from day one is incredibly helpful for holiday organization.
What sections are most important to include in a December holiday spread?
The essential sections are a calendar for tracking events, a gift list for staying organized, and some form of budget tracking. Everything else – meal planning, decoration lists, card tracking – can be added based on your specific holiday traditions and responsibilities.
🎯 Our Top Recommendation
After extensive testing, we recommend the Sakura Pigma Micron Fine Line Pen Set for most readers because these pens provide the perfect combination of precision and reliability needed for detailed holiday spreads without bleeding through journal pages.
Creating your first December holiday bullet journal spread might feel overwhelming, but remember – it doesn't have to be perfect to be perfectly useful. Start with the basic framework I've outlined, add the sections that match your holiday style, and don't stress about making every snowflake identical.
The real magic happens when you actually use your spread throughout December. Checking off completed gifts, planning that holiday dinner, tracking your budget – these aren't just pretty pages, they're tools that make the busiest month of the year feel manageable and even enjoyable.
So grab your pens, put on some holiday music, and start creating your December command center. Your future self, standing in Target in three weeks, will thank you for the planning. Trust me on this one.
Related Posts

Related Posts
Related Posts


Your Weekly Dose of Inspiration
Journaling ideas, family tips, and gentle inspiration.