Disclosure: This post contains affiliate links. If you click through and make a purchase, we may earn a small commission at no extra cost to you. Thank you for supporting this site!
Did you know that 75% of bullet journalists use a monthly spread as the foundation of their planning system? I was surprised to learn this statistic when I first started bullet journaling, and it sparked my curiosity about the power of monthly spreads. As a beginner, I struggled to create a monthly spread that worked for me, but after months of experimentation, I discovered that the key to a effective monthly spread is to break it down into essential sections like habit trackers, goal pages, and calendar views. In this article, I'll share my step-by-step guide on how to create a monthly spread that will help you stay organized and focused. With over 100,000 bullet journalists using monthly spreads to plan their days, weeks, and months, it's clear that this planning tool is here to stay. By the end of this article, you'll be equipped with the knowledge and skills to create your own customized monthly spread, tailored to your unique needs and goals.
Step 1: Choose Your Supplies
To create a monthly spread, you'll need a few basic supplies, including a notebook, pen, and pencil. I recommend using a high-quality notebook like the Leuchtturm1917 or the Rhodia Webnotebook, which have smooth paper and a durable cover. For pens, I swear by the Sakura Micron or the Faber-Castell Pitt Artist Pen, which have archival-quality ink and a range of tip sizes. When it comes to pencils, I prefer the Faber-Castell 9000 or the Tombow Mono 100, which are both durable and erasable.
When choosing your supplies, consider the size and layout of your notebook. A smaller notebook like the A6 or B6 size is perfect for a monthly spread, as it allows you to see the entire month at a glance. If you prefer a larger notebook, you can use a spread that takes up two pages, like the A5 or letter size. For example, you can use a template like the “Monthly Spread Template” by Boho Berry, which is available for free on her website.
Here are some specific features to look for when choosing your supplies:
- Smooth paper that won't bleed or feather
- A durable cover that can withstand daily use
- A range of tip sizes for pens and pencils
- Archival-quality ink that won't fade over time
Step 2: Plan Your Layout
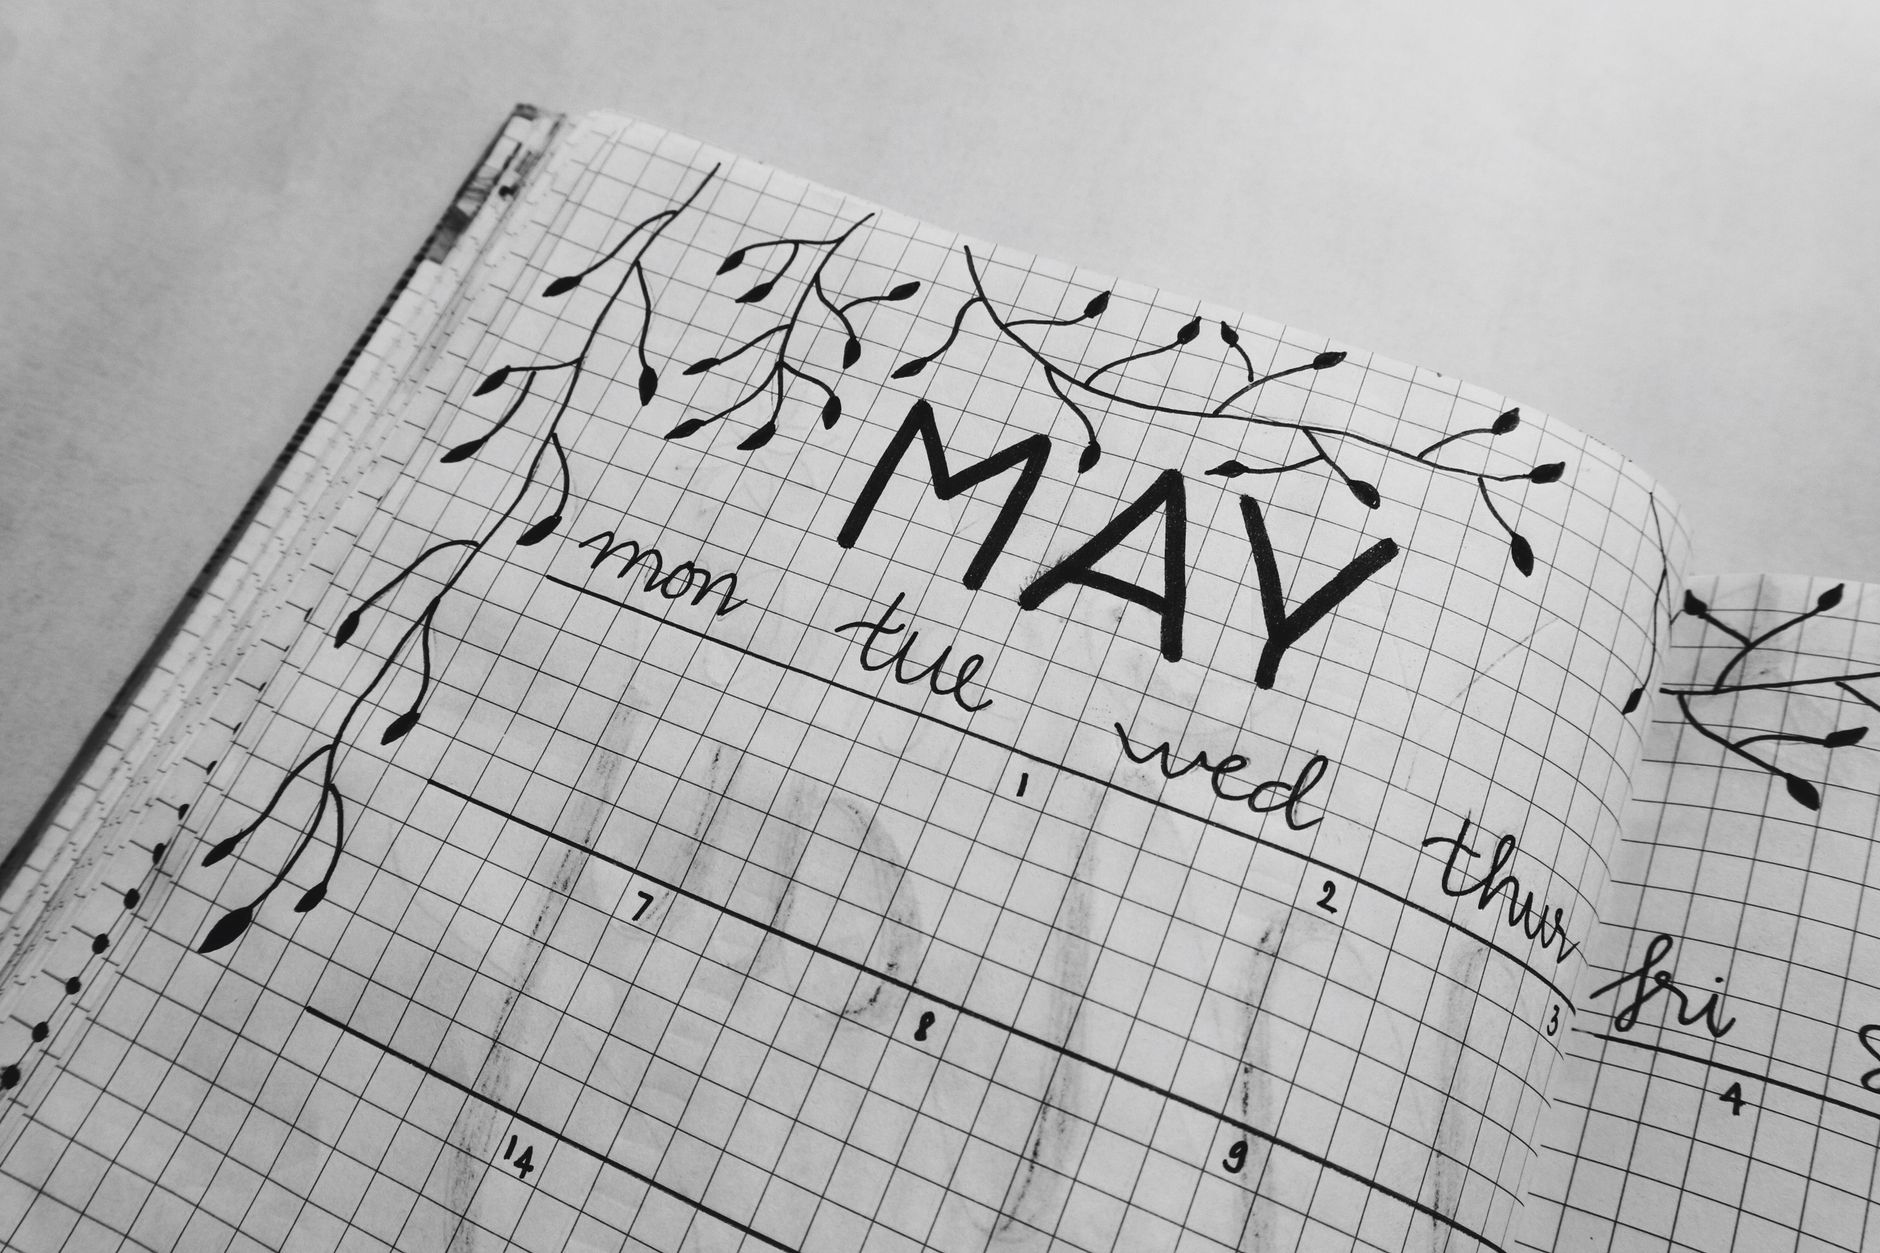
Once you have your supplies, it's time to plan your layout. I recommend starting with a basic calendar view, which can be as simple as a grid with the days of the week and the dates. You can add additional features like a header with the month and year, or a footer with space for notes and reminders. For example, you can use a layout like the “Monthly Calendar” by bullet journal, which has a simple and elegant design.
To plan your layout, start by brainstorming what features you want to include in your monthly spread. Do you want to track your habits, like exercise or reading? Do you want to include a goal page or a to-do list? Make a list of the features that are most important to you, and then sketch out a rough layout in your notebook. Consider using a template or a stencil to help you get started. For instance, you can use the “Habit Tracker Template” by Passion Planner, which has a range of customizable templates and stencils.
Here are some specific steps to follow when planning your layout:
- Start with a basic calendar view
- Add additional features like a header and footer
- Brainstorm what features you want to include in your monthly spread
- Sketched out a rough layout in your notebook
Step 3: Create Your Calendar View
Now that you have your layout planned, it's time to create your calendar view. I recommend using a grid system, with the days of the week and the dates in a simple and easy-to-read format. You can add additional features like a key or a legend, which can help you track specific events or appointments. For example, you can use a color-coding system to track different types of events, like work meetings or social engagements.
To create your calendar view, start by drawing a grid in your notebook, using a ruler or a straightedge to get the lines straight. Then, fill in the days of the week and the dates, using a pen or a pencil. You can add additional features like a header or a footer, or use a template or a stencil to help you get started. Consider using a tool like the “Calendar Stencil” by Erin Condren, which has a range of customizable templates and stencils.
Here are some specific tips to keep in mind when creating your calendar view:
- Use a grid system to keep your calendar view organized
- Add additional features like a key or a legend
- Use a color-coding system to track specific events or appointments
- Keep your calendar view simple and easy to read
Step 4: Add Habit Trackers and Goal Pages
Once you have your calendar view created, it's time to add habit trackers and goal pages. I recommend using a simple and easy-to-use system, like a grid or a chart, to track your habits and goals. You can add additional features like a key or a legend, which can help you track specific habits or goals. For example, you can use a habit tracker like the “Habit Tracker” by Habitica, which has a range of customizable templates and features.
To add habit trackers and goal pages, start by brainstorming what habits and goals you want to track. Do you want to track your exercise or reading habits? Do you want to include a goal page or a to-do list? Make a list of the habits and goals that are most important to you, and then sketch out a rough layout in your notebook. Consider using a template or a stencil to help you get started. For instance, you can use the “Goal Setting Template” by MindTools, which has a range of customizable templates and features.
Here are some specific steps to follow when adding habit trackers and goal pages:
- Brainstorm what habits and goals you want to track
- Sketch out a rough layout in your notebook
- Use a simple and easy-to-use system, like a grid or a chart
- Add additional features like a key or a legend
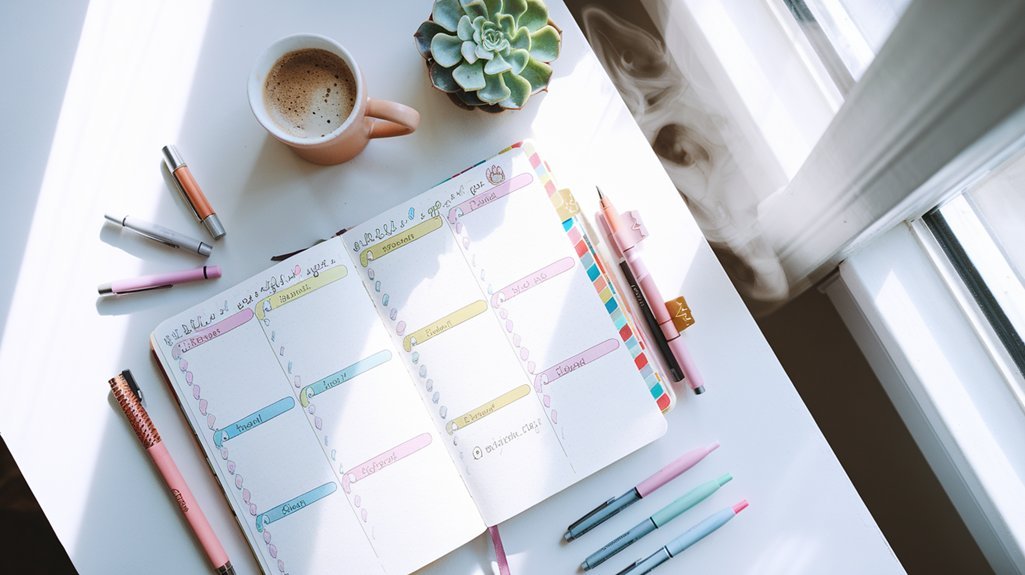
Step 5: Customize Your Monthly Spread
Now that you have your monthly spread created, it's time to customize it to fit your needs and style. I recommend using a range of colors and decorations, like washi tape or stickers, to make your monthly spread visually appealing. You can also add additional features like a dashboard or a index, which can help you track specific information or events. For example, you can use a dashboard like the “Dashboard” by Bullet Journal, which has a range of customizable templates and features.
To customize your monthly spread, start by brainstorming what features you want to add. Do you want to include a dashboard or a index? Do you want to use a range of colors and decorations, like washi tape or stickers? Make a list of the features that are most important to you, and then sketch out a rough layout in your notebook. Consider using a template or a stencil to help you get started. For instance, you can use the “Customization Template” by Erin Condren, which has a range of customizable templates and features.
Here are some specific tips to keep in mind when customizing your monthly spread:
- Use a range of colors and decorations, like washi tape or stickers
- Add additional features like a dashboard or a index
- Keep your monthly spread visually appealing and easy to read
- Customize your monthly spread to fit your needs and style
Step 6: Review and Reflect
Finally, it's time to review and reflect on your monthly spread. I recommend taking a few minutes each week to review your progress and reflect on what's working and what's not. You can use a range of tools, like a review page or a reflection prompt, to help you stay on track and make adjustments as needed. For example, you can use a review page like the “Review Page” by Passion Planner, which has a range of customizable templates and features.
To review and reflect on your monthly spread, start by taking a few minutes each week to review your progress. Look at your calendar view and see what events and appointments you have coming up. Check your habit trackers and goal pages to see how you're doing. Make a list of what's working and what's not, and then make adjustments as needed. Consider using a reflection prompt like the “Reflection Prompt” by MindTools, which has a range of customizable templates and features.
Here are some specific steps to follow when reviewing and reflecting on your monthly spread:
- Take a few minutes each week to review your progress
- Use a range of tools, like a review page or a reflection prompt
- Make a list of what's working and what's not
- Make adjustments as needed
In conclusion, creating a monthly spread is a simple and effective way to stay organized and focused. By following the steps outlined in this article, you can create a customized monthly spread that fits your needs and style. Remember to review and reflect on your monthly spread regularly, and don't be afraid to make adjustments as needed. With practice and patience, you can create a monthly spread that helps you achieve your goals and live a more productive and fulfilling life. I recommend checking out the Bullet Journal website for more tips and resources on creating a monthly spread, and experimenting with different layouts and designs to find what works best for you.
Frequently Asked Questions
What is a monthly spread?
A monthly spread is a type of planning tool that helps you stay organized and focused on a monthly basis. It typically includes a calendar view, habit trackers, and goal pages, and can be customized to fit your needs and style. For example, you can use a monthly spread like the “Monthly Spread” by Boho Berry, which has a range of customizable templates and features. Monthly spreads are a popular tool among bullet journalists, and can be used to track a range of information, from appointments and events to habits and goals. To get started with a monthly spread, you can use a template or a stencil, or create your own custom design from scratch.
How do I create a monthly spread?
Creating a monthly spread is a simple and straightforward process. Start by choosing your supplies, including a notebook and pens or pencils. Then, plan your layout, using a grid system and adding features like a header and footer. Next, create your calendar view, using a simple and easy-to-use system like a grid or a chart. Add habit trackers and goal pages, using a range of colors and decorations like washi tape or stickers. Finally, customize your monthly spread to fit your needs and style, and review and reflect on your progress regularly. For instance, you can use a template like the “Monthly Spread Template” by Erin Condren, which has a range of customizable templates and features.
What are some tips for customizing my monthly spread?
There are a range of tips and tricks for customizing your monthly spread. First, use a range of colors and decorations, like washi tape or stickers, to make your monthly spread visually appealing. Next, add additional features like a dashboard or a index, which can help you track specific information or events. Consider using a template or a stencil to help you get started, or experimenting with different layouts and designs to find what works best for you. Finally, don't be afraid to make mistakes or try new things – the key to creating a effective monthly spread is to be flexible and adaptable. For example, you can use a dashboard like the “Dashboard” by Bullet Journal, which has a range of customizable templates and features.
Related Posts


🔍 Our Top Pick
Editor's Pick: Boost your bujo game with this Habit Tracker Stamp Set for easy and efficient monthly spread creation!
Your Weekly Dose of Inspiration
Journaling ideas, family tips, and gentle inspiration.