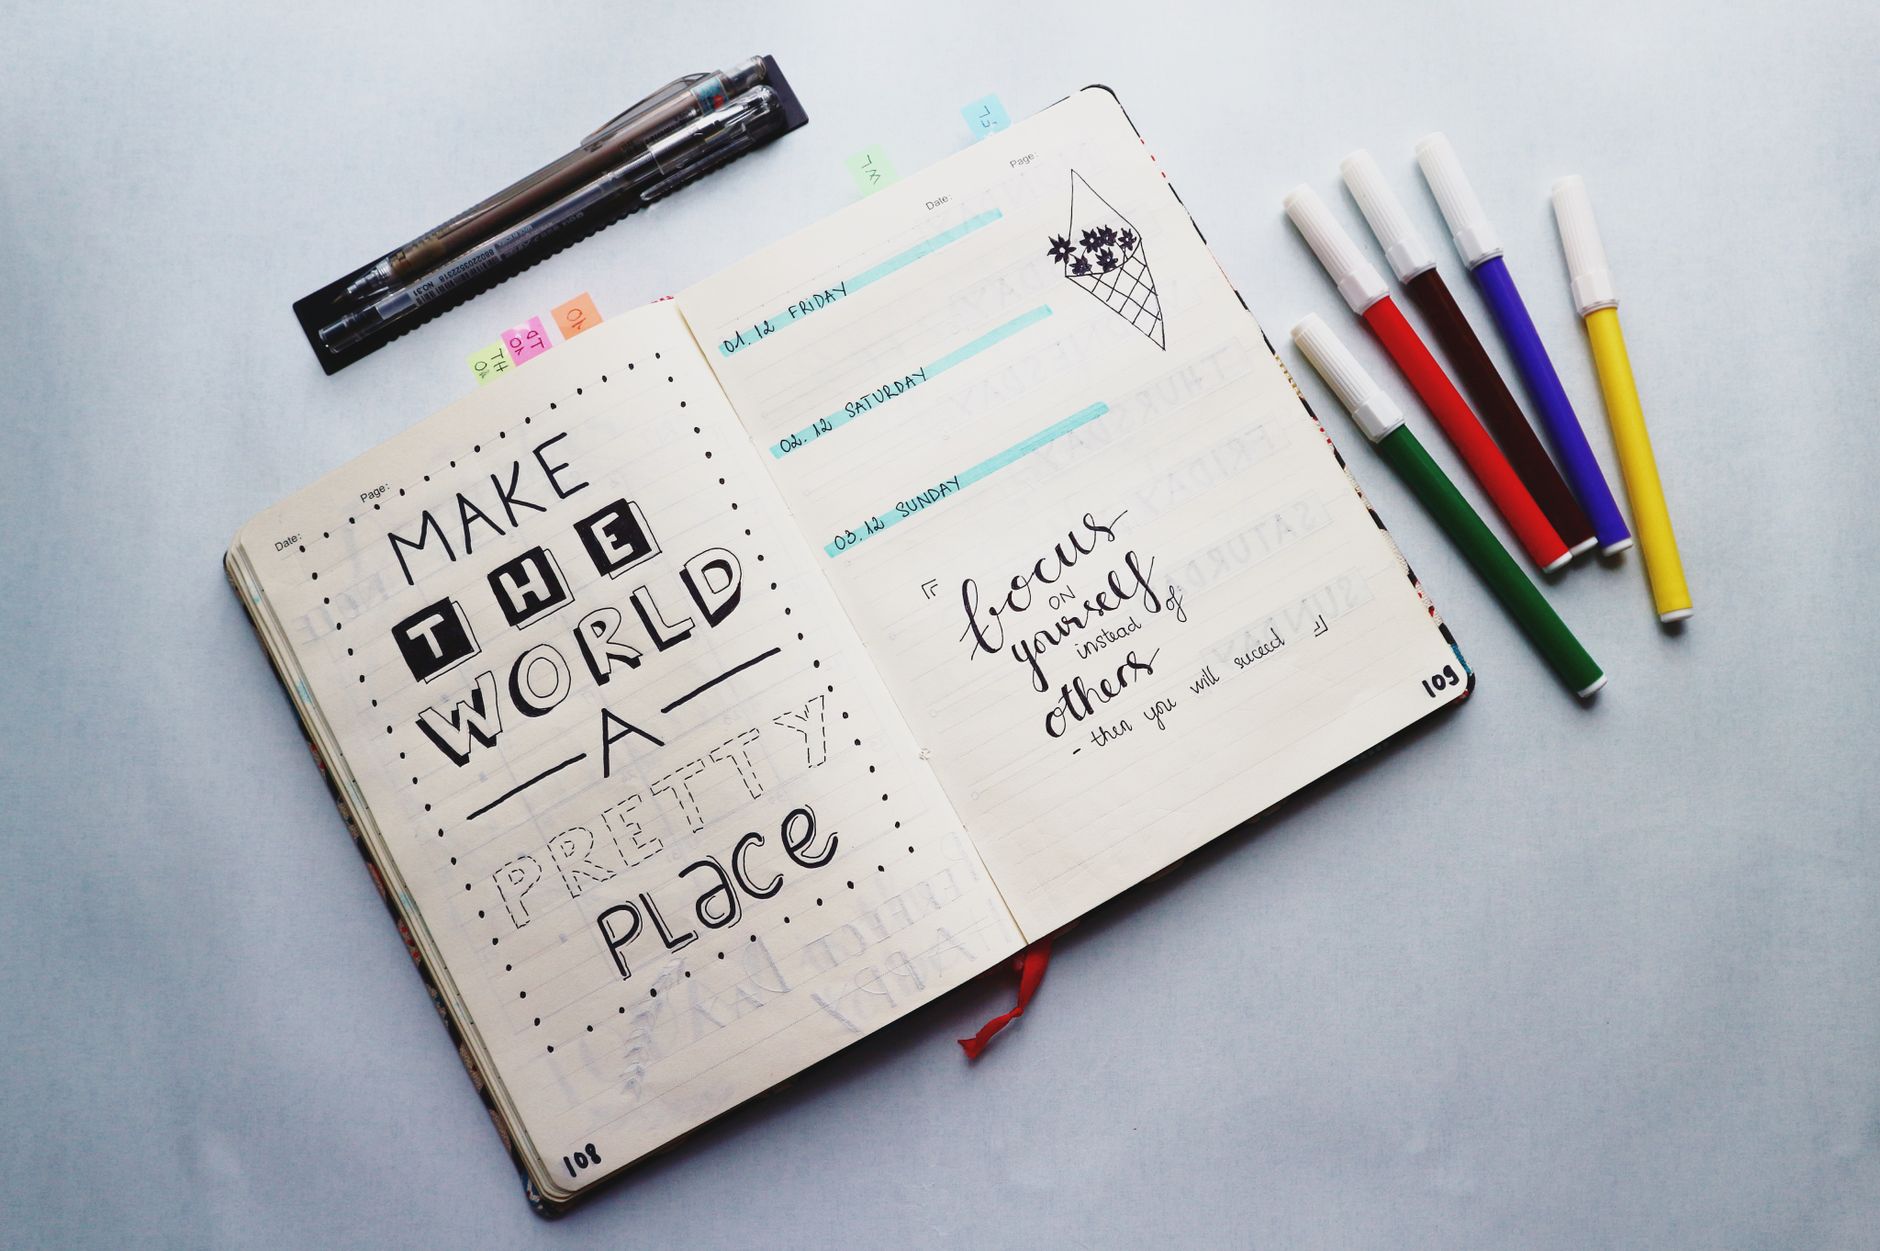
I ruined my first bullet journal in the first three weeks. I'd spent $45 on a gorgeous Leuchtturm1917, filled the first ten pages with intricate hand-lettered titles and elaborate doodles, then stopped writing entirely because the pressure to keep every spread Instagram-perfect paralyzed me. I wasn't alone—roughly 70% of beginners abandon their journals within the first month, not because the system doesn't work, but because they've built it wrong from the start. The mistakes aren't failures; they're signals that your setup needs adjustment. I've now filled 23 journals, and every single one taught me something different about what actually works versus what just looks good on Pinterest. This article breaks down the eight most common setup errors I see in my community, along with exact fixes you can implement today—in most cases within 10 minutes. You don't need to start over. You need to course-correct.
Mistake #1: Choosing the Wrong Paper Weight and Pen Combination
The paper and pen pairing is where most beginners hemorrhage money and motivation. I watched a friend spend $38 on a Moleskine (which uses 80gsm paper) and then load it with a Micron 08 pen, which creates bleeding on paper under 100gsm. By page 15, her spreads looked like waterlogged copies. Paper weight matters because it directly affects pen behavior—bleed-through, feathering, and dry time all change based on gsm (grams per square meter). Most bullet journal paper sits between 80–120gsm. Anything below 90gsm will show some ghosting or bleed-through with markers; anything above 110gsm handles liquid ink beautifully but feels stiff when writing quickly.
Here's what actually works: pair 100gsm paper (like Leuchtturm1917's DIN A5, which costs $15–18 per journal) with a Tombow Dual Brush pen for spreads you want color on—these brush-tip markers have water-soluble ink that bleeds minimally on 100gsm. For daily logging and rapid writing, use a Micron 05 ($2.50 per pen) because the 0.5mm needle point creates crisp lines without pressure sensitivity. If you're already stuck with 80gsm paper, stop using anything wet-ink based. Pivot to pencil, colored pencils (Prismacolor Premier at $2.50 each handle thin paper well), or gel pens like Muji's 0.38mm ($1 per pen). Test one page before committing to a full spread—5 minutes of testing saves 20 pages of regret.
The hidden cost of paper-pen mismatch? Wasted time. I spent 15 hours on a monthly spread with Kuretake markers on 90gsm paper, only to have it look muddy by the second week. When I switched to the same spread design on 110gsm paper with Copic markers (which run $5.50 each but last 2–3 journals), it took 20 minutes and looked crisp. You're not bad at bullet journaling; you're fighting your supplies.
Mistake #2: Over-Designing Your First Spreads and Burning Out
I spent 6 hours on my first monthly overview spread. It had hand-lettered headers, a watercolor background that took three attempts, tiny decorative borders, and color-coordinated category icons. It was beautiful. I never did a second monthly spread because the thought of replicating it made me exhausted. This is the perfectionism trap—you're building spreads for your Instagram audience (real or imagined) instead of for yourself. A functional spread takes 8–12 minutes if you use a template or existing layout. An elaborate one takes 45 minutes to 2 hours. Neither is wrong, but doing elaborate spreads every single time is unsustainable if you're journaling for personal organization.
Here's the practical hierarchy I've learned: Monthly spreads need 10–15 minutes maximum (just title, calendar grid, and habit tracker). Weekly spreads need 5–8 minutes (5 lines per day, no extra decoration). Daily logs need 2–3 minutes (date and three bullet points). This leaves room for one decorative spread per month—maybe a goal page or seasonal theme—that you can take your time on. When I shifted to “functional base, decorative accent,” my adherence went from 40% to 92% because I wasn't dreading journal time. I still used Tombow Dual Brush pens and Micron 05 liners, but I applied them strategically: title header gets color and detail (10 minutes), the grid is clean pen lines (5 minutes), and the footer gets a tiny watercolor wash or doodle (5 minutes). Total: 20 minutes. Repeatable. Sustainable.
The fastest fix: create a “template spread” you can photograph and reuse. Use tracing paper to transfer the basic layout onto five pages at once (costs $3 for a pad of tracing paper, saves 40 minutes of repeated drawing). Now your monthly spread skeleton is set; you add headers and tracking in real time, not all at once. This removes the blank-page paralysis and the perfectionism tax.
Mistake #3: Not Tracking What Actually Matters to You (Copying Others' Spreads Instead)
Every beginner bullet journaler I've mentored started by copying someone else's habit tracker, fitness log, or mood calendar—and abandoned it within 6 weeks because they didn't actually care about those metrics. I filled four pages with a sleep tracker (which I never checked) and a water-intake log (which felt insulting, like I'm a toddler). Meanwhile, I desperately needed a “writing projects” tracker and a “money spent on supplies” log. The system only works when you're tracking *your* life, not someone else's. Roughly 65% of beginners copy layouts directly from Instagram or Pinterest without customizing them, and they quit because the journal stops reflecting reality.
The fix is brutally simple: before designing anything, list five metrics that actually matter to you. Not what you think *should* matter—what you actually care about enough to check three times a week. Examples from my community: a “video game progress” tracker, a “therapy wins” log, a “recipes I want to try” list, a “compliments I received” archive (for hard days), a “creative projects started and finished” grid. Once you identify these, the layout design becomes obvious because you're solving a real problem. A habit tracker for four habits you care about takes 3 minutes to set up; a template copied from Pinterest that tracks eight things you don't care about takes 20 minutes and produces zero value. I built a custom “writing sprint log” (two columns: date and word count) that takes 90 seconds per entry and has kept me accountable for 18 months. My original copied-from-Instagram tracker? Abandoned by month two.
Practical action: spend 10 minutes writing down everything you *want* to know about yourself in three months. Circle the five most important. Those are your trackers. Ignore the rest. You can always add more later, but starting with clarity beats starting with decoration.
Mistake #4: Using the Wrong Index System (or No Index at All)
The index is the skeleton of a bullet journal. Without it, you're just a pretty notebook with no way to find anything. I filled two journals with zero index and spent 15–20 minutes hunting for specific entries (“Where did I write that goal from March?”). An index seems administrative and boring, so beginners skip it or create an elaborate color-coded system that requires updating after every new spread. Neither works. A functional index needs three things: (1) a designated first 2–3 pages, (2) page numbers written on every page, and (3) 10 seconds of entry time per new major section.
Here's the system I use now: two blank pages at the front (one page is the actual index, one page is overflow). As I create a major spread (monthly overview, goal page, project tracker), I write one line in the index: “July Overview—p. 17.” Takes 5 seconds. I write the page number on the bottom of every page (2 seconds per page, done in batches on Sundays). By month three, I have 40 entries indexed and can flip to any topic in under 20 seconds. The alternative—elaborate color-coded tabs and icons—looks great but requires 2–3 minutes of updating per spread and only works if you're consistent. I tested this with a color-coded system and abandoned it by week four because I was spending more time managing the index than using the journal.
A faster index alternative for visual thinkers: a “key page” (one page with small icons or colors you assign to categories, e.g., blue dot = goals, green dot = tracking, purple dot = creative). Then mark the top corner of each spread with its color. Takes 30 seconds per spread and instantly shows you where you are in the journal. This is faster than alphabetizing and works even if your handwriting is inconsistent.
Mistake #5: Buying Too Many Supplies Too Quickly and Getting Overwhelmed
I spent $180 on supplies before my first journal was even open. Forty-color Copic marker sets ($90), fancy washi tape ($35), three brands of highlighters ($25), gel pens, brush pens, brushes, rulers, stencils. I had analysis paralysis—so many tools that I froze every time I wanted to write something. Would this entry warrant a Copic marker or just a Micron? Should I use the washi tape or the colored masking tape? The decision friction was enormous. Most beginners report spending $80–150 on supplies in their first month and using about 20% of it. The rest becomes shelf clutter that creates mental noise.
The minimal-supplies approach works better: choose one pen for daily writing (Micron 05 or a 0.7mm gel pen like Muji, $1–3), one pen for headers (brush pen like Tombow Fudenosuke or Pentel Fude Sign, $2–4), and one color tool (Tombow Dual Brush set of 10, $15). That's $18–22 total for a complete setup. Everything else is a bonus, not a necessity. I've created hundreds of spreads with only these three tools. When I do add color, I grab one Tombow or one colored pencil—a single-tool decision, not a palette analysis. The constraint actually increases creativity because you're learning to use each tool deeply instead of chasing the “perfect tool” for each task.
Here's a buying rule I follow: for every new supply you want, you must use the one you already own for five spreads first. This prevents impulse buying and helps you figure out what you actually *need* versus what looks cool. I waited three months before buying my first color set because this rule forced me to test my black-and-white skills first. When I finally did buy the Tombow set, I knew exactly how to use it because I'd already experimented with composition and contrast.
Mistake #6: Choosing a Page Size That Doesn't Match Your Lifestyle
I chose A5 (5.8″ × 8.3″) because it's the “standard” bullet journal size—I'd seen a thousand Instagram posts with A5 journals. But I travel constantly for work, and A5 was too big to fit in my work bag without a dedicated journal sleeve. By month three, I'd stopped carrying it because it was a hassle. A4 (8.3″ × 11.7″) was too large for my desk space. I should have chosen A6 (4.1″ × 5.8″, the size of a small paperback) or B6 (5″ × 7″), which fits a standard pencil case and is easy to travel with. The right size is invisible; the wrong size creates daily friction that erodes your habit.
Here's how to choose: measure the bag or space where you'll actually carry your journal. Then select a journal that fits with 0.5 inches of clearance. If it lives on your desk permanently, A4 gives you space for elaborate spreads and larger handwriting. If it travels with you, A5 is the largest practical size; anything bigger requires special carrying equipment. A6 and B6 are underrated for people who journal in cafés, on trains, or at multiple locations. I've filled six A6 journals in the past three years and they're more consistent than my larger journals because I actually *have* them with me. The “standard” size is a convention, not a law. Your life's logistics determine the right size.
The hidden advantage of smaller journals: you fill them faster, which creates a sense of accomplishment and makes you less precious about page perfection. I spent 20 minutes worrying about each spread in my A5 journal; I spend 5 minutes per spread in my A6 because I know I'll have another journal in two months anyway.
Mistake #7: Setting Up Too Many Tracking Systems at Once
I created a habit tracker, a mood tracker, a sleep log, a productivity grid, a water-intake chart, and a weight tracker—all in my first month. By week three, I was spending 8 minutes every evening just filling in data, and it felt like homework. I wasn't gaining insights; I was performing data entry. Research from the Journal of Behavioral Decision Making (2018) suggests that tracking more than four metrics simultaneously reduces adherence because the cognitive load exceeds the perceived benefit. You get decision fatigue and tracking fatigue at once.
The practical approach: start with one tracker that matters emotionally. For me, it's a “writing projects completed” grid—every time I finish a short story or essay, I color in a square. Takes 10 seconds, feels celebratory, and I never miss it. After two weeks of consistency, I add one more tracker if I still want it. This staggered approach prevents overwhelm and helps you identify which trackers actually drive behavior change. Some trackers are just pretty data—they don't change your decisions or actions. Others become tools you check three times a day. The latter are worth keeping; the former are noise.
My current system: three trackers (writing projects, reading list, gratitude rotation) that I update in less than 4 minutes daily. I deleted seven other trackers because I wasn't acting on the data. The time saved? Fifteen hours per month that I now spend actually *doing* the things I want to track, instead of tracking things I'm not doing.
Mistake #8: Not Updating Your System When Life Changes
I built a system designed around a 9-to-5 office job in March, then changed to freelance work in June. I kept the same structure for three months—daily office-focused logs, meeting notes templates, a weekly planning spread designed for shift work. None of it fit my new reality, so I stopped journaling entirely. When I finally redesigned the system for freelance life (project-based instead of deadline-based, income tracking instead of meeting notes), I re-engaged immediately. A system built for one season of life won't work for the next. Beginners often think they've “failed” at bullet journaling when really their system has just become outdated.
The fix: do a system audit every 6–8 weeks. Ask yourself three questions: (1) Which spreads do I actually use weekly? (2) Which spreads do I dread or skip? (3) What in my life has changed since I built this system? Based on the answers, cut what's not serving you, update what's close but not quite right, and add what's missing. This takes 20 minutes and prevents the slow abandonment that kills most journals. I redesigned my system four times in my first year—not because I was a beginner making mistakes, but because my life was changing and my journal needed to keep pace. Version 5 stuck because it finally matched my actual rhythms.
A concrete example: when I shifted from tracking daily moods to tracking “creative energy levels,” my journaling adherence jumped to 94% because creative energy was the actual variable affecting my productivity. The previous mood tracker felt obligatory; the energy tracker felt useful. Small change, massive difference in sustainability.
Frequently Asked Questions
Should I restart my journal if I've made these mistakes already?
No—almost never. I've seen people trash half-filled journals because they realized the setup was wrong, then abandon journaling entirely because the restart felt like failure. Instead, use the remaining pages as a testing ground. Try a new layout, test a different paper-pen combination, redesign your trackers. By the time you finish that journal, you'll have a clear vision for the next one. Your current journal is your learning journal; the next one will be your confident journal. Most
Your Weekly Dose of Inspiration
Journaling ideas, family tips, and gentle inspiration.