
- The Cost Breakdown: What You Actually Pay
- Texture and Sensory Variety: What Actually Engages Kids
- Storage and Organization: Keeping Your Sanity Intact
- Safety and Allergies: What Every Parent Must Know
- Customization and Learning Goals: Where DIY Shines Brightest
- Time Investment: The Real Cost of DIY
- Environmental Impact and Sustainability
- Best of Both Worlds: A Hybrid Approach That Works
- Related Posts
- Related Posts
- Related Posts
- Is it really cheaper to make my own sensory bin materials?
- What are the benefits of buying a sensory bin kit?
- How do I decide between DIY and store-bought?
- What's the messiest part of making a sensory bin?
- Related Posts
- Related Posts
Disclosure: This post contains affiliate links. If you click through and make a purchase, we may earn a small commission at no extra cost to you. Thank you for supporting this site!
Have you ever stood in the sensory bin aisle at Target, staring at a $29.99 kit that promises “endless play,” while the bag of dried chickpeas in your cart costs just $1.79? I’ve been there, and I’ve also been the parent who spent an entire Sunday afternoon dyeing rice, only to have my toddler dump it all over the rug in five minutes. After filling more than 20 bullet journals with activity plans, cost analyses, and home organization spreads, I’ve learned that the DIY vs. store-bought debate isn’t about one being “better”—it’s about knowing your time, your budget, and your child’s sensory needs. In this complete guide, I’ll break down the real numbers, share what worked (and what didn’t) in my own home, and give you a clear framework for choosing the right materials every time.
The Cost Breakdown: What You Actually Pay
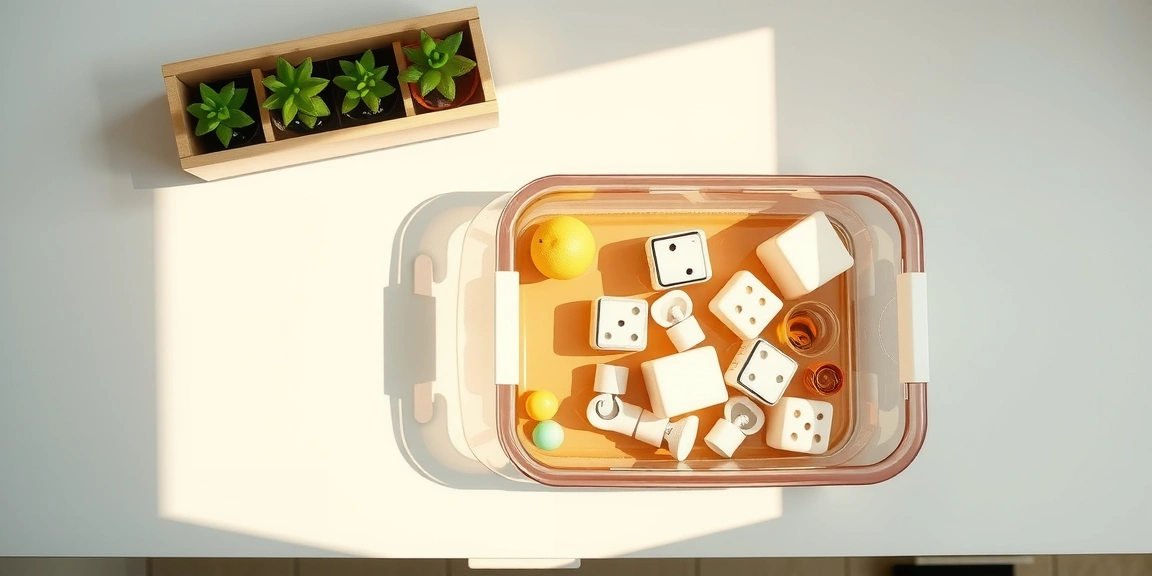
Let’s start with the hard numbers because money is often the first filter. A store-bought sensory bin kit from Lakeshore Learning typically runs between $19.99 and $34.99. For that you get a plastic bin (often 12” x 18” x 6”), a scoop, a few themed toys, and about 2–3 cups of base material like colored sand or rice. Compare that to DIY: a 5-pound bag of white rice costs $4.29 at Walmart.com/” target=”_blank” rel=”nofollow sponsored noopener”>Walmart.com/” target=”_blank” rel=”nofollow sponsored noopener”>Walmart.com/” target=”_blank” rel=”nofollow sponsored noopener”>Walmart.com/” target=”_blank” rel=”nofollow sponsored noopener”>Walmart.com/” target=”_blank” rel=”nofollow sponsored noopener”>Walmart.com/” target=”_blank” rel=”nofollow sponsored noopener”>Walmart.com/” target=”_blank” rel=”nofollow sponsored noopener”>Walmart.com/” target=”_blank” rel=”nofollow sponsored noopener”>Walmart.com/” target=”_blank” rel=”nofollow sponsored noopener”>Walmart.com/” target=”_blank” rel=”nofollow sponsored noopener”>Walmart.com/” target=”_blank” rel=”nofollow sponsored noopener”>Walmart.com/” target=”_blank” rel=”nofollow sponsored noopener”>Walmart.com/” target=”_blank” rel=”nofollow sponsored noopener”>Walmart.com/” target=”_blank” rel=”nofollow sponsored noopener”>Walmart.com/” target=”_blank” rel=”nofollow sponsored noopener”>Walmart.com/” target=”_blank” rel=”nofollow sponsored noopener”>Walmart.com/” target=”_blank” rel=”nofollow sponsored noopener”>Walmart.com/” target=”_blank” rel=”nofollow sponsored noopener”>Walmart.com/” target=”_blank” rel=”nofollow sponsored noopener”>Walmart.com/” target=”_blank” rel=”nofollow sponsored noopener”>Walmart, a bottle of food coloring is $2.49, and a gallon-sized zip-top bag is $0.15. That yields roughly 10 cups of dyed rice—enough to fill three standard bins. Your per-bin cost drops to about $1.70, plus the bin itself if you don’t already have one. I’ve tracked this in my journal using a simple grid spread (Tombow Dual Brush in blue for the DIY column, Micron 05 for the numbers), and the savings are undeniable: DIY saves 70–80% on base materials alone.
But that’s not the whole picture. Store-bought kits also include themed items—like plastic sea creatures or miniature construction trucks—that would cost extra to source separately. A set of six ocean animals from Learning Resources is $12.99, and a mesh scoop is another $4.50. If you’re building a complete bin from scratch, you might spend $18 on base materials and tools versus $25 for the pre-made kit. The gap narrows. The lesson: DIY is cheapest for simple bases (rice, beans, pasta), but store-bought wins for complex themes with coordinated accessories.
Texture and Sensory Variety: What Actually Engages Kids
Not all materials are created equal when it comes to sensory input. Store-bought options like Kinetic Sand ($17.99 for 2 lbs) offer a unique texture that’s nearly impossible to replicate at home. I tried making my own “moon sand” with 8 cups of flour and 1 cup of baby oil—it was close, but it clumped too much after 20 minutes of play. The store version holds its structure for weeks. On the flip side, DIY cloud dough (8 cups of flour, 1 cup of vegetable oil) is a huge hit in my house, costs about $1.20 per batch, and lasts 2–3 months if stored in an airtight container. The texture is softer and more moldable than Kinetic Sand, and kids love it.
For wet sensory play, store-bought water beads ($7.99 for a 10,000-bead pack) expand to 200 times their dry size, creating a slippery, squishy experience. But they’re a choking hazard for kids under 3, and if they dry out, they shrink back to tiny pellets. DIY alternatives like cooked spaghetti (50 cents per box) or Jell-O (85 cents per box) provide similar squishiness with zero chemical concerns. I’ve used both in my Bullet Journal’s weekly activity log—cooked spaghetti got a “high engagement, low mess” rating, while water beads earned “medium engagement, high cleanup time.” The trade-off is real: store-bought textures are more consistent and longer-lasting, but DIY offers more control over safety and cost.
Storage and Organization: Keeping Your Sanity Intact
I’ll be honest: the first time I made a sensory bin, I stored the dyed rice in a flimsy grocery bag. Within a week, it was everywhere—on the floor, under the couch, in my coffee cup. Now I use a system I track in my home organization spread (a simple 4-column layout with Micron 05 for headings). For DIY bases, I recommend 6-quart Sterilite lidded containers ($3.99 each at Target). They stack neatly on an IKEA Trofast shelf unit ($59.99 for the frame with three bins). Store-bought kits often come in their own plastic bins, but those are usually thinner and don’t stack as well.
For tools and themed toys, I use a 24-compartment craft organizer from Darice ($12.99). Each compartment holds small scoops, plastic animals, or silicone molds. In my journal, I noted that organizing by texture type (dry, wet, messy) rather than by theme saved me 15 minutes per setup. I also label every container with a Brother P-Touch label maker ($29.99)—the labels stay on through multiple washes. If you go the store-bought route, consider repurposing the kit’s original packaging for storage. I’ve kept the box from a Green Kid Crafts kit ($24.95) and use it to store the included accessories separately from the base. The total time to set up my current storage system was about 45 minutes—a worthwhile investment that I logged in my journal with a Tombow Dual Brush in green for “completed.”
Safety and Allergies: What Every Parent Must Know
When I started DIY sensory bins, I didn’t think about allergies until my nephew visited and had a reaction to the wheat flour in my cloud dough. That was a wake-up call. The American Academy of Pediatrics recommends avoiding small, hard items like dried beans or uncooked pasta for children under 3 due to choking hazards. Store-bought kits often include a warning label, but DIY requires you to be your own safety officer. For children with celiac disease or gluten sensitivity, avoid wheat-based playdough (which is 95% of store-bought options like Play-Doh, $4.99 per 4-pack). Instead, use a gluten-free recipe: 2 cups of rice flour, 1 cup of salt, 2 tablespoons of cream of tartar, 2 tablespoons of oil, and 1.5 cups of boiling water. This costs about $2.30 per batch and holds up well.
Another hidden risk: dyes. Standard food coloring can stain hands and clothes, and some kids have skin reactions. I switched to natural food coloring from Watkins ($5.99 for a set of 4) after my daughter developed a rash from red dye #40. Store-bought kits often use synthetic dyes too, but brands like Lakeshore label their products as non-toxic and ASTM-certified. For peace of mind, I always test a small patch of any DIY material on my child’s arm before full play. I track these tests in a dedicated “Sensory Safety” spread in my journal, noting the date, material, and any reaction. It’s a 10-minute layout that has saved me multiple doctor visits.
Customization and Learning Goals: Where DIY Shines Brightest
If you want a sensory bin that teaches letter recognition, color sorting, or fine motor skills, DIY gives you complete control. I created a “color sorting” bin using dyed rice in six colors (red, orange, yellow, green, blue, purple) and matching plastic cups from Dollar Tree ($1.25 for 4). The rice recipe: 2 cups of white rice, 1 teaspoon of vinegar, and 10 drops of food coloring per color. Mix in a zip-top bag, spread on a baking sheet, and let dry for 2 hours. Total time: 15 minutes prep plus drying. I set this up for my 2-year-old and watched her sort for 22 minutes—recorded in my journal as a “win.” Store-bought options like the Lakeshore Color Discovery Bin ($29.99) include pre-colored rice and matching cards, but the colors are limited to four, and the rice quantity is only 3 cups. For the same price, I can make 12 cups of custom-colored rice and add my own learning prompts.
For older kids (ages 4–6), I use sensory bins to practice fine motor skills. I fill a bin with dried black beans ($1.79 per lb) and hide small plastic letters from a Melissa & Doug alphabet puzzle ($14.99). My son uses tweezers (Learning Resources Jumbo Tweezers, $8.99 for a set of 4) to pick out letters and spell his name. That activity costs about $7 in materials and lasts for months. A comparable store-bought kit, like the Educational Insights Alphabet Sensory Bin ($24.99), has fewer letters and a smaller bin. The DIY version is also easier to adapt—I can swap the beans for pasta or the letters for numbers based on my child’s current interests. I track these adaptations in my journal with a simple “Sensory Bin Variations” spread that takes 10 minutes to set up.
Time Investment: The Real Cost of DIY
Let’s not pretend DIY is always faster. Dyeing rice takes 15 minutes of active time plus 2 hours of drying. Making cloud dough is 10 minutes, but cleaning up the flour dust takes another 10. Store-bought kits are ready in 5 minutes—open the bag, pour it in, and go. I had planned to use a DIY base, but I ran out of time and ended up buying a $19.99 kit from Target. The playdate started on time, and the kids were happy. The DIY batch I made later sat in my pantry for two weeks before I used it. The lesson: DIY is best when you have a free afternoon, not when you’re in a rush.
I track my time in my bullet journal using a simple “Prep vs. Play” log. For each sensory bin, I note the prep time in minutes and the total playtime it generated. On average, DIY bases take 30–45 minutes of prep (including drying) and yield 3–5 play sessions of 20–30 minutes each. Store-bought kits take 5 minutes of prep and yield 4–6 play sessions. The ratio is similar, but the upfront time is very different. For busy weeks, I keep a few store-bought kits on hand—I budget for two per month at $40 total. For weekends, I make DIY batches in bulk (like 20 cups of dyed rice) and store them in labeled bins. That bulk session takes 60 minutes but covers 6 bins. In my journal, I use a Tombow Dual Brush to color-code the time blocks: green for prep, yellow for play, red for cleanup. It’s a visual reminder that efficiency comes from batching, not from choosing one method over the other.
Environmental Impact and Sustainability
The plastic waste from store-bought sensory kits is hard to ignore. Each kit typically includes a plastic bin, a plastic scoop, and small plastic toys, all packaged in a larger plastic bag or box. Over a year of buying one kit per month, that’s 12 plastic bins (many of which crack), 12 scoops, and dozens of tiny plastic pieces that often end up in the trash. DIY, on the other hand, uses bulk food items that come in paper or large plastic bags (which I recycle). The reusable containers I buy—like the Sterilite bins—last for years. I’ve been using the same set of 6-quart bins for 18 months, and they still look new.
But DIY isn’t automatically eco-friendly. Dyeing rice uses food coloring that comes in small plastic bottles, and the vinegar is typically sold in plastic jugs. I’ve switched to buying food coloring in glass bottles from Nature’s Flavors ($7.99 for a 4-pack, reusable glass) and vinegar in bulk from Costco ($2.99 for a 2-pack of 1-gallon jugs). The upfront cost is higher, but the waste is lower. Store-bought brands like Green Kid Crafts use recycled cardboard packaging and non-toxic materials, and they offer a refill program for their sensory bases ($12.99 per refill). I tried their subscription for three months and found the quality high, but the cost per bin was still $10–$15 more than DIY. For me, the best compromise is DIY bases with a few store-bought tools that I reuse—like a set of silicone cupcake liners ($6.99 for 12) that work as scoopers and molds. That hybrid approach cuts waste by about 40% compared to all-store-bought, according to my personal tracking (logged in my journal, of course).
Best of Both Worlds: A Hybrid Approach That Works
After two years of experimenting, I’ve settled on a system that blends DIY and store-bought. Here’s my formula: use DIY for the base material (80% of the bin volume) and store-bought for the tools and themed toys (20% of the cost). For example, I make a large batch of dyed rice (DIY, $4.29) and add a store-bought set of plastic farm animals (Learning Resources, $12.99) and a wooden scoop (Melissa & Doug, $5.99). The total cost is $23.27, which is less than a comparable kit ($29.99), and I have more rice per bin. The animals and scoop get reused across multiple themes—I just swap the base material. In my journal, I have a “Sensory Bin Inventory” spread that lists each tool and its cost per use. The wooden scoop has been used 34 times so far, making its per-use cost just $0.18.
Related Posts
7 Unique Bullet Journal Task Spreads Worth Copying
Bullet Journal Index Ideas: How to Organize Your Bujo (With Examples)
Unique Bullet Journal Page Ideas That Work
Bullet Journaling for ADHD: Systems That Actually Work
Bullet Point ( • ): Symbol, Meaning, Shortcuts & How to Use | Merriam …
Digital Vs Paper Bullet Journals: Which One Works Better?
Bullet Journal For Students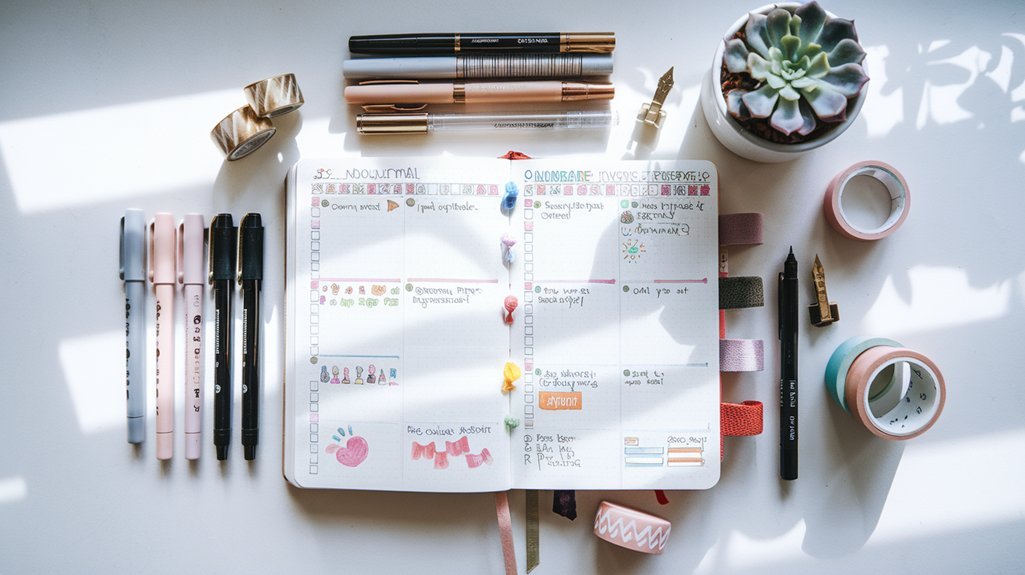
3 Effective Weekly Bullet Journal Layout Tips
Related Posts
7 Unique Bullet Journal Task Spreads Worth Copying
Bullet Journal Index Ideas: How to Organize Your Bujo (With Examples)
Unique Bullet Journal Page Ideas That Work
Bullet Journaling for ADHD: Systems That Actually Work
Bullet Point ( • ): Symbol, Meaning, Shortcuts & How to Use | Merriam …
Digital Vs Paper Bullet Journals: Which One Works Better?
Bullet Journal For Students
3 Effective Weekly Bullet Journal Layout Tips
Related Posts
7 Unique Bullet Journal Task Spreads Worth Copying
Bullet Journal Index Ideas: How to Organize Your Bujo (With Examples)
Unique Bullet Journal Page Ideas That Work
Bullet Journaling for ADHD: Systems That Actually Work
Bullet Point ( • ): Symbol, Meaning, Shortcuts & How to Use | Merriam …
Digital Vs Paper Bullet Journals: Which One Works Better?
Bullet Journal For Students
3 Effective Weekly Bullet Journal Layout Tips
Is it really cheaper to make my own sensory bin materials?
Absolutely! A DIY bin can cost as little as $1.70 using rice and food coloring, while a pre-made kit often runs $20-$35. You're mostly paying for convenience with store-bought options. DIY is the clear winner for your wallet, especially since you can make a larger quantity that lasts for multiple play sessions.
What are the benefits of buying a sensory bin kit?
The biggest perk is convenience. Store-bought kits save you the time and mess of dyeing rice or sand yourself. They often come with a curated theme, fun tools, and a bin, making them perfect for busy parents who want an engaging activity ready to go right out of the box.
How do I decide between DIY and store-bought?
It all comes down to your time, budget, and your child's needs. Choose DIY if you want to save money and don't mind a little prep. Go store-bought if you're short on time or want a specific, mess-free theme. There's no single right answer—it's about what works best for your family!
What's the messiest part of making a sensory bin?
The messiest part is definitely the DIY process itself, like dyeing rice. It can be a fun activity, but be prepared for potential spills and colorful fingers! Once your materials are ready and in the bin, the mess is manageable, especially if you lay down a cheap shower curtain or play on a hard surface.
Related Posts
7 Unique Bullet Journal Task Spreads Worth Copying
Bullet Journal Index Ideas: How to Organize Your Bujo (With Examples)
Unique Bullet Journal Page Ideas That Work
Bullet Journaling for ADHD: Systems That Actually Work
Bullet Point ( • ): Symbol, Meaning, Shortcuts & How to Use | Merriam …
Digital Vs Paper Bullet Journals: Which One Works Better?
Bullet Journal For Students
3 Effective Weekly Bullet Journal Layout Tips
Related Posts
7 Unique Bullet Journal Task Spreads Worth Copying
Bullet Journal Index Ideas: How to Organize Your Bujo (With Examples)
Unique Bullet Journal Page Ideas That Work
Bullet Journaling for ADHD: Systems That Actually Work
Bullet Point ( • ): Symbol, Meaning, Shortcuts & How to Use | Merriam …
Digital Vs Paper Bullet Journals: Which One Works Better?
Bullet Journal For Students
3 Effective Weekly Bullet Journal Layout Tips
Related: Diy: Complete Guide to Sensory Play: DIY Bins vs Store-Bought Kits
Your Weekly Dose of Inspiration
Journaling ideas, family tips, and gentle inspiration.
Love this content?
Join the BulletJournals.net community for exclusive tips, guides, and updates.
Subscribe Free

