You'll eliminate smudging by reversing traditional bullet journal layouts to flow right-to-left, matching your natural writing motion. Start your weekly spreads with Monday on the right page and progress leftward, while positioning habit trackers and calendar grids against the right margin so your hand moves into open space. Rotate your journal 45 degrees clockwise and keep your wrist raised above the writing line. Pair these layout adjustments with fast-drying gel pens like Zebra Sarasa Dry, and you'll discover dozens of mirror-image configurations that change your journaling experience.
Key Takeaways

- Use top-bound or disk-bound notebooks with A5 size to minimize hand interference and allow 360-degree page rotation.
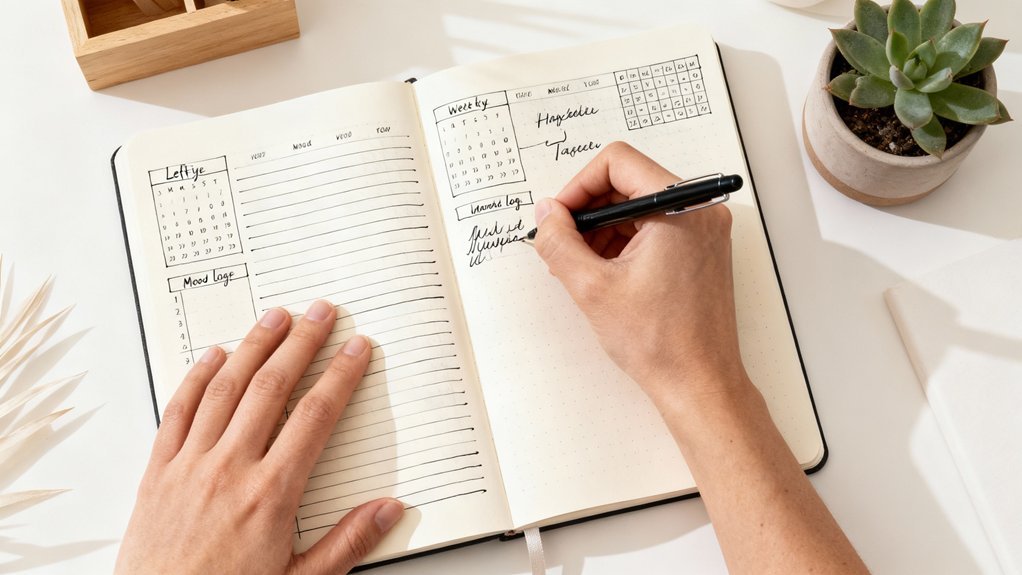
- Reverse weekly spreads by placing Monday on the right page and progressing leftward to prevent smudging wet ink.
- Position habit trackers and calendar elements along the right margin, allowing natural left-to-right hand movement without dragging across entries.
- try vertical timeline layouts with dates on the right edge, creating downward writing flow that keeps hands below ink.
- Rotate journal 45 degrees clockwise and use fast-drying gel pens or fineliners to reduce smudging during entries.
Understanding the Left-Handed Smudging Problem and How to Prevent It
As a left-handed writer, you've likely dragged your hand across wet ink countless times, leaving frustrating smears across your carefully crafted bullet journal pages. This persistent challenge stems from the natural right-to-left motion of your hand following each stroke.
Left-handed writers face an unavoidable reality: your hand naturally follows each stroke directly through wet ink, creating maddening smears across every page.
The solution lies in strategic wrist-positioning. Raise your writing hand by hooking it above the line you're creating, preventing contact with fresh ink. Alternatively, rotate your journal 45 degrees clockwise, enabling a cleaner angle that minimizes smudging.
Fast-drying gel pens change your workflow by reducing wait time between entries. Experiment with different writing grips that naturally lift your palm off the page—the tripod grip works exceptionally well for most left-handers.
Consider trying smudging techniques like placing a blank sheet beneath your hand as a barrier. This simple innovation changes your journaling experience, letting your creativity flow without the constant frustration of ruined spreads.
Choosing the Right Notebook Format for Left-Handed Journaling
Every notebook format affects your hand's natural movement across the page, making your choice critical to comfortable left-handed journaling.
Optimal formats for left-handed layouts:
1. Portrait orientation with top-binding – You'll avoid hand interference since spirals won't dig into your wrist as you write right-to-left across spreads.
Wire-bound notebooks positioned at the top eliminate obstruction completely.
2. A5 notebook sizes – This compact format reduces your reach across pages, keeping your wrist in neutral position while preventing unnecessary extension that causes smudging.
You'll maintain better control throughout each spread.
3. Disk-bound systems – These creative notebooks let you rotate pages 360 degrees, positioning content wherever you need it.
You'll customize page orientation instantly, placing layouts at angles that prevent dragging your hand through wet ink.
Consider reverse-entry notebooks too – starting from what's traditionally the back lets you work with natural binding placement instead of fighting against it.
The Bullet Journal Method emphasizes selecting tools that adapt to your current circumstances, ensuring your notebook becomes a canvas for clear thinking rather than an obstacle to overcome.
Right-to-Left Layout Designs That Follow Your Natural Writing Flow
You'll find that designing your spreads from right to left eliminates the smudging frustration you've dealt with for years.
The mirrored spread planning method positions your most-used sections on the right side of your journal, keeping your wrist above finished writing rather than dragging across wet ink.
Reverse column layouts work with your natural hand movement, letting you complete tasks without constantly repositioning your hand or waiting for ink to dry.
Mirrored Spread Planning Method
When you mirror your bullet journal spreads to run from right to left, you'll eliminate the awkward reach across completed pages that causes smudging and wrist strain.
trying Mirror Spreads with Layout Symmetry:
- Position your weekly or monthly overview on the right page – Start entries here and work leftward, keeping your hand downstream from wet ink while maintaining natural wrist alignment.
- Place reference materials and keys on the left page – Your completed writing won't obscure these elements when you're actively journaling, creating an intuitive visual hierarchy.
- Design vertically-oriented trackers – These run top-to-bottom on either page, bypassing directional constraints entirely while maximizing usable space.
This reversed architecture alters your bullet journal into a lefty-optimized tool that respects your biomechanics rather than fighting them.
Reverse Column Layout Benefits
By structuring your columns from right to left, you create a workspace where your hand trails behind finished entries instead of hovering over them. This reverse layout benefits your natural leftward motion while eliminating smudge risks.
| Layout Element | Traditional Setup | Reverse Setup |
|---|---|---|
| Priority Tasks | Left column | Right column |
| Time Blocks | Center | Center |
| Notes Section | Right column | Left column |
| Habit Tracker | Far left | Far right |
| Weekly Goals | Top left | Top right |
These left handed strategies change your wrist positioning from awkward to ergonomic. You'll write freely without contorting your arm or second-guessing placement. Start your entries where it feels intuitive—right side first—then progress leftward as content flows naturally from your pen.
Strategic Placement of Decorative Elements and Headers
Since your hand naturally moves across fresh ink as you write, positioning decorative elements on the right side of your spreads protects your artwork from smudging. This deliberate decorative placement alters potential frustration into intentional design.
Strategic header alignment creates clean writing zones while elevating your page aesthetics:
- Place headers in the upper right corner – Your wrist rests on blank space below, eliminating contact with wet ink while establishing visual hierarchy that feels natural to your writing flow.
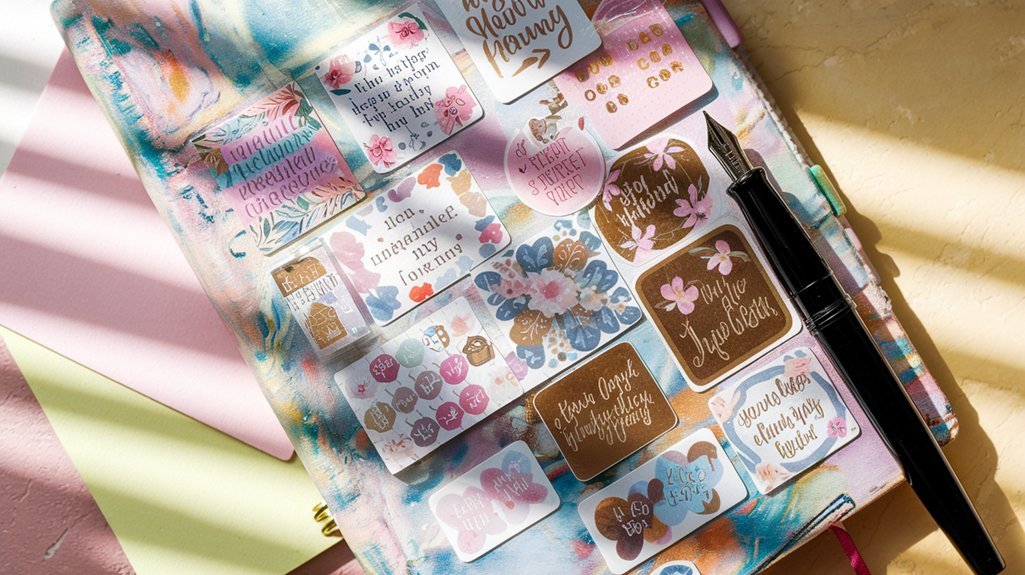
- Anchor embellishments along the right margin – Washi tape, stickers, and illustrations become finishing touches you add after completing your entries, never obstacles you navigate around.
- Reserve the left side for functional content – Keep your trackers, lists, and daily entries where your hand moves freely without interference, maximizing both efficiency and comfort.
This approach reimagines traditional layouts by prioritizing your biomechanics. If you're new to customizing spreads, exploring pre-created printable spreads can help you visualize layout options before committing pen to paper.
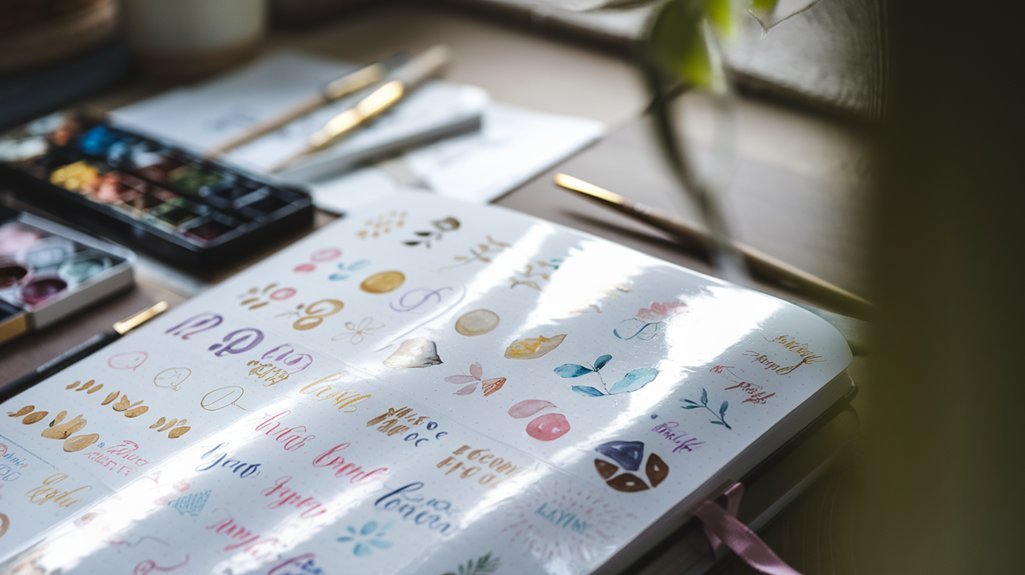
You'll discover that smudge-prevention strategies naturally produce sophisticated, asymmetrical designs that showcase your unique creative perspective.
Weekly Spread Configurations Optimized for Lefties
As a left-handed writer constructs weekly spreads, reversing the conventional left-to-right column sequence modifies your journal into a smudge-free workspace.
Position Monday on the right page, progressing leftward through the week. This right-to-left configuration guarantees your hand trails behind completed entries rather than dragging across fresh ink.
try vertical columns instead of horizontal rows for weekly planning. Your wrist naturally glides downward, eliminating the cross-page sweep that causes smearing.
Place time blocks at the column's right edge, allowing you to write leftward into open space.
Consider the “reverse cascade” layout where weekend days occupy the left page's outer margin. This positions your most detailed planning away from your palm's resting zone.
Anchor headers on the right side of each section, letting left-handed techniques guide your natural writing trajectory. Your hand now moves into blank territory, reshaping weekly spreads into efficient, pristine planning tools.
Monthly Calendar Layouts With Left-Hand Accessibility
Your monthly layouts need to work with your left hand, not against it.
A right-aligned calendar grid lets you write dates and events without your hand crossing over completed sections, eliminating those frustrating ink smears.
Alternatively, vertical timeline spreads position all your writing areas along the right side of the page, keeping your wrist in a natural, hover-free position throughout the month.
Right-Aligned Calendar Grid Design
When you flip your calendar grid to the right side of your spread, you'll instantly notice how much easier it becomes to fill in dates without your hand dragging across fresh ink.
Right aligned designs enhance your bullet journal experience by prioritizing your natural writing motion.
improve your setup with these left handed tips:
- Place your grid flush right – Position the calendar against the page's right margin, leaving the left side for decorative elements or notes that you'll add after the grid dries.
- Build from right to left – Start filling in dates from the rightmost column, working backward to prevent smudging.
- Angle your journal 45 degrees – This wrist-positioning technique keeps your hand below your writing line, eliminating contact with wet ink entirely.
Vertical Timeline Monthly Spreads
Because vertical timelines flow downward instead of across the page, they alter how left-handed writers interact with their monthly spreads. You'll eliminate smudging by positioning dates along the page's right edge, allowing your hand to rest comfortably on completed entries. This creative approach showcases vertical layout advantages while protecting your work.
Creative timeline designs offer unprecedented flexibility. Place event descriptions on the left, letting your wrist glide over blank space rather than fresh ink.
| Layout Element | Position | Benefit |
|---|---|---|
| Date markers | Right margin | Clean wrist rest |
| Event text | Left column | Smudge-free writing |
| Visual trackers | Center spine | Accessible reference |
| Monthly goals | Top section | Forward planning |
You'll discover these configurations naturally accommodate left-to-right hand movement, altering traditional constraints into strategic advantages.
Smudge-Proof Writing Tools and Quick-Drying Ink Options
Left-handed writers know the frustration of dragging their hand across wet ink, changing crisp journal entries into smeared messes. Strategic tool selection converts this challenge into clean, professional spreads.
The right pen transforms smudge-prone left-handed writing from frustrating chaos into crisp, professional pages worth preserving.
Essential smudge proof pens and quick dry inks include:
1. Gel pens with rapid-set formulas – Zebra Sarasa Dry and uni-ball Jetstream deliver instant-dry performance, preventing smudges even when your hand immediately follows your writing.
Test by writing, then swiping across text within three seconds.
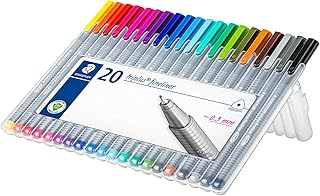
2. Micro-pigment fineliners – Staedtler Pigment Liners and Sakura Pigma Microns feature water-based ink that bonds quickly to paper.
Their consistent flow eliminates the need for repeated strokes that increase smudging risk.
3. Ballpoint alternatives – Paper Mate InkJoy delivers smooth coverage without the wet sheen that haunts traditional ballpoints.
The advanced ink technology dries three times faster than standard options.
Position your wrist above the writing line rather than curved below, enabling cleaner entries while your chosen tools work harder for you.
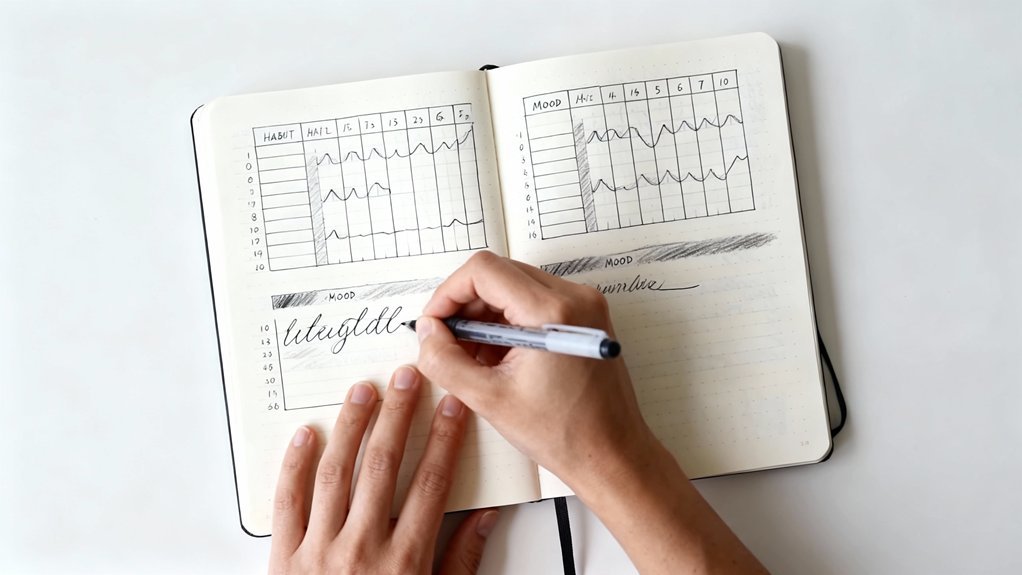
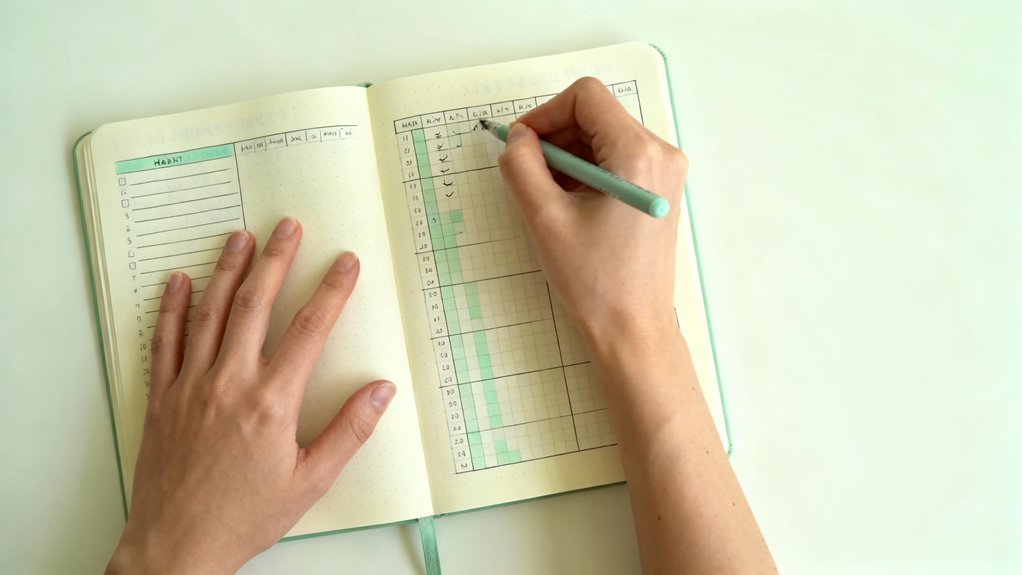
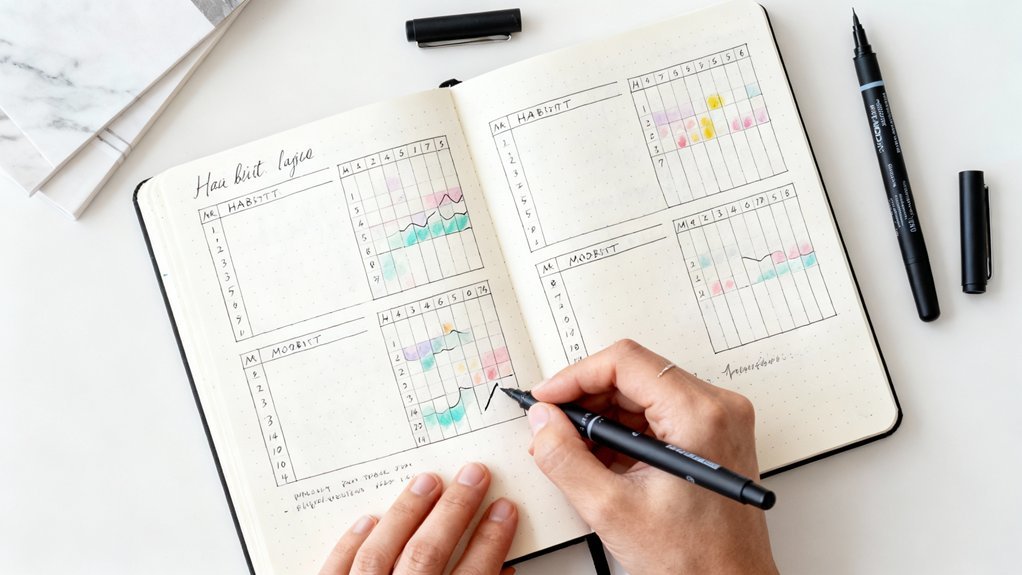
Mirror-Image Habit Trackers and Collection Pages
Traditional bullet journal layouts force left-handed writers into awkward hand contortions, but reversing the standard left-to-right format changes your spreads into ergonomic workspace.
Mirror image designs position your tracking elements from right to left, allowing your hand to follow its natural writing arc without hovering over completed sections.
Place your habit tracker keys on the right margin instead of left. Your wrist rests comfortably on blank space as you mark daily progress, eliminating smudge risks.
Monthly calendars work brilliantly when you flip them—start weeks on the right edge and progress leftward.
Collection pages benefit equally from this reversal. Position headers on the right, letting entries flow toward the spine. Your hand stays ahead of the ink, maintaining clean pages throughout.
Creative layouts don't require symmetry. Experiment with diagonal tracking grids or circular monthly wheels that accommodate your natural palm placement, altering restrictive templates into personalized productivity tools.
Frequently Asked Questions
Can Left-Handed Writers Use Pre-Made Bullet Journal Stencils and Templates Effectively?
You'll find pre-made stencils work brilliantly when you prioritize stencil adaptability and rotate them for right-to-left movement.
Template customization lets you flip designs to prevent smudge-prevention issues while maintaining proper wrist-positioning. Start from the page's right side, then work leftward.
You're not limited by standard layouts—innovate by repositioning elements strategically. Modern templates offer flexibility that changes traditional designs into left-handed-friendly solutions.
Experiment with unconventional angles and discover what enhances your comfort while minimizing hand drag across wet ink.
Should Lefties Bind Their Own Journals to Optimize Page Orientation?
You don't need custom binding to solve smudge issues—standard journals work fine with smart wrist-positioning techniques.
However, if you're innovation-minded, reverse page flipping through right-to-left binding lets you naturally pull pages backward, keeping your hand clear of wet ink. This unconventional approach alters how you interact with layouts.
Before committing to DIY binding though, test whether simply rotating a regular journal achieves similar smudge-prevention benefits without extra effort.
Do Left-Handed Bullet Journalers Need Different Lighting Setups While Writing?
Lighting isn't just helpful—it's your secret weapon against shadows.
You'll need illumination from your right side to prevent your hand from casting darkness across your work. This left handed ergonomics adjustment dramatically improves writing comfort while you move right-to-left across pages.
Position your lamp strategically to boost smudge-prevention visibility and refine wrist-positioning angles.
You're not adapting to standard setups; you're engineering a custom environment that alters your journaling experience into something remarkably efficient.
Are Spiral Notebooks Better Than Bound Journals for Left-Handed Users?
You'll find spiral notebooks offer superior flexibility for left-handed writing since you can fold pages completely back, eliminating wrist-positioning issues.
However, binding durability matters less than you'd think—the real breakthrough is right-to-left page usage. Start from the back of bound journals to prevent that annoying spiral from interfering with your hand.
This smudge-prevention technique works brilliantly with either format, so choose based on your personal workflow preferences.
How Do Left-Handed Writers Photograph Their Spreads Without Hand Shadows?
You'll capture flawless spreads by repositioning your camera angles above the page instead of beside it.
While right-handed users photograph from the left, you'll shoot from directly overhead or the right side, eliminating hand shadows completely.
This hand positioning mirrors your natural wrist-positioning during writing—hovering rather than anchoring.
Mount your phone on a small tripod or stack books beneath it.
You're innovating smudge-prevention techniques into photography now, converting limitations into creative advantages that showcase your spreads perfectly.
Conclusion
You've discovered that left-handed bullet journaling doesn't have to be a battle against your own hand. By restructuring your layouts like a puzzle that finally fits, you'll convert frustration into flow. Position your headers on the right, mirror your trackers, and let your pages breathe from right to left. Choose quick-drying inks that respect your wrist's natural arc. Your bullet journal should work with you, not against you—and now it will.
Related Posts
Left-Handed Friendly Supplies
Disclosure: Affiliate links below. We earn from qualifying purchases.
Quick-dry inks that won't smudge for lefties:

noopener sponsored nofollownoopener sponsored nofollownoopener sponsored nofollownoopener sponsored nofollowPentel EnerGel (5-Pack)
noopener sponsored nofollownoopener sponsored nofollownoopener sponsored nofollownoopener sponsored nofollowView

noopener sponsored nofollownoopener sponsored nofollownoopener sponsored nofollownoopener sponsored nofollowUni-ball Signo 207
noopener sponsored nofollownoopener sponsored nofollownoopener sponsored nofollownoopener sponsored nofollowView

noopener sponsored nofollownoopener sponsored nofollownoopener sponsored nofollownoopener sponsored nofollowPilot G2 Gel Pens (4-Pack)
noopener sponsored nofollownoopener sponsored nofollownoopener sponsored nofollownoopener sponsored nofollowView

noopener sponsored nofollownoopener sponsored nofollownoopener sponsored nofollownoopener sponsored nofollowStaedtler Pigment Liner
noopener sponsored nofollownoopener sponsored nofollownoopener sponsored nofollownoopener sponsored nofollowView
noopener sponsored nofollownoopener sponsored nofollownoopener sponsored nofollownoopener sponsored nofollowPentel EnerGel (5-Pack)
4.8 (24K+)
- Quick-dry ink
- Left-hander friendly
- Smooth writing
noopener sponsored nofollownoopener sponsored nofollownoopener sponsored nofollownoopener sponsored nofollowCheck Price
Why quick-dry matters: Left-handers drag their hand across fresh ink. These pens dry in under a second!
Related Posts
Related Resources
- Weekly Spreads Guide
- Beginner's Guide to Bullet Journaling
- Browse All Spreads
- Browse All Trackers
- Free Templates
Related Posts
Related Posts
Related Posts

Your Weekly Dose of Inspiration
Journaling ideas, family tips, and gentle inspiration.