- In This Article
- Key Takeaways
- Your Under-$20 Supply Haul
- The Core Layout: The Two-Page Financial Dashboard
- Step-by-Step Measurements
- Filling In The Formulas: Your Budgeting Blueprint
- Tracking In Real Time: The 5-Minute Daily Habit
- Budget-Friendly Design Flair: Washi Tape & Doodles
- What To Do When You Go Over Budget: A Graceful Recovery
- Adapting Your Tracker: Variations for Different Lifestyles
- Your Printable Starter Kit
- Sources & further reading
- Frequently Asked Questions
- What if I have an irregular income?
- Can I use this if I get paid weekly or bi-weekly?
- My spending categories don't fit the 50/30/20 rule. Is that okay?
- Related Articles
- Related Posts
Does tracking your spending feel like a chore you just can't afford to start? You're not alone. I've filled over 20 bullet journals, and the biggest hurdle I see for new journalers is the belief that you need expensive tools to get organized. But what if I told you that creating a powerful, clear, and beautiful monthly expense tracker is not only possible but can be done for less than the cost of a pizza? Forget the overwhelm of complex apps and pricey planners. We're talking about a simple, analog system that gives you crystal-clear control over your cash flow, built with supplies you can grab at any big-box store. This is about making your money work for you, starting with a minimal investment.
8 min read
In This Article
- Your Under-$20 Supply Haul
- The Core Layout: The Two-Page Financial Dashboard
- Filling In The Formulas: Your Budgeting Blueprint
- Tracking In Real Time: The 5-Minute Daily Habit
- Budget-Friendly Design Flair: Washi Tape & Doodles
- What To Do When You Go Over Budget: A Graceful Recovery
- Adapting Your Tracker: Variations for Different Lifestyles
- Your Printable Starter Kit
Key Takeaways
- Your Under-$20 Supply Haul
- The Core Layout: The Two-Page Financial Dashboard
- Filling In The Formulas: Your Budgeting Blueprint
- Tracking In Real Time: The 5-Minute Daily Habit
Your Under-$20 Supply Haul
Let's get specific about what you actually need. The beauty of bullet journaling is its flexibility, and that extends to your budget. You don't need a $25 Leuchtturm1917 to start; a $5 dotted notebook from a brand like Artist's Loft or Pen+Gear works perfectly. For pens, the goal is one reliable fineliner and one set of highlighters or mildliners. Reviewers have tested countless combinations, and the sweet spot is a Pigma Micron 05 for your lines and text (around $3) and a 5-pack of Crayola Super Tips markers ($5) for color-coding. The Crayola markers are surprisingly vibrant and don't bleed through most budget paper. A basic 12-inch ruler is a must for clean lines. All told, that's about $13, leaving you room for a cute washi tape for accents or a correction tape for peace of mind.
I made the mistake early on of buying a huge 48-pack of brush pens, thinking more colors meant a better tracker. It just led to decision fatigue. A limited palette forces you to be intentional. The Micron 05 is my go-to because it's fine enough for small numbers but bold enough for headings. If you want to splurge a little, a Tombow Dual Brush Pen in a light gray like N75 is fantastic for subtle shading and costs about $3.50 on its own. The key is to start simple. Your financial clarity comes from the system, not the stationery.
Your financial clarity comes from the system, not the stationery.
The Core Layout: The Two-Page Financial Dashboard
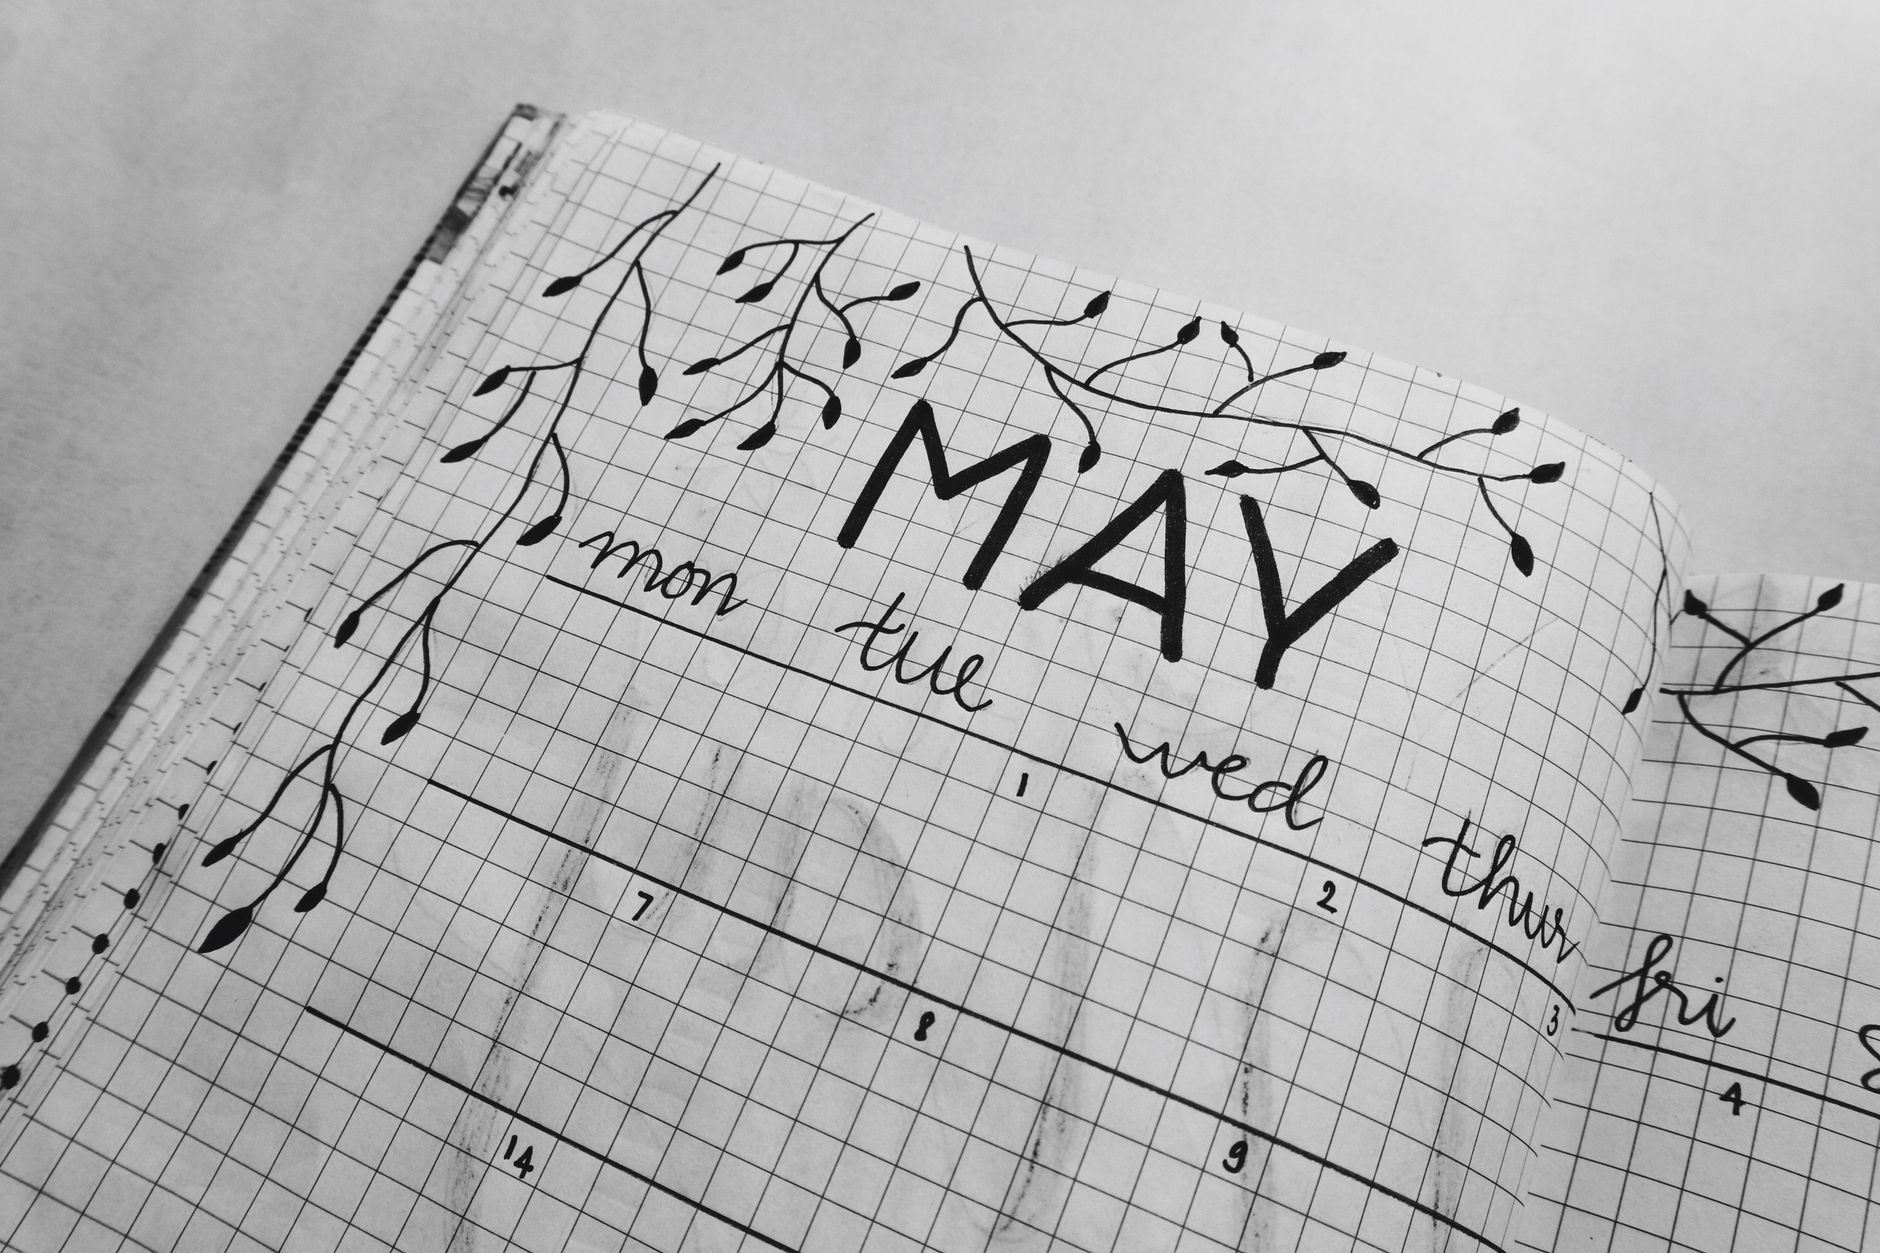
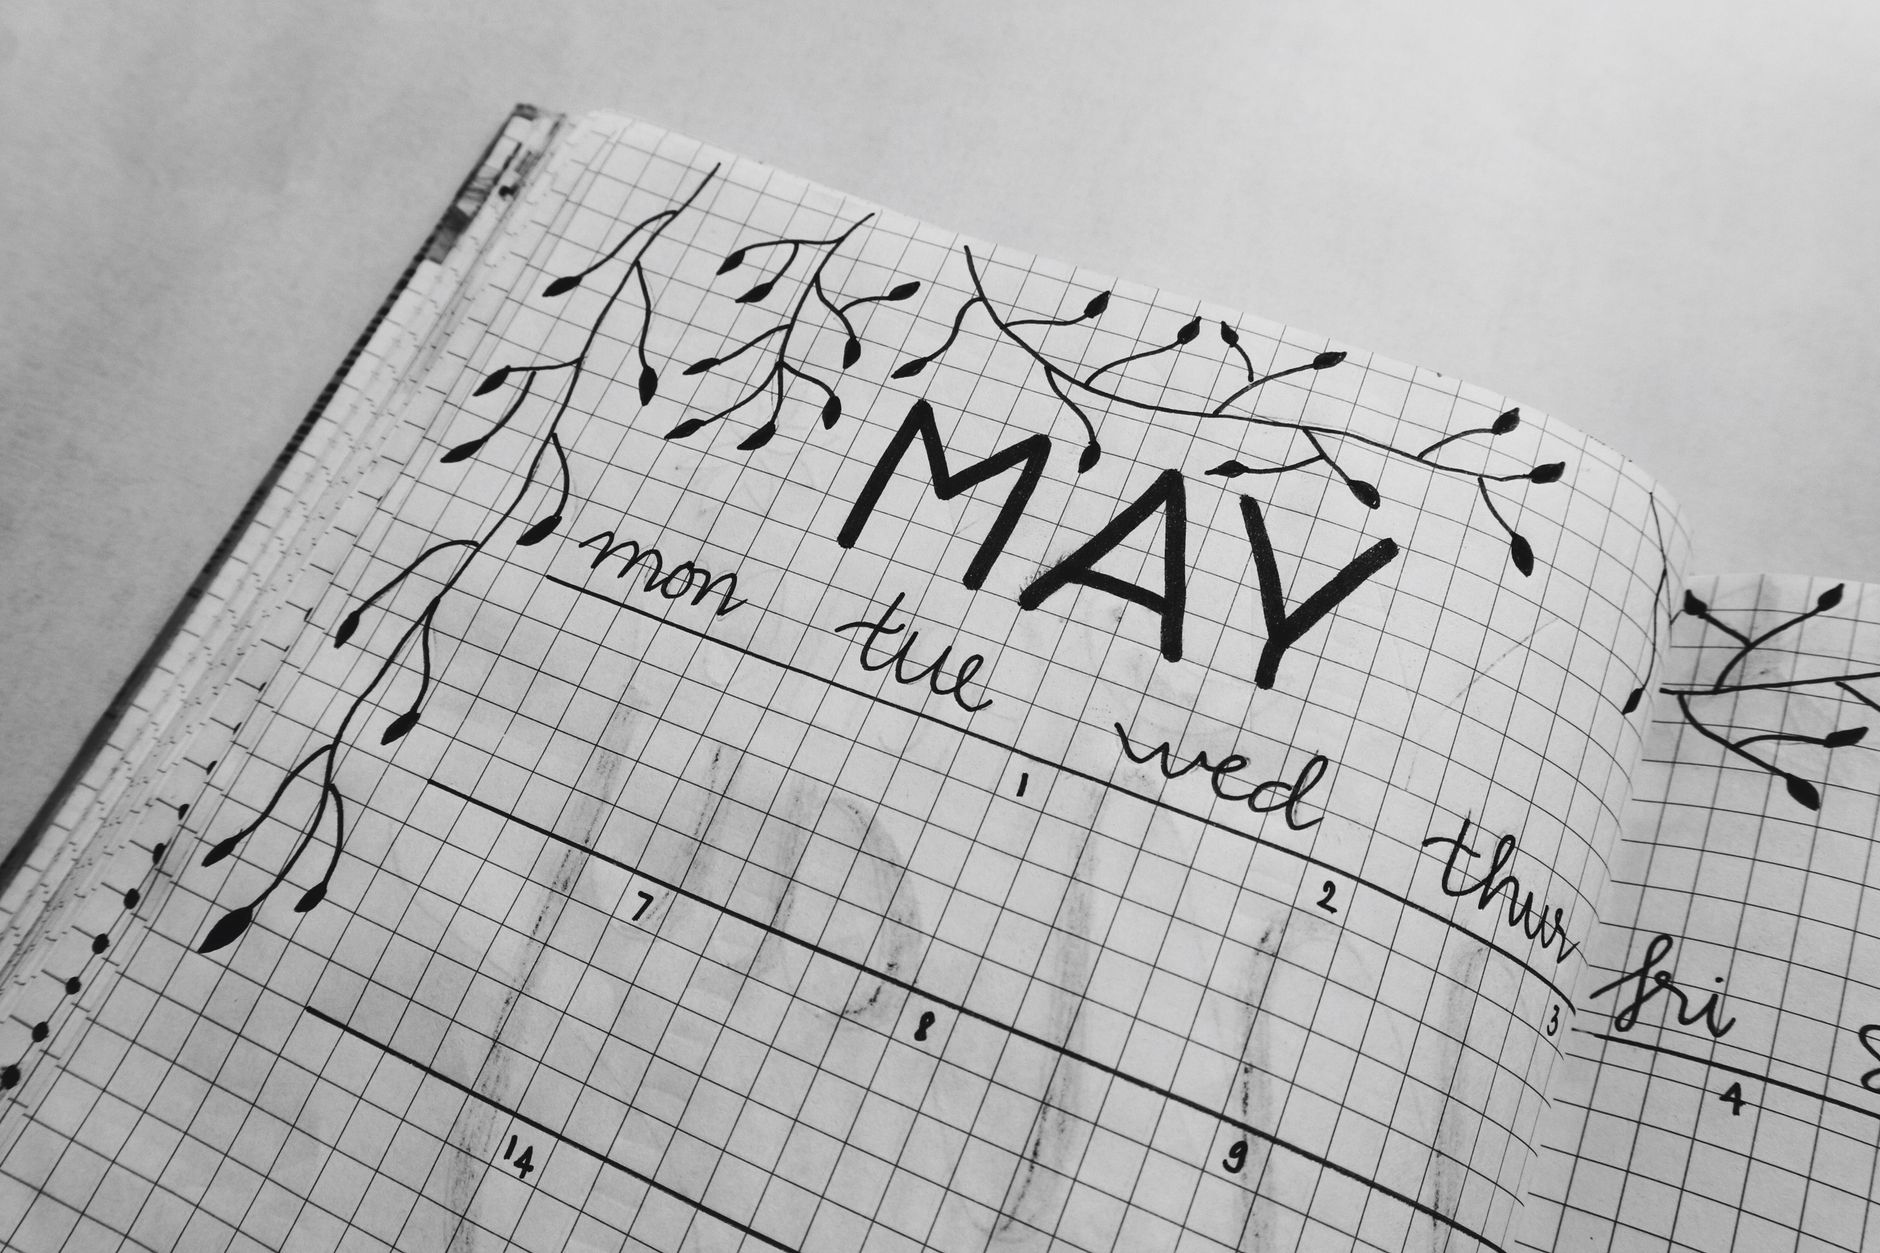
This is the heart of your expense tracker. We're building a two-page spread that gives you an at-a-glance view of your entire month. For the left page, we'll create an Income & Fixed Expenses section. The right page is your Daily Spending & Category Tracker. The goal is to see where your money is planned to go versus where it actually goes. I recommend using a standard A5 notebook, which gives you a writing area of about 5.8 x 8.3 inches. This provides ample space without feeling cramped.
Start by ruling a margin about an inch from the left edge of both pages. This column is for dates and categories. On the left page, create a section at the top about 3 inches tall for your income sources. Below that, list all your fixed monthly expenses: rent/mortgage, utilities, insurance, subscriptions, etc. On the right page, you'll rule 31 lines down the page, one for each day of the month. The rest of the space on both pages is for amounts. This simple, structured layout takes about 15 minutes to set up and becomes your financial command center.
Step-by-Step Measurements
- Left Page Margin: Measure and rule a vertical line 1 inch from the left edge.
- Income Section: From the top, measure down 3 inches and rule a horizontal line across the page.
- Fixed Expenses: Fill the remaining space with lines for each bill, about 0.25 inches apart.
- Right Page Margin: Repeat step 1 for consistency.
- Daily Lines: Lightly pencil 31 small marks down the margin, spacing them evenly (about 0.25 inches apart), then connect them with horizontal lines across the page.
Filling In The Formulas: Your Budgeting Blueprint
Now for the magic: the numbers. This is where we move from a pretty page to a powerful tool. For beginners, I strongly recommend the 50/30/20 rule as a starting framework. It's a classic for a reason—it's simple and effective. The rule allocates 50% of your after-tax income to Needs (rent, groceries, utilities), 30% to Wants (dining out, entertainment), and 20% to Savings and Debt Repayment. Write these three categories and their target percentages at the top of your right page.
Let's say your monthly take-home pay is $2,500. Your Needs budget is $1,250, Wants are $750, and Savings/Debt is $500. On your left page, list your fixed Needs (like rent for $1,000). The remaining $250 for Needs is for variable costs like groceries. This immediately shows you your spending boundaries. Each day on the right page, you'll log every purchase and categorize it with a colored dot from your Crayola markers (e.g., green for Needs, blue for Wants, orange for Savings). By the end of the first week, you'll have a vibrant visual of your spending habits. I tried just writing numbers without color-coding, and it was much harder to spot trends. The color creates an instant, intuitive understanding.
Tracking In Real Time: The 5-Minute Daily Habit
The biggest key to success with this tracker is consistency, not perfection. You don't need to save every receipt. The goal is to make logging a quick, 5-minute ritual. I do mine every evening with my cup of tea. Simply take your Micron 05 and, on the right page, write the date and each purchase from the day. Next to the amount, make a small colored dot corresponding to its category. Then, subtract the amount from the running total for that category on the left page.
For example, if you spent $45 on groceries (a Need) and $15 on coffee (a Want), you'd log both, add a green dot next to the $45 and a blue dot next to the $15. Then, you'd reduce your “Variable Needs” budget by $45 and your “Wants” budget by $15. This process takes less than five minutes but provides immense clarity. I used to try and track weekly, but by Saturday, I'd already forgotten what I bought on Monday. Daily tracking is the secret sauce that makes this system work.
Daily tracking is the secret sauce that makes this system work.
Budget-Friendly Design Flair: Washi Tape & Doodles
Your tracker should be functional first, but a little personality never hurt! This is where you can have fun without breaking the bank. A single roll of washi tape (often $1-3) can add a huge visual punch. Use a thin strip along the top of your spread to define the month, or create little flags to highlight important dates like payday. Don't underestimate the power of your Crayola markers for simple doodles. A small money bag icon next to your income section, or a tiny grocery cart by your food budget, adds a touch of joy.
I made the mistake of trying to create elaborate, illustrated headers when I started. It took forever and made me hesitant to “mess up” the page with my actual spending. Keep it simple. Use your gray Tombow pen, if you have it, to lightly shade the header boxes for a professional, layered look. The best design is one that makes you want to use the spread every day, not one that feels too precious to touch.
What To Do When You Go Over Budget: A Graceful Recovery
Here's a truth nobody talks about: you will probably go over budget in a category, especially in the first few months. That's not failure; it's data collection! The goal isn't perfection, but awareness. When you overspend, don't ignore it. Draw a neat line through the original budget number and write the new, higher amount next to it. Use a different color, like red from your Crayola pack, to make it stand out. Then, ask yourself a simple question: “Which other category can I borrow from to cover this?”
Maybe you take $20 from your Wants budget to cover the grocery overage. The visual act of adjusting the numbers is powerful. It turns a mistake into a conscious financial decision. I used to just get discouraged and stop tracking for the rest of the month. This method keeps you in control, even when things don't go perfectly according to plan. It turns budgeting from a rigid punishment into a flexible, adaptive tool.
Adapting Your Tracker: Variations for Different Lifestyles
The basic two-page spread is incredibly versatile. If you're a freelancer with variable income, dedicate more space on the left page to listing different client payments and dates. If you're focused on debt payoff, create a mini-tracker in the margin that visually charts your decreasing balance each month. For couples, you can split the daily log into two columns (“Me” and “Them”) to see individual spending patterns while working towards a shared goal.
The system grows with you. After three months of using the basic tracker, I realized I needed a separate section for tracking subscriptions, as they were quietly eating my budget. I added a small box on the left page to list each one and its renewal date. Your bullet journal is a living document. Let your spending habits tell you what you need to track next.
Your Printable Starter Kit
If the thought of ruling lines makes you nervous, I've got you covered. Head over to our Freebies Library on bulletjournals.net and download the “Budget Tracker Starter Kit.” It includes a printable PDF version of this exact two-page spread. You can print it, punch it, and pop it into a cheap binder as a no-commitment way to try the system. It has all the sections pre-drawn, so you can focus on the logging habit first. Sometimes, removing the setup barrier is all it takes to build a lasting routine.
Starting a budget doesn't require fancy software or a big investment. It requires a notebook, a pen, and a few minutes of your day. This simple, analog system gives you a tangible connection to your money that apps simply can't match. You can start tonight. Grab that notebook, rule your lines, and take that first step toward financial clarity. I'd love to see your creations—share your budget spread with our community using #BujoBudget on Instagram!
Sources & further reading
- Annual Budget (estcovina.gov)
- Making a Budget (consumer.gov)
- Observation of the rare $B^0_s\toμ^+μ^-$ decay from the combined analysis of CMS and LHCb data (arxiv.org)
Frequently Asked Questions
What if I have an irregular income?
This system works great for variable income. On your left page, instead of writing one income amount, create a list for each expected payment source. As money comes in, log it and add it to a “Total Monthly Income So Far” tally. Base your category spending limits on the income that has actually been received, which encourages you to live on what you have rather than what you hope to get. It requires more active management but provides crucial stability.
Can I use this if I get paid weekly or bi-weekly?
Absolutely. The monthly view is still valuable for seeing the big picture. Simply note your paydays clearly on the daily log page. You might find it helpful to draw a light vertical line on the spending log after each payday. This helps you visualize how your spending aligns with your cash flow throughout the month, preventing you from running out of money before your next paycheck arrives.
My spending categories don't fit the 50/30/20 rule. Is that okay?
It's more than okay—it's expected! The 50/30/20 rule is a guideline, not a law. The real power of this tracker is the awareness it builds. After a month or two of tracking, you'll see your actual spending patterns. If you spend 40% on Needs and 40% on Wants, you can adjust your targets to reflect your real life. The goal is to create a budget that works for you, not to force your life into a rigid template.
Small changes, real momentum
Get practical guides and templates you'll actually use — a few thoughtful emails a month.
Related Posts



Your Weekly Dose of Inspiration
Journaling ideas, family tips, and gentle inspiration.
Love this content?
Join the BulletJournals.net community for exclusive tips, guides, and updates.
Subscribe Free