Bullet journaling changed my life. I know that sounds dramatic, but stick with me. Five years ago, I was drowning in sticky notes, forgetting appointments, and feeling like I could never quite get my life together. Then I discovered bullet journaling—and everything clicked.
In this complete guide, I'll teach you everything you need to know to start your own bullet journal journey. No artistic skills required. No expensive supplies. Just you, a notebook, and a pen.
What You'll Learn
- What a bullet journal actually is (and isn't)
- The only supplies you need to get started
- How to set up your first journal from scratch
- The core components: Index, Future Log, Monthly Log, Daily Log
- Key symbols and rapid logging
- Common mistakes to avoid
What Is a Bullet Journal?

A bullet journal (or “BuJo”) is a customizable organization system created by Ryder Carroll. It combines a to-do list, diary, planner, and notebook all in one. But here's the magic: you create it yourself, so it works exactly the way your brain works.
Unlike pre-made planners that force you into someone else's structure, a bullet journal adapts to your life. Having a busy week? Add more daily pages. Going through a creative phase? Include art and doodles. Need to track habits? Create a tracker. The system grows with you.
The Origin Story
Ryder Carroll developed the bullet journal method in the 1990s as a way to manage his ADHD. He struggled with traditional planners and needed something flexible enough to handle his wandering attention. After years of refinement, he shared the system publicly in 2013, and it exploded into a global phenomenon.
Today, millions of people use bullet journaling—from students managing coursework to executives running companies to parents juggling family schedules. The beauty is that it works for everyone because you make it your own.
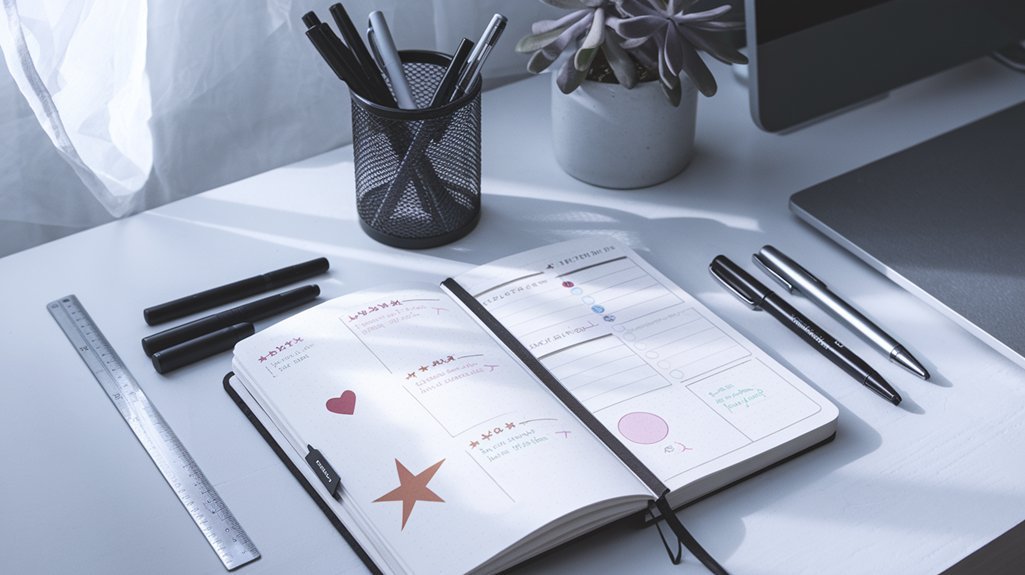
The Only Supplies You Need
Let me save you from the #1 mistake new bullet journalers make: you don't need fancy supplies to start.
Seriously. You need exactly two things:
- A notebook (any notebook)
- A pen (any pen that writes)
That's it. You can start with a $2 composition notebook from the dollar store. I did.
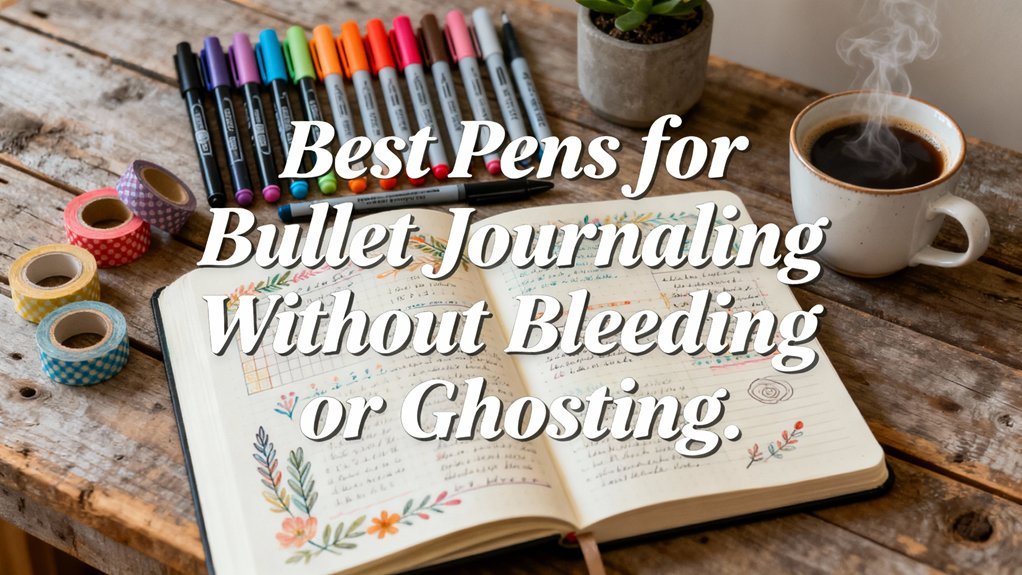
That said, if you want recommendations for quality supplies that will last, here are my tested favorites:
Recommended Starter Supplies
Affiliate links – we earn from qualifying purchases at no extra cost to you.
What About Dotted vs. Lined vs. Blank?
Dotted paper is the gold standard for bullet journaling. The dots provide subtle guidance for writing straight lines and creating layouts, but they're unobtrusive enough that they don't interfere with drawings or custom designs.
That said, use whatever you have. I've seen beautiful bullet journals in lined notebooks, graph paper, and completely blank pages. The format matters less than actually starting.
The 4 Core Components
Every bullet journal has four essential parts. Master these, and you have a complete system.
1. The Index
The Index is your table of contents. Leave the first few pages blank and number every page as you go. When you create a new spread or collection, jot down its page number in the Index.
Example Index:
January Monthly ……….. 8-9
January Daily ………… 10-25
Habit Tracker …………. 26
Books to Read …………. 27
February Monthly ……… 28-29
2. The Future Log
The Future Log is where you capture events and tasks that are happening more than a month away. It's your bird's-eye view of the year ahead.
The simplest setup: divide a spread (two facing pages) into six sections, one for each month. When you need to remember something for May, flip to your Future Log and jot it down in the May section.
3. The Monthly Log
At the start of each month, create a Monthly Log. This typically includes:
- Calendar page: List each day of the month vertically with space for key events
- Task page: A running list of things you want to accomplish this month
The Monthly Log gives you a snapshot of the month at a glance. Review it weekly to stay on track.
4. The Daily Log
This is where you'll spend most of your time. Each day, write the date and start capturing:
- Tasks to do
- Events happening
- Notes and thoughts
Don't pre-make daily pages. Just create them as you need them. Some days might be half a page; others might be three pages. Let your life dictate the space, not the other way around.
Key Symbols and Rapid Logging
Rapid logging is the secret sauce of bullet journaling. Instead of writing full sentences, you use short bullet points and symbols to capture information quickly.
The Core Symbols
×Completed – Task done!
>Migrated – Moved to another day/month
<Scheduled – Added to Future Log
○Event – Appointment, meeting, occasion
—Note – Information, idea, observation
How Rapid Logging Works
Instead of writing “I need to call the dentist to schedule a cleaning appointment,” you write:
• Call dentist – schedule cleaning
When you complete it, add an X:
× Call dentist – schedule cleaning
If you didn't get to it and need to move it to tomorrow, add an arrow:
> Call dentist – schedule cleaning
This visual system makes it incredibly easy to scan your pages and see what's done, what's pending, and what's been moved.
Setting Up Your First Journal (Step by Step)
Ready to start? Here's exactly what to do:
Step 1: Create Your Index (Pages 1-4)
Leave the first four pages blank. Write “INDEX” at the top of page 1. You'll fill this in as you add content.
Step 2: Create Your Future Log (Pages 5-8)
Divide these pages into 12 sections (2 per page), one for each month. Write the month names. Leave room to jot down future events and tasks.
Step 3: Create This Month's Monthly Log (Pages 9-10)
On the left page, list each day of the month (1-31 or however many days). Add any events you already know about. On the right page, write your goals and tasks for the month.
Step 4: Start Your First Daily Log (Page 11)
Write today's date. Start capturing tasks, events, and notes using rapid logging. That's it—you've officially started your bullet journal!
Common Mistakes (And How to Avoid Them)
Mistake #1: Waiting for the “Perfect” Supplies
Fix: Start with what you have. You can always upgrade later.
Mistake #2: Comparing to Instagram
Fix: Those gorgeous spreads took hours to create. Your functional journal is just as valid. Pretty ≠ effective.
Mistake #3: Overcomplicating Everything
Fix: Start with just the basics (Index, Future Log, Monthly Log, Daily Log). Add more only when you feel a genuine need.
Mistake #4: Giving Up After Missing Days
Fix: Your bullet journal has no guilt. Missed a week? Just start fresh on a new page. There's no “catching up” required.
Mistake #5: Pre-Making Pages Too Far Ahead
Fix: Only create pages as you need them. Your life is unpredictable; your journal should be too.
Frequently Asked Questions
How long does it take to bullet journal each day?
Most people spend 5-15 minutes daily on their bullet journal. You'll spend a bit more time at the start of each month setting up your Monthly Log (maybe 30 minutes), but daily logging is quick—that's the whole point of rapid logging.
Do I need to be artistic to bullet journal?
Absolutely not! The original bullet journal method is completely functional—no drawings, no decoration. Many bullet journalers keep it minimal on purpose. Artistic spreads are optional and often more about social media than productivity.
What if I miss a day (or week)?
Just pick up where you left off. Start a new daily log on today's date and continue. There's no need to fill in missed days—your bullet journal is about moving forward, not documenting every moment.
How many pages do I need for a month?
It varies wildly based on your life and style. Some people use 20 pages per month; others use 60. The beauty is you're not locked into any amount—use what you need, when you need it.
What size notebook is best?
A5 (5.5″ x 8.5″) is the most popular size—it's portable but offers enough space for most layouts. If you want more room, go B5. If portability is key, try A6 or pocket-sized. There's no wrong answer; pick what feels right.
Your Next Steps
Congratulations—you now know everything you need to start bullet journaling! Here's what to do next:
- Get your supplies (even if it's just a random notebook and pen)
- Set up your Index, Future Log, and Monthly Log
- Start your first Daily Log today
- Keep it simple for the first month
Once you've been bullet journaling for a month, you'll naturally discover what works for you. Maybe you'll add a habit tracker. Maybe you'll try weekly spreads. Let your needs guide your evolution.
Related Resources
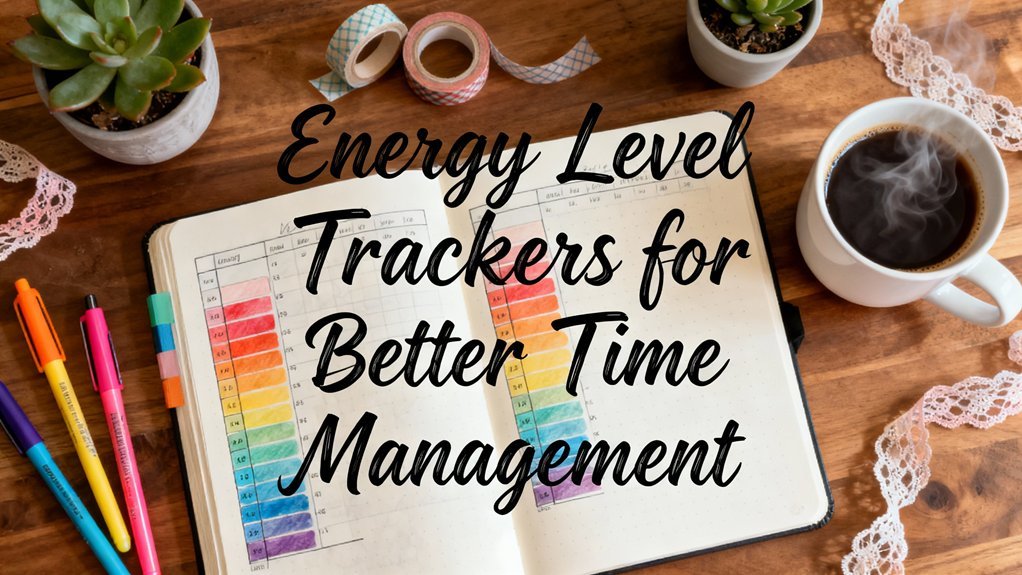
- Complete Tracker Library – 50+ tracker ideas
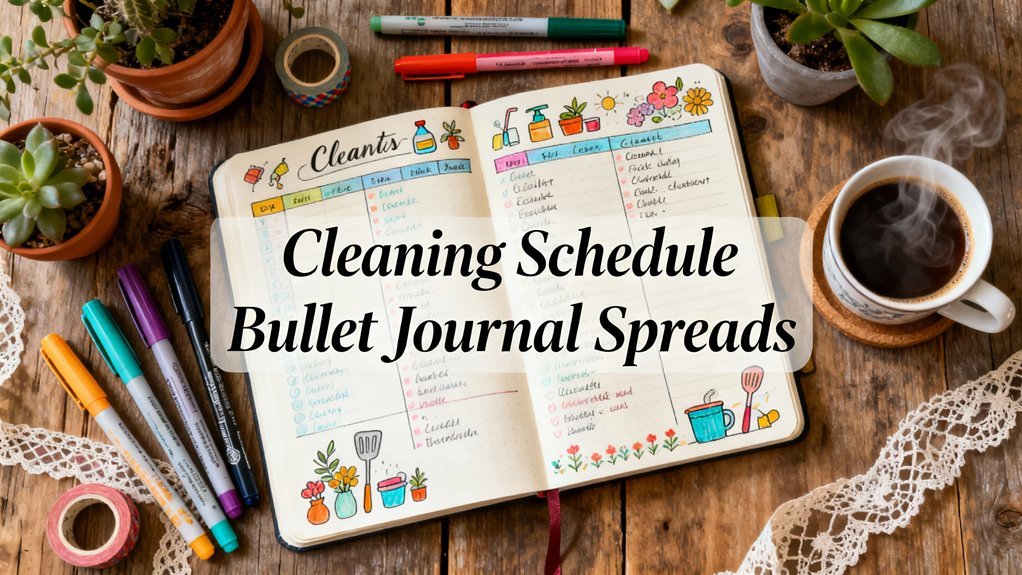
- Spreads & Layouts Gallery – Inspiration for every style
- Best Supplies Guide – Detailed product reviews
- Free Printable Templates – Download and start today