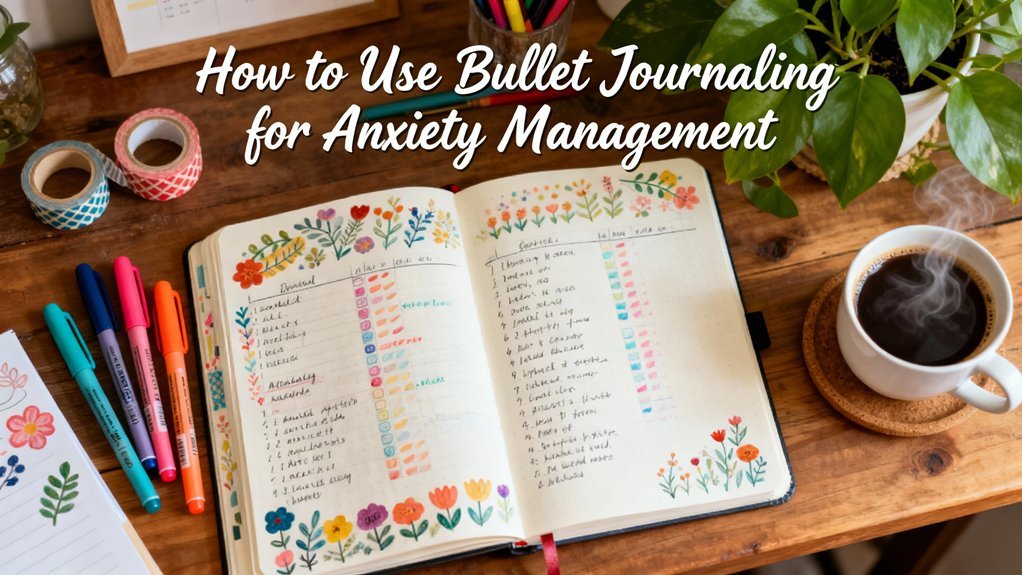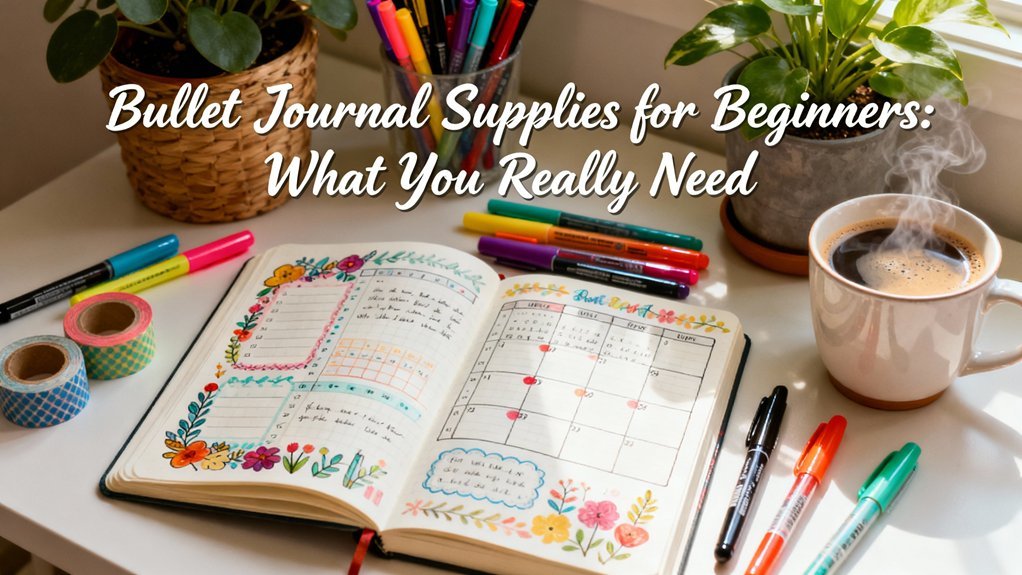
You only need two things to start bullet journaling: a notebook and a pen. Here's everything you need to know about choosing the right supplies without breaking the bank.
Disclosure: This page contains affiliate links. As an Amazon Associate, we earn from qualifying purchases at no extra cost to you.
The Only Two Items You Need


Don't get overwhelmed by fancy supplies. Start with just these two essentials:
1. A Notebook
Dotted or grid paper, 80-160gsm weight
2. A Pen
Any pen that writes smoothly and doesn't bleed
Best Beginner Notebook
Most Popular

Leuchtturm1917 A5 Dotted
★★★★☆
4.7 (31,000+ reviews)
4.7 (31,000+ reviews)
- 251 numbered pages
- 80gsm paper
- Index + 2 bookmarks
$19.95
prime
prime
Best Budget Notebook
Best Value

Scribbles That Matter A5
★★★★☆
4.6 (12,000+ reviews)
4.6 (12,000+ reviews)
- 160gsm paper
- 200 pages
- Budget-friendly
$14.97
prime
prime
Best Beginner Pen
Budget Pick

Pilot G2 Gel Pens (4-Pack)
★★★★☆
4.8 (88,000+ reviews)
4.8 (88,000+ reviews)
- Smooth gel ink
- Refillable
- Comfortable grip
$5.88
prime
prime
Budget Starter Kit (~$20)
Everything you need to start for under $25:
Recommended Starter Kit (~$40)
A more complete setup:

Optional Upgrades (When Ready)
Add these only after you've established your practice:


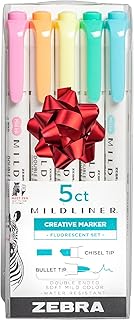
What You DON'T Need
- Expensive markers or brush pens (yet)
- Stencils and stamps
- Washi tape and stickers
- Multiple colored pens
Start simple. Add supplies only when you identify specific needs through actual use.
Related Resources
- Weekly Spreads Guide
- Beginner's Guide to Bullet Journaling
- Browse All Spreads
- Browse All Trackers
- Free Templates