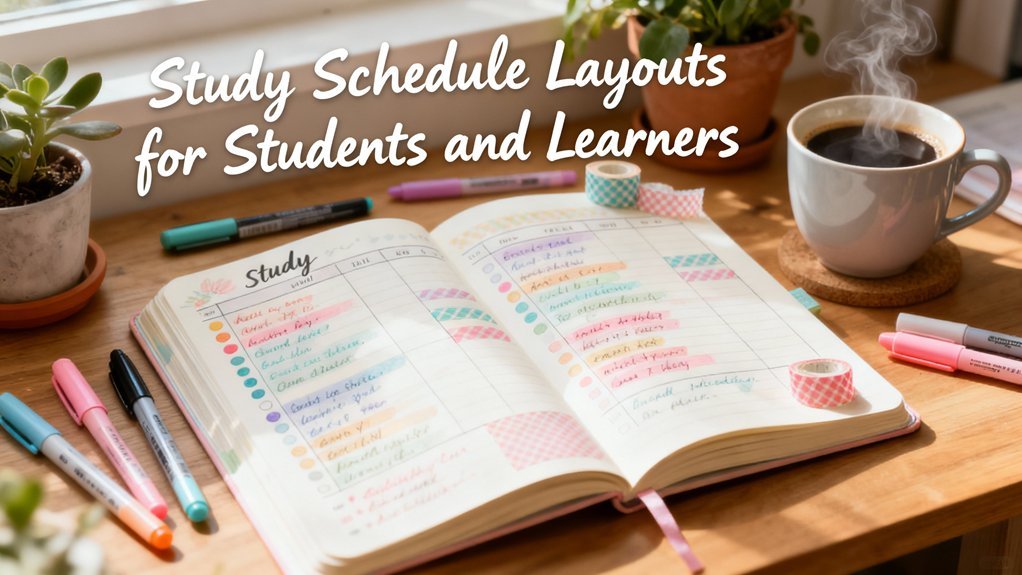
Why Weekly Spreads Matter
The weekly spread is where planning meets action in your bullet journal. While monthly logs give you the big picture and daily logs capture the details, weekly spreads bridge the gap – helping you see your entire week at a glance while maintaining space for tasks and notes.
A good weekly spread becomes your command center for the week ahead.
Choosing Your Layout Style
There are two main approaches to weekly spreads, and neither is better than the other. Choose based on how you think and plan.
Vertical Layout

In a vertical layout, each day gets its own column running top to bottom. This works well if you:
- Have relatively few tasks per day
- Like seeing the whole week side by side
- Prefer a newspaper or calendar style
- Want to compare days easily
Horizontal Layout

In a horizontal layout, each day gets its own row running left to right. This suits you if you:
- Have many tasks per day
- Need more writing space
- Think in timeline fashion
- Like to scan down the page
Essential Elements to Include
The Basics
- Week dates: “December 16-22” at the top
- Day labels: Monday through Sunday
- Task space: Room for daily to-dos
- Event space: Appointments and commitments
Optional Additions
- Weekly goals: 3-5 priorities for the week
- Notes section: Random thoughts and ideas
- Habit tracker: Mini tracker for the week
- Meal planning: What to eat each day
- Weather icons: If outdoor activities matter
- Week number: Useful for project planning
Step-by-Step Setup
Step 1: Draw Your Grid
Start with your basic structure. For a two-page spread:
- Left page: Monday through Thursday
- Right page: Friday through Sunday plus notes
Or divide however works for your week. Weekend warriors might want larger weekend boxes.
Step 2: Add Headers
Label each day section. Keep headers simple or get creative with lettering – but do this step while the page is clean.
Step 3: Include Key Dates
Before the week starts, add any scheduled appointments, deadlines, or events in the appropriate day boxes.
Step 4: List Weekly Priorities
What must happen this week? Write 3-5 key goals where you will see them daily.
Step 5: Add Trackers (Optional)
If you track habits weekly, add a small tracker section now while the spread is fresh.
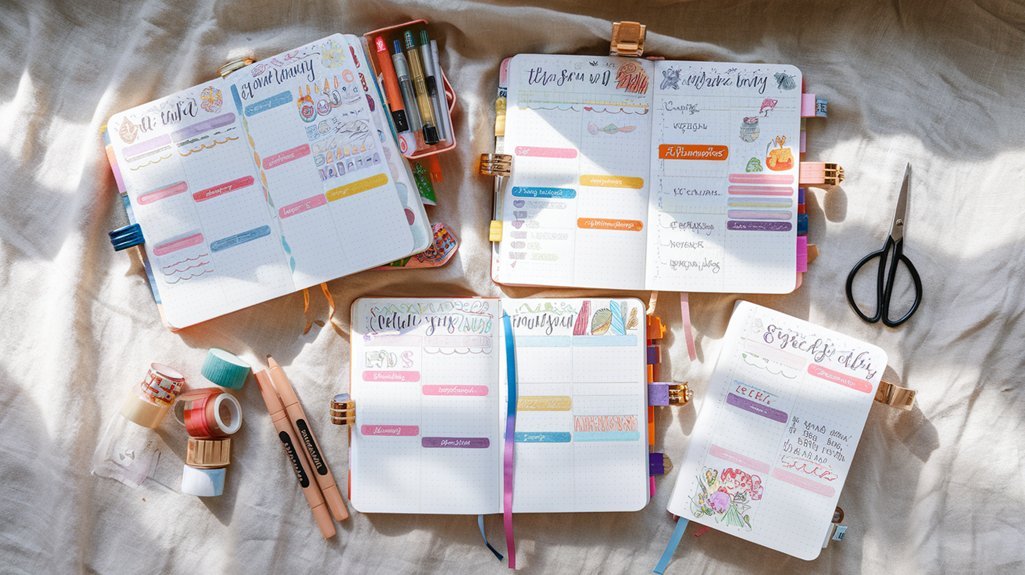
Layout Variations to Try
The Minimalist
Simple lines dividing days. No decoration. Maximum writing space. Perfect for busy weeks or when you need to focus on substance over style.
The Dashboard
Days on one side, information panels on the other. Include weather forecast, meals, priorities, and a mini habit tracker. Great for people who like seeing everything in one place.
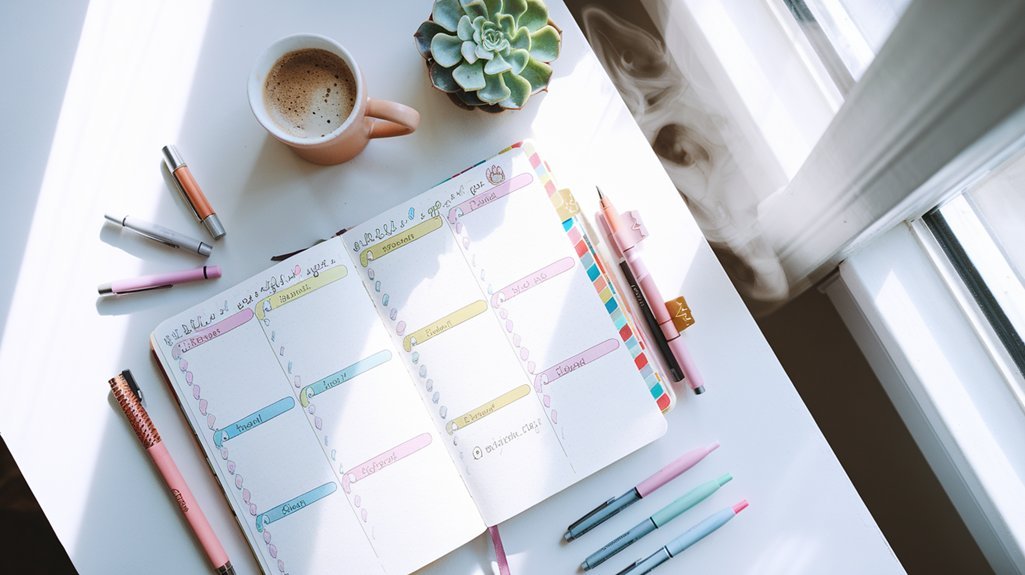
The Time Blocked
Each day divided into morning, afternoon, evening sections. Ideal for scheduling appointments or managing energy throughout the day.
The Dutch Door
Cut the top half of one page shorter so you can see trackers or goals while viewing daily details. A creative way to maximize information visibility.
The Rolling Weekly
Recommended for You
🛒 Dotted Journal Notebook
As an Amazon Associate we earn from qualifying purchases.
Instead of pre-drawing weeks, add days as they come. Start Monday's section, and when you need more space, add Tuesday below it. Flexible but requires more daily setup.
Common Mistakes to Avoid
Making Boxes Too Small
If you regularly run out of space, your boxes are too small. Better to have extra space than cramped writing.
Over-Decorating Before Planning
Spending an hour decorating an empty spread means less time for actual planning. Decorate as you go or keep it functional.
Not Leaving Flexibility
Life changes. Leave some blank space for unexpected tasks or notes that arise during the week.
Copying Layouts That Don't Fit
That gorgeous spread on Instagram might not work for your life. Adapt ideas to your actual needs.
Weekly Review Process
Before starting a new weekly spread:
- Review last week's spread
- Migrate incomplete tasks
- Check monthly calendar for upcoming events
- Set fresh priorities
- Note what worked and what to change
Digital vs. Analog Weekly Planning
Your bullet journal weekly spread works alongside digital tools:
- Calendar app: Time-specific appointments with reminders
- Bullet journal: Tasks, goals, and flexible planning
Many people keep both – the calendar handles scheduling, the bujo handles doing.
Adapt to Your Life
The best weekly spread is the one you actually use. Experiment with different layouts until you find what clicks. What works in January might need adjusting by June as your life changes.
Start simple, add elements you need, remove what you don't use. Your weekly spread should serve you, not the other way around.
Related Resources
- Spreads Library – Browse more layouts
- Rapid Logging Guide – Fill your spreads efficiently
- Migration Guide – Move tasks between weeks
- Tracker Library – Add trackers to your weekly spread