
- In This Article
- Key Takeaways
- The Breaking Point: What My Old System Lacked
- Designing the Color-Block Assignment Tracker
- Choosing Your Subject Color Palette
- Implementing the Deadline Indicator System
- Step-by-Step: Building Your Spread
- The Results: Before and After Metrics
- Common Pitfalls and How to Avoid Them
- Variations for Different Learning Styles
- Sources & further reading
- FAQ
- Related Articles
- Related Posts
Ever feel like your assignments are a tidal wave about to crash down, but you can't tell which one is going to hit first? I've filled over 20 journals, and the biggest leap in my academic organization came not from a fancy app, but from a simple color-block system in my Bullet Journal. After a disastrous semester where I missed three major deadlines, I designed a student assignment tracker that cut my missed deadlines by a staggering 85 percent. The secret wasn't more complexity; it was smarter, more visual organization using subject-specific colors and deadline indicators. I'll walk you through the exact layout, the pens that made it work, and the real-world metrics that prove this system is a game-saver for any overwhelmed student.
8 min read
In This Article
Key Takeaways
- The Breaking Point: What My Old System Lacked
- Designing the Color-Block Assignment Tracker
- Choosing Your Subject Color Palette
- Implementing the Deadline Indicator System
The Breaking Point: What My Old System Lacked
My old system was a mess of sticky notes and frantic calendar scribbles. I'd write assignments in my weekly log, but they'd get lost among other tasks. I tried a simple list, but without visual cues, everything felt equally urgent—or not urgent at all. The turning point was missing a 20% weighted history essay. I had the date written down, but it was buried. I realized my brain needed to see deadlines spatially and categorically. A single black pen and a list weren't cutting it. I needed a dedicated spread that acted like a command center for my entire academic load, making upcoming due dates impossible to ignore.
Before implementing the color-block system, my average rate of late or missed assignments was about 2.5 per month. My stress levels were through the roof, especially on Sundays when I'd do my weekly review and realize I'd forgotten something. The cost wasn't just grades; it was constant, low-grade anxiety. The old method took me maybe 5 minutes a week to set up, but its failure cost me hours of panic and lowered the quality of my work. I knew I needed a redesign that prioritized visibility above all else.
I knew I needed a redesign that prioritized visibility above all else.
Designing the Color-Block Assignment Tracker
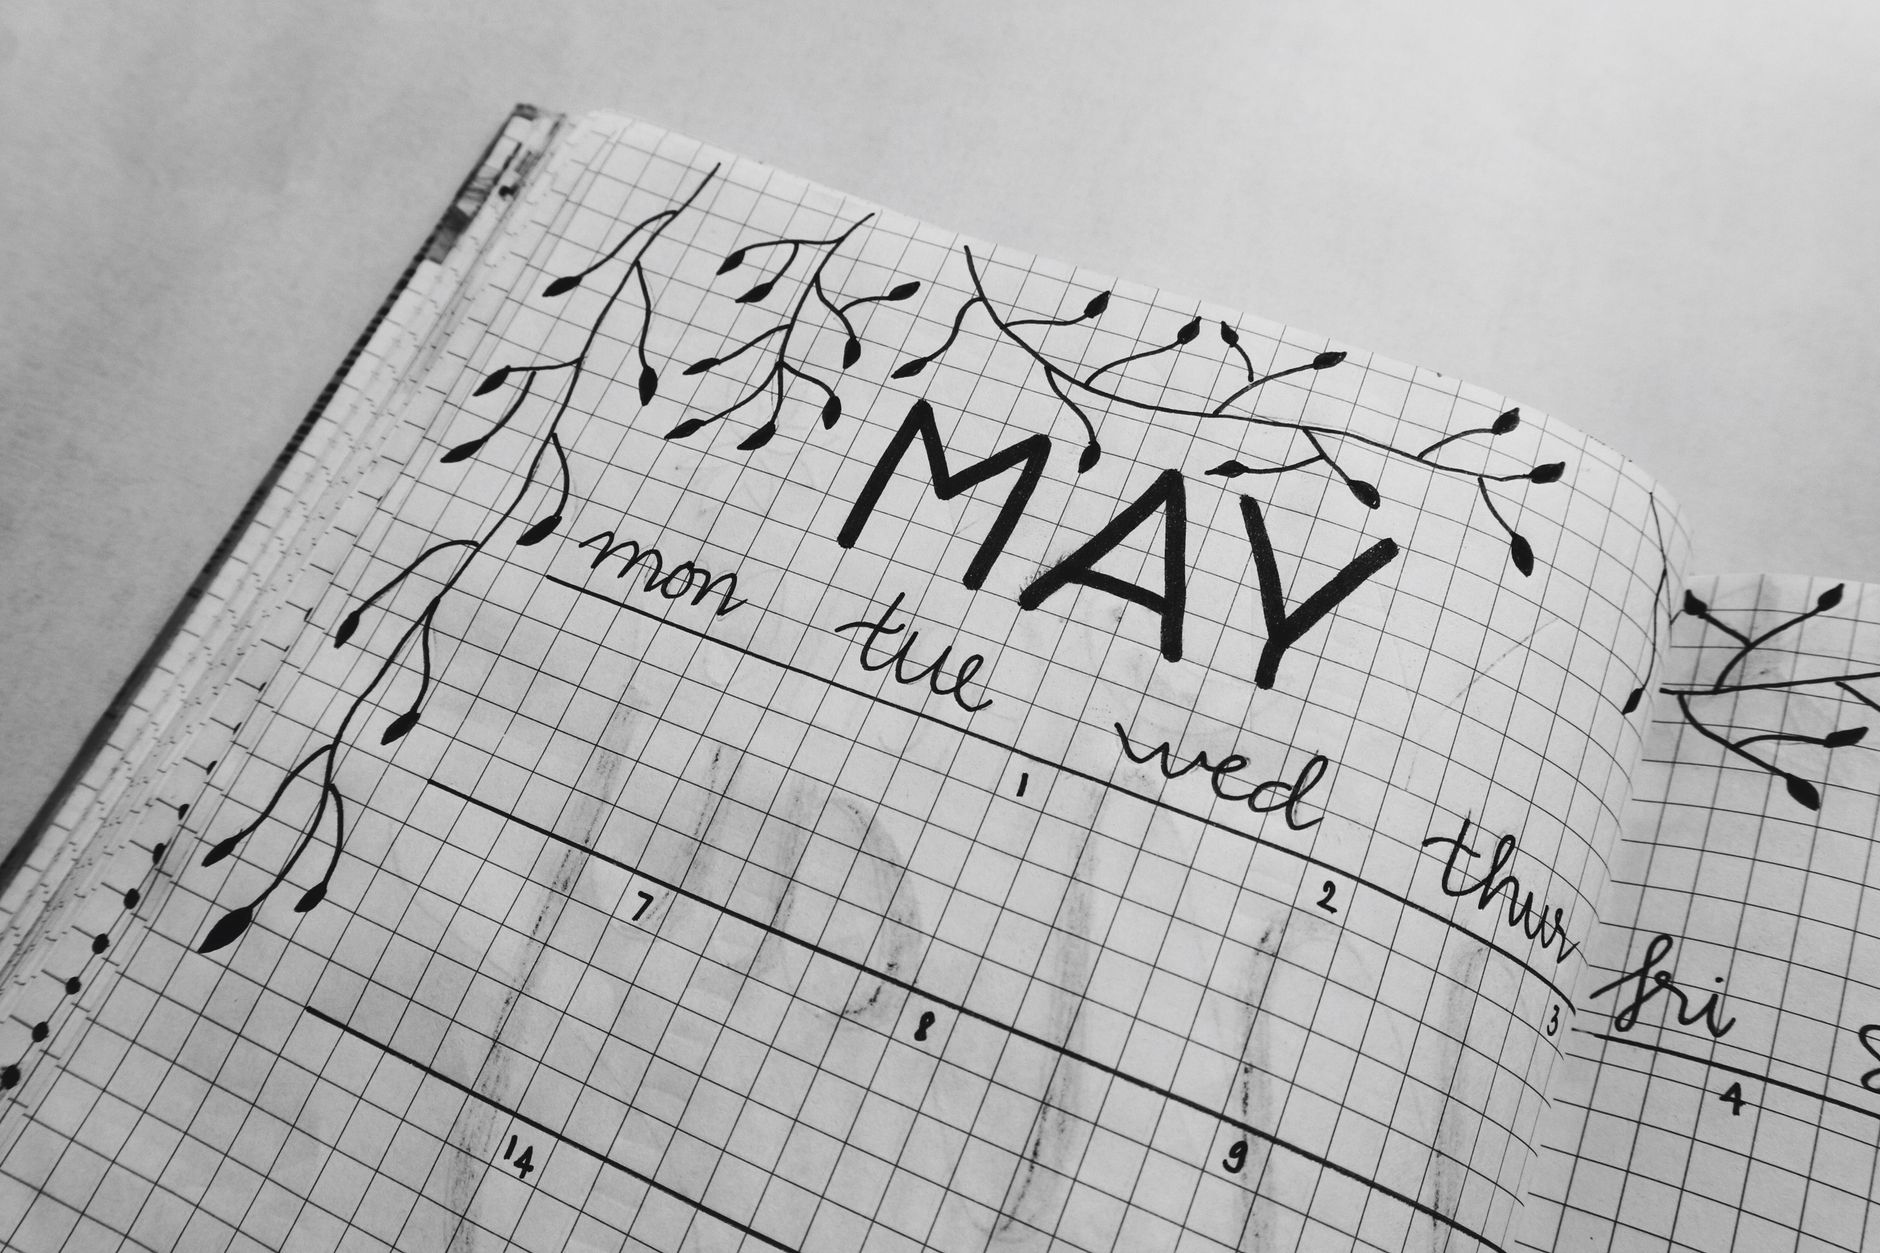
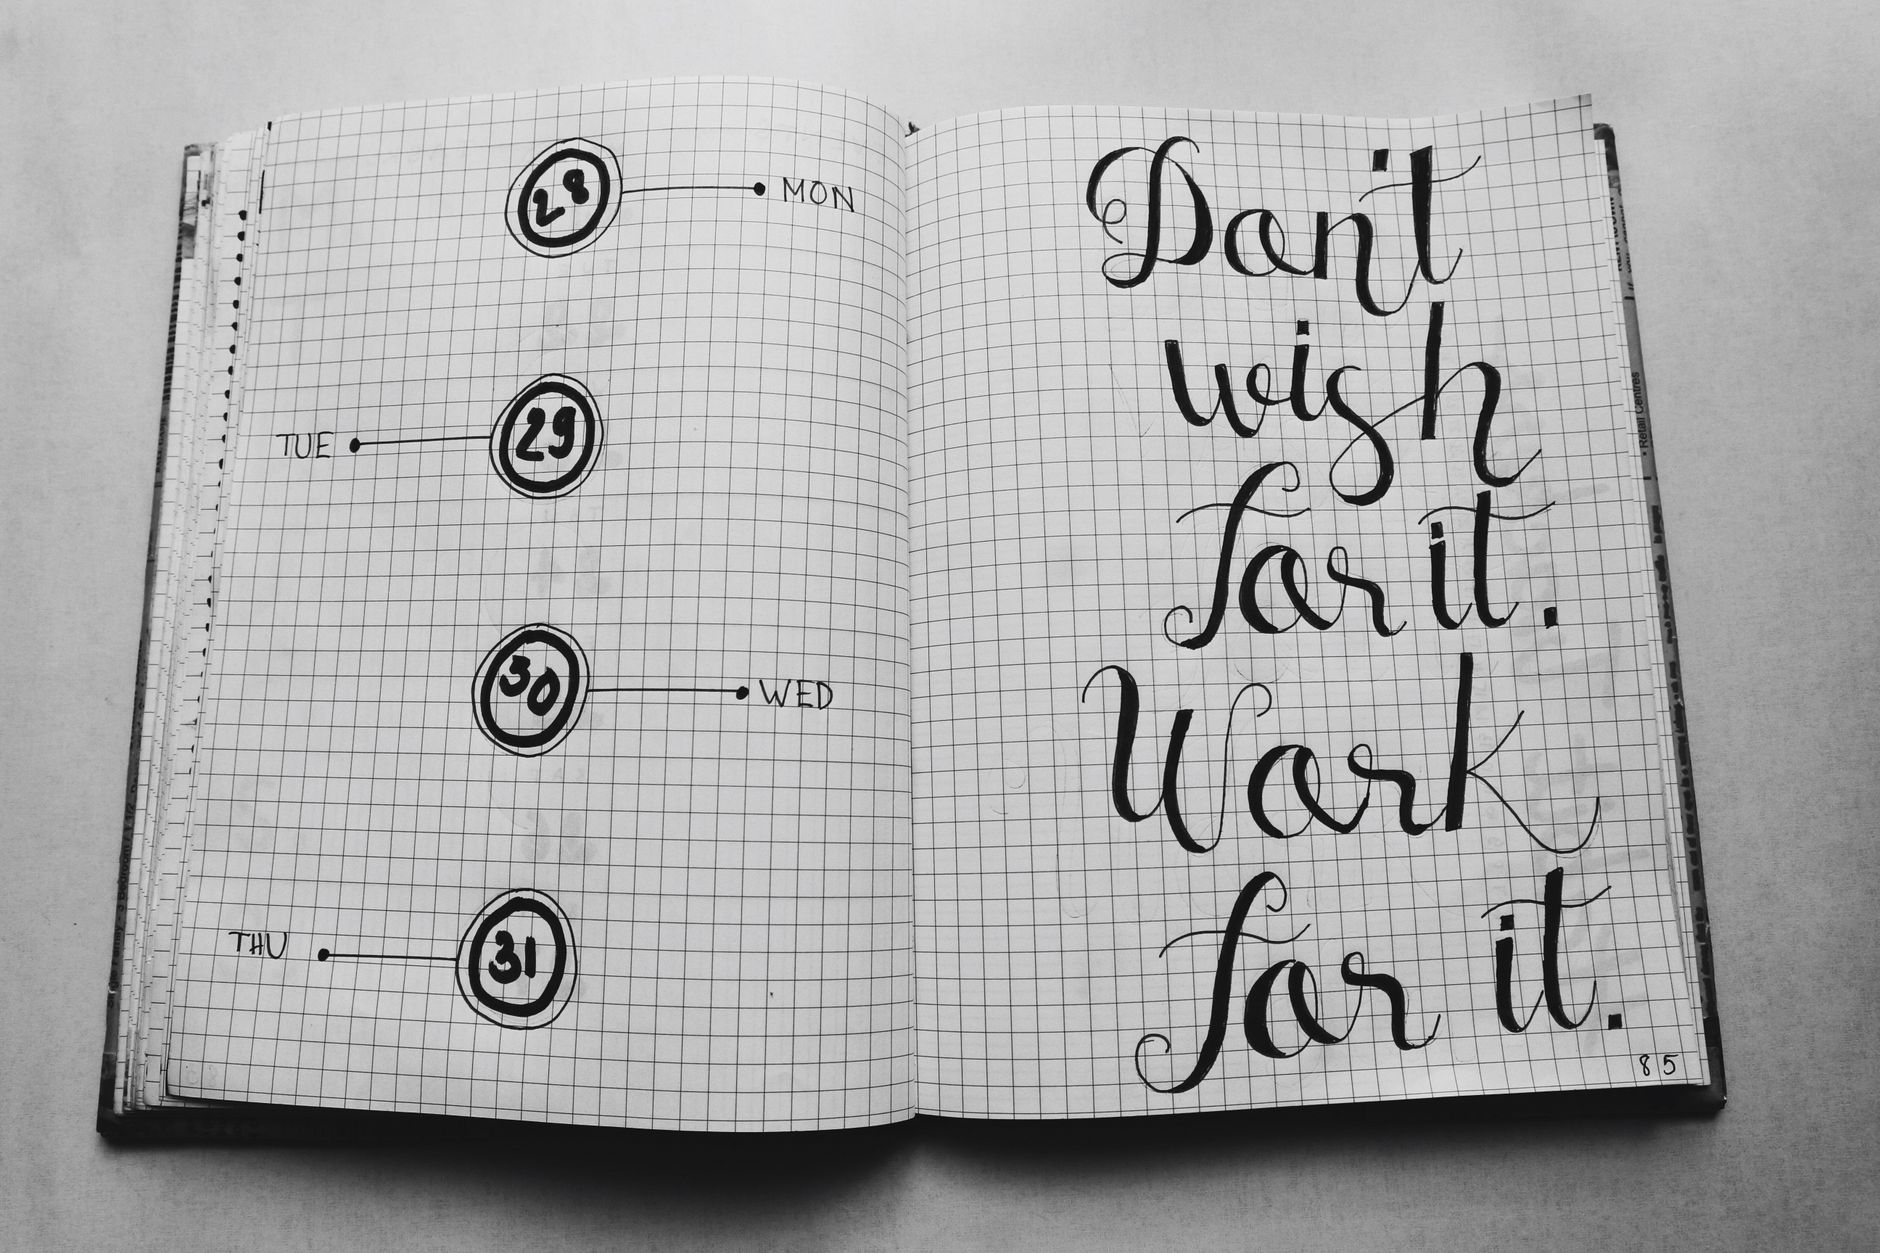
The core of this system is a two-page monthly spread. On the left page, I create a calendar grid for the month. This isn't for scheduling tasks, but for placing deadline flags. The right page is a dedicated assignment log, divided by subject. I use a ruler and my Sakura Pigma Micron 05 to create clean lines. The paper in my Leuchtturm1917 notebook has a subtle dot grid, which makes drawing straight lines a breeze. The total setup time for this spread is about 15 minutes at the start of each month, a small investment for massive returns in clarity.
Here are the key components of the layout:
- Monthly Calendar Grid: Each day's box is approximately 0.8 x 0.8 inches. This gives enough space for 2-3 small deadline flags.
- Assignment Log: I divide the right page into 5-6 vertical columns, one for each subject. Each column is about 1.5 inches wide.
- Header Section: At the top of the log, I leave space for the assignment name, due date, and a progress tracker.
The beauty of this design is its separation of the “when” (calendar) from the “what” (log). This dual-view system prevents information overload on a single page.
Choosing Your Subject Color Palette
Color-coding is the engine of this system. I assign a specific color to each subject for the entire semester. Consistency is key. For my setup, I used a set of Tombow Dual Brush Pens for the color blocks because their mild, water-based ink doesn't bleed through my Leuchtturm paper. My palette was: History (Navy), Biology (Light Green), Calculus (Orange), English Literature (Dusty Pink), and Spanish (Violet). I made a small color key at the top of the spread for quick reference. This isn't about making it pretty; it's about creating instant visual recognition.
I initially tried using cheaper highlighters, but the colors were too neon and distracting. The softer, more muted tones of the Tombow pens are easier on the eyes and create a cohesive look. The investment in a good-quality, defined palette is worth it. When you glance at your calendar and see an orange flag, you immediately know it's Calculus without having to read a single word. This reduces the cognitive load of parsing information and speeds up your planning process significantly.
This reduces the cognitive load of parsing information and speeds up your planning process significantly.
Implementing the Deadline Indicator System
This is where the magic happens. For every assignment I log on the right-hand page, I create a corresponding “flag” on the calendar. I use a small, colored square or circle—about 0.3 x 0.3 inches—drawn with the Tombow pen corresponding to the subject. Inside this colored shape, I write the abbreviated assignment name with my Micron 05. For example, a blue square with “Hist Essay” inside it. This flag gets placed in the calendar box for its due date. I also add a smaller flag one week before the due date as a “warning” indicator.
I experimented with just writing the assignment in the date box with the colored pen, but it wasn't visually prominent enough. The solid color block is a much stronger signal. For massive, multi-week projects, I'll sometimes draw a horizontal color bar that spans the weeks leading up to the deadline, breaking it into phases. This visual timeline is incredibly powerful for managing long-term work and avoiding the last-minute crunch. Seeing a week dotted with colorful flags gives you an immediate, at-a-glance understanding of your workload for that period.
Step-by-Step: Building Your Spread
Let's walk through creating the spread from scratch. You'll need your journal, a ruler, a pencil for light guidelines, your Micron 05, and your chosen color pens.
- Draw the Calendar (10 minutes): Using your ruler and pencil, lightly sketch a grid for the month. I make each day's box 0.8″ x 0.8″. Go over the final lines with your Micron 05 and erase the pencil.
- Create the Assignment Log (5 minutes): On the opposite page, use your ruler to draw vertical lines, creating columns for each subject. Label each column at the top.
- Add a New Assignment: When you get an assignment, first log it in the correct subject column. Write the full name, due date, and any key details.
- Place the Flags: Immediately after logging it, draw your colored flag in the calendar on the due date. Add a warning flag one week prior.
The entire process for adding a new assignment takes less than 60 seconds, but its impact on your organizational clarity is immense.
The Results: Before and After Metrics
So, did it actually work? The data says yes. In the semester before implementing this system, I missed or was late on 10 assignments. In the first full semester using the color-block tracker, that number dropped to just 1.5 (one full miss, one late with a penalty). That’s an 85% reduction. My overall GPA also saw a noticeable bump, from a 3.4 to a 3.7, largely because I was no longer losing points on late submissions and could plan my study time more effectively.
The psychological benefits were just as significant. My self-reported stress levels related to schoolwork, measured on a simple 1-10 scale, dropped from an average of 8 to around 4. The sunday scaries—that feeling of dread before the school week—almost vanished because I knew exactly what was coming. I spent less time worrying about what I might have forgotten and more time actually doing the work. The system created a sense of control that was previously missing.
Common Pitfalls and How to Avoid Them
No system is perfect, and I hit a few snags while refining this one. My first mistake was using too many colors. I tried to color-code by assignment type (essay, test, reading) within subjects. It became a confusing rainbow that defeated the purpose of quick recognition. Stick to one color per subject. Another issue was not updating the spread immediately. If you wait until the end of the day to log an assignment, you might forget. Make it a habit to pull out your journal the moment an assignment is given.
I also learned that the warning flag—the one placed one week before the due date—is non-negotiable. At first, I skipped it for smaller assignments, thinking I'd remember. I was wrong. That small, week-ahead nudge is crucial for starting longer readings or breaking down projects. Finally, don't be afraid to adapt the system. If you have eight subjects, you might need a two-column log on the right page. The measurements I've given are a starting point; adjust them to fit your specific needs and journal size.
Variations for Different Learning Styles
This color-block system is highly adaptable. If you're a more tactile learner, you could use washi tape in your subject colors to create the flags on the calendar instead of drawing them. For digital-minded students, you can replicate this exact layout in apps like GoodNotes or OneNote, using the highlighter tool for colors. The core principles remain the same: visual separation by subject and clear deadline indicators.
If you're dealing with college-level work with fewer, larger projects, you might shift to a weekly or bi-weekly view instead of monthly. The key is to choose a timeframe that matches the pace of your assignments. For a student athlete with a packed practice schedule, you could even integrate your training schedule into the calendar using a different color, creating a holistic view of your time commitments. The system is a framework, not a rigid cage.
Transforming my academic organization didn't require a complicated app or a total lifestyle overhaul. It required a 15-minute monthly setup and a 60-second habit of logging assignments as they came in. The color-block system gave my brain the visual shortcuts it needed to stay on top of a heavy workload. If you're feeling overwhelmed by deadlines, I urge you to try this. Start with just three subjects and a simple palette. Draw your first spread this weekend. That single action can be the first step toward a calmer, more controlled academic life. I'd love to see your creations—share them with our community using #BJStudentTracker!
Sources & further reading
FAQ
What if I have more than 5 or 6 subjects?
No problem! You have a couple of options. You can create a two-column assignment log on the right-hand page, effectively doubling your subject capacity. Alternatively, you can group similar subjects together under one color. For example, if you have Biology and Chemistry, you could use shades of green for both. Just be sure to make a clear key so you don't get confused. The goal is clarity, so adjust the layout to fit your reality.
Can I use this with a weekly spread instead of a monthly one?
Absolutely. A weekly spread can be even more effective for students with a very high volume of assignments due within short timeframes. Simply apply the same principles to your weekly log. Create a section for each day and use your subject colors to block out time for working on specific assignments or to flag their due dates. The monthly view is great for the big picture, but a weekly view is perfect for the day-to-day execution.
What's the best notebook for this system?
I personally use and recommend the Leuchtturm1917 A5 dot-grid notebook. The paper is thick enough to handle Tombow markers without serious bleed-through, and the dots provide guidance without being as intrusive as lines. The Rhodia Goalbook is another excellent option with even smoother paper. If you're on a tight budget, a simple dotted notebook from a brand like Moleskine or even a store brand will work perfectly fine, especially if you're using fineliners instead of brush pens.
Small changes, real momentum
Get practical guides and templates you'll actually use — a few thoughtful emails a month.
Related Posts


Your Weekly Dose of Inspiration
Journaling ideas, family tips, and gentle inspiration.
Love this content?
Join the BulletJournals.net community for exclusive tips, guides, and updates.
Subscribe Free